1/4
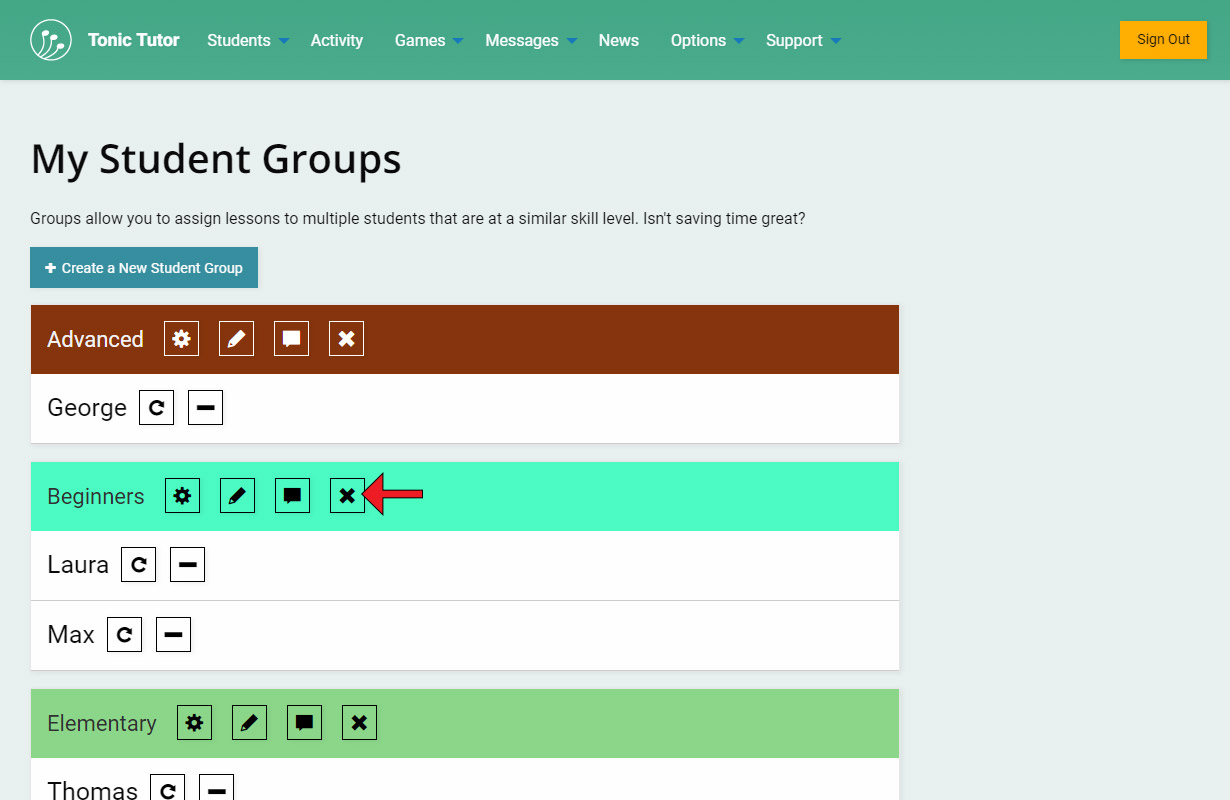
Now that you know how to create a group, let's go over the My Student Groups page. Each group has two buttons: Edit and Delete. Let's go over the Delete button first. Deleting a group DOES NOT delete the students in the group, it only removes them from the group. What happens when a student is removed from a group when it's deleted? An individual lesson will be created which copies the group lesson they had while they were part of the group. Tonic Tutor works this way to minimize disruption, which means you can delete a group and not have things break down or require additional work on your behalf. Deleted groups cannot be recovered and we recommend using the delete option with caution.
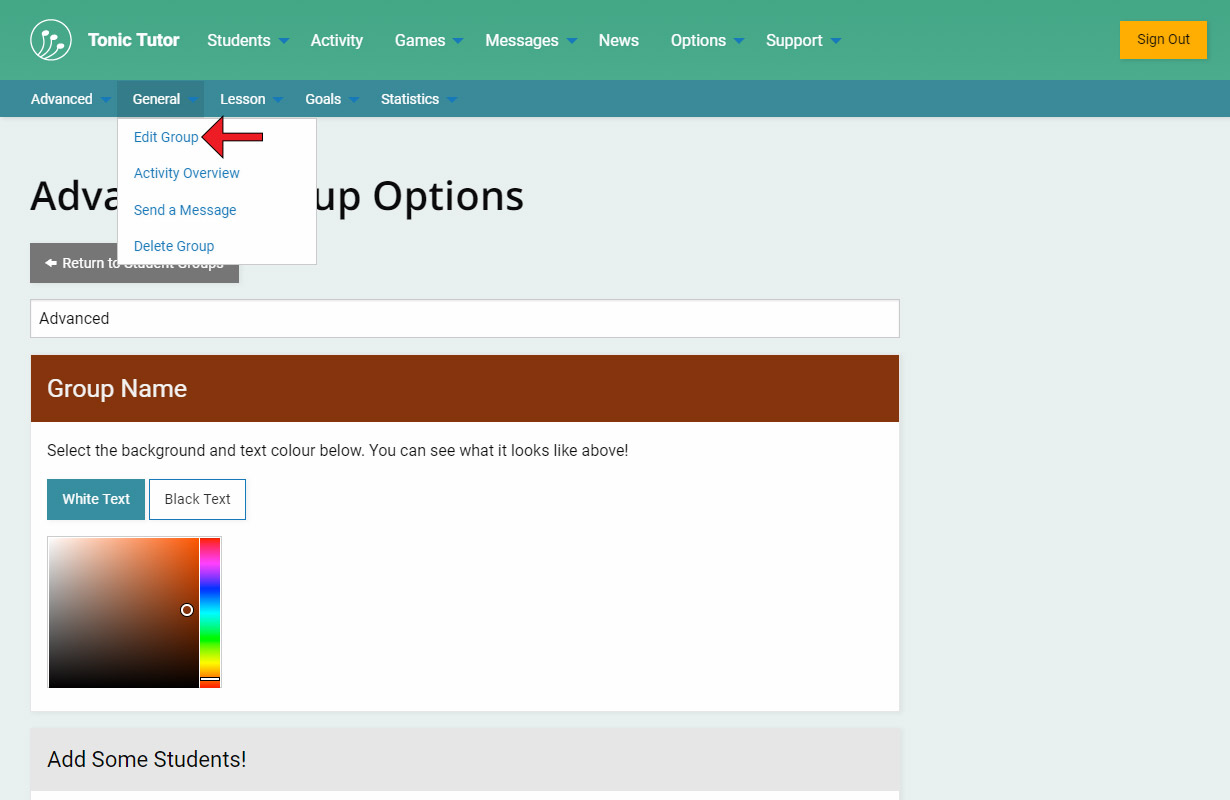
The Edit button takes you to a page that's almost identical to the Create a Student Group page we covered in the previous tutorial. You can rename the group, change the colours associated with it, or add and remove students. Students that are part of the group will be highlighted blue, just deselect them and save the group to remove them. The same thing that happens when you delete a group will happen when you remove a student from a group rather than assigning them to a new group: an individual lesson will be created for them that copies the group lesson. The General>Edit Group link in the group contextual menu leads to the same page.
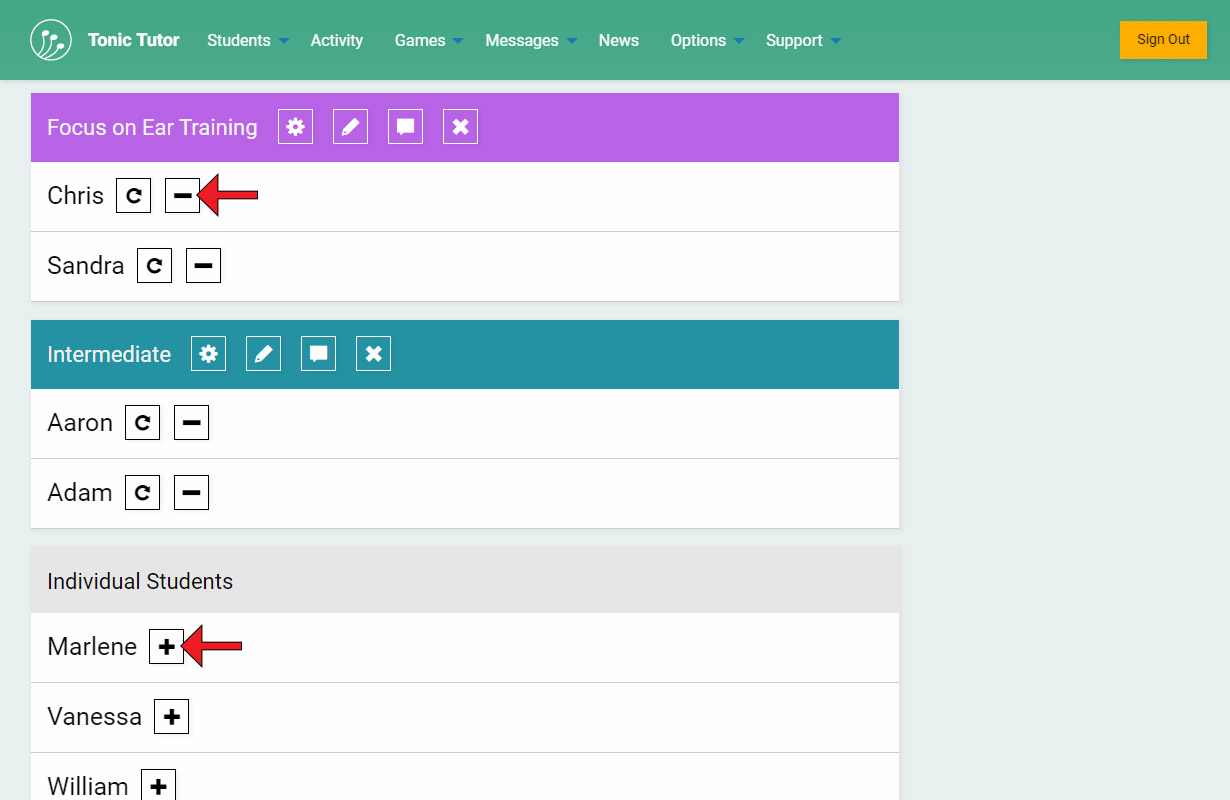
Back on the My Student Groups page, you can see that students that belong to a group have options associated with them, while individual students have a different option. The Remove button displayed next to students that are part of a group is the same as editing the group and deselecting them: they'll be removed from the group and an individual lesson will be created for them. The Change Group button and Assign to Group both allow you to assign an individual student to a group. Any button on Tonic Tutor that uses an icon will have a tooltip you can see if you hover your cursor over it if you're unsure what it does, and any button that deletes something will always have a confirmation that will appear where you can confirm the deletion before it actually happens.
The Change Group button takes you to a page where you can remove the student from their current group or choose a new group for them. The Assign to Group button has no remove button, otherwise it's identical to the page in the screenshot.
View the next tutorial: Group Lessons