
1/12
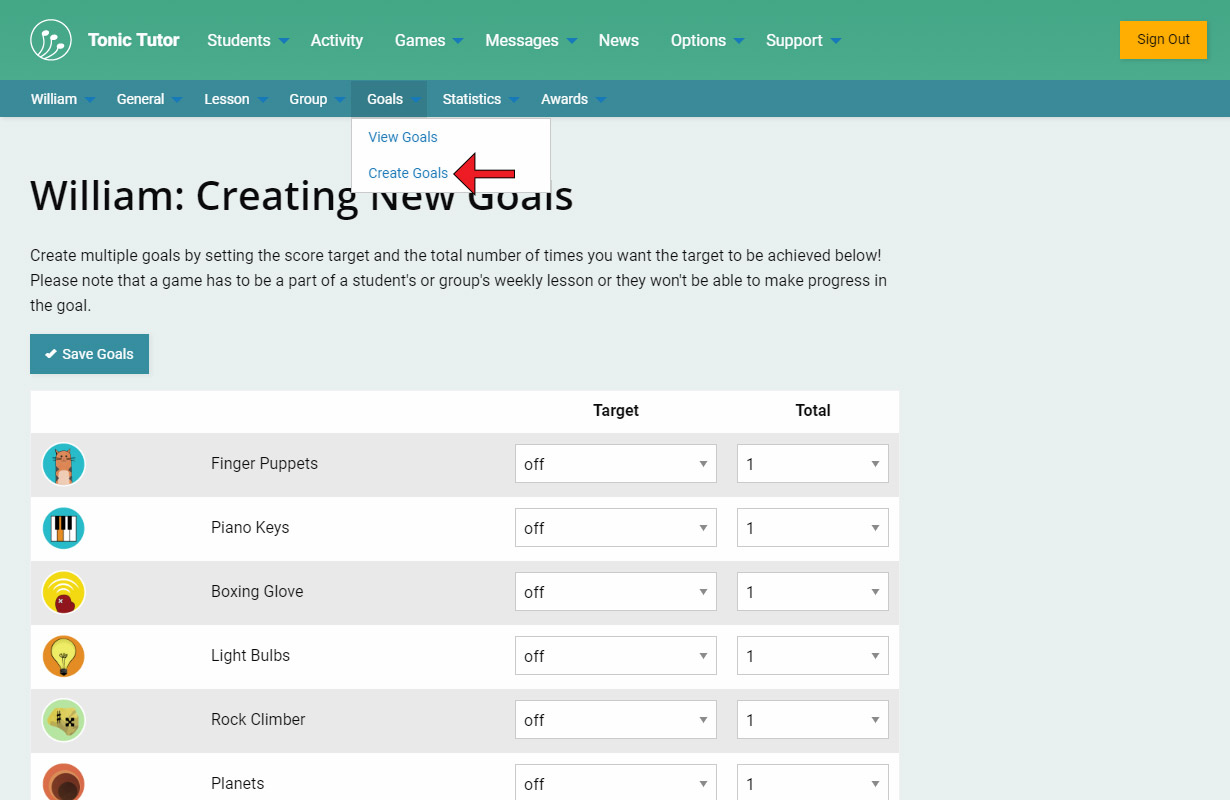
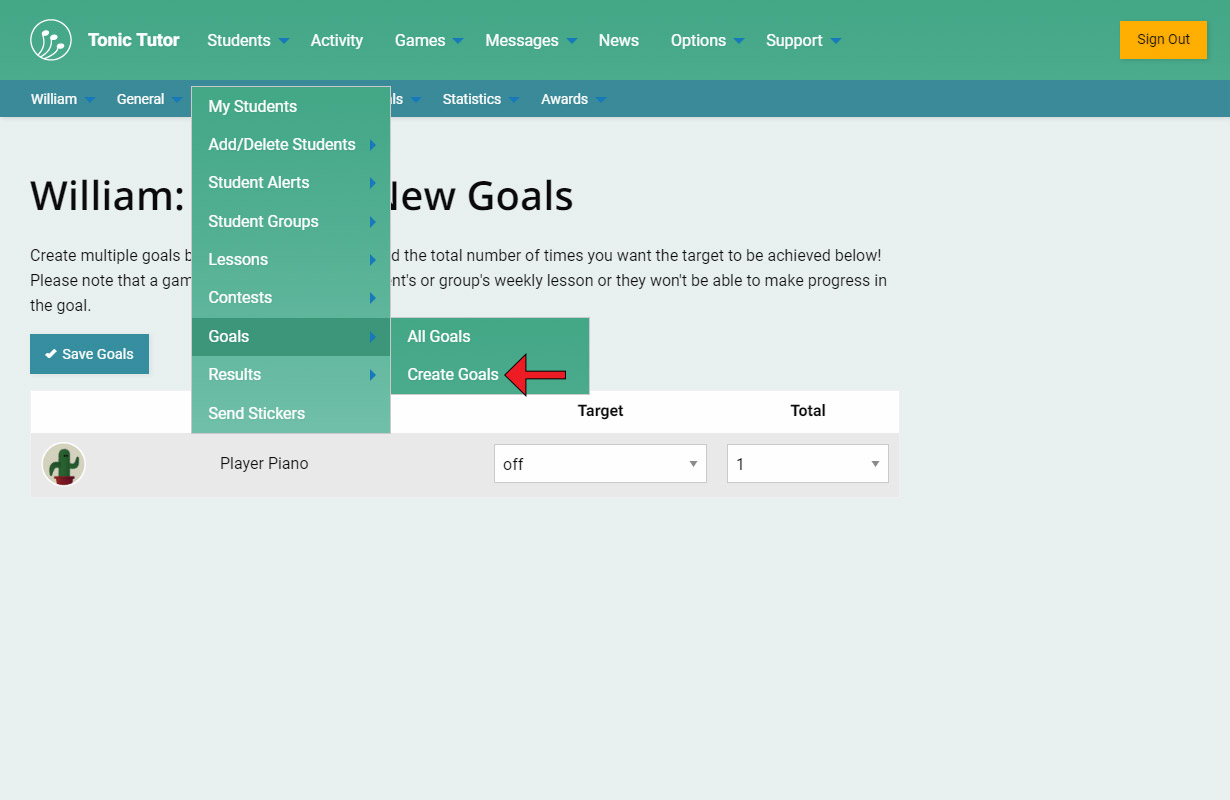
There are three ways to create goals: separately for individual students, for all of the students in a group, and for all of your students at once. Let's cover how to create goals for individual students first. Goals have their own menu in the contextual student menu. Select the Goals>Create Goals link from that menu to start creating some goals for a student!
You'll see a list of games. Why aren't all of the games showing up? When you're creating goals for a single student, only the games that are currently switched ON in their lesson will show up. Goals are only active for games that a student plays as part of their lesson, so it would be a bit pointless to create a goal for a game that isn't currently active. If a student already has an active goal, it won't show up in the list as well since only one goal can be active per student for each game.
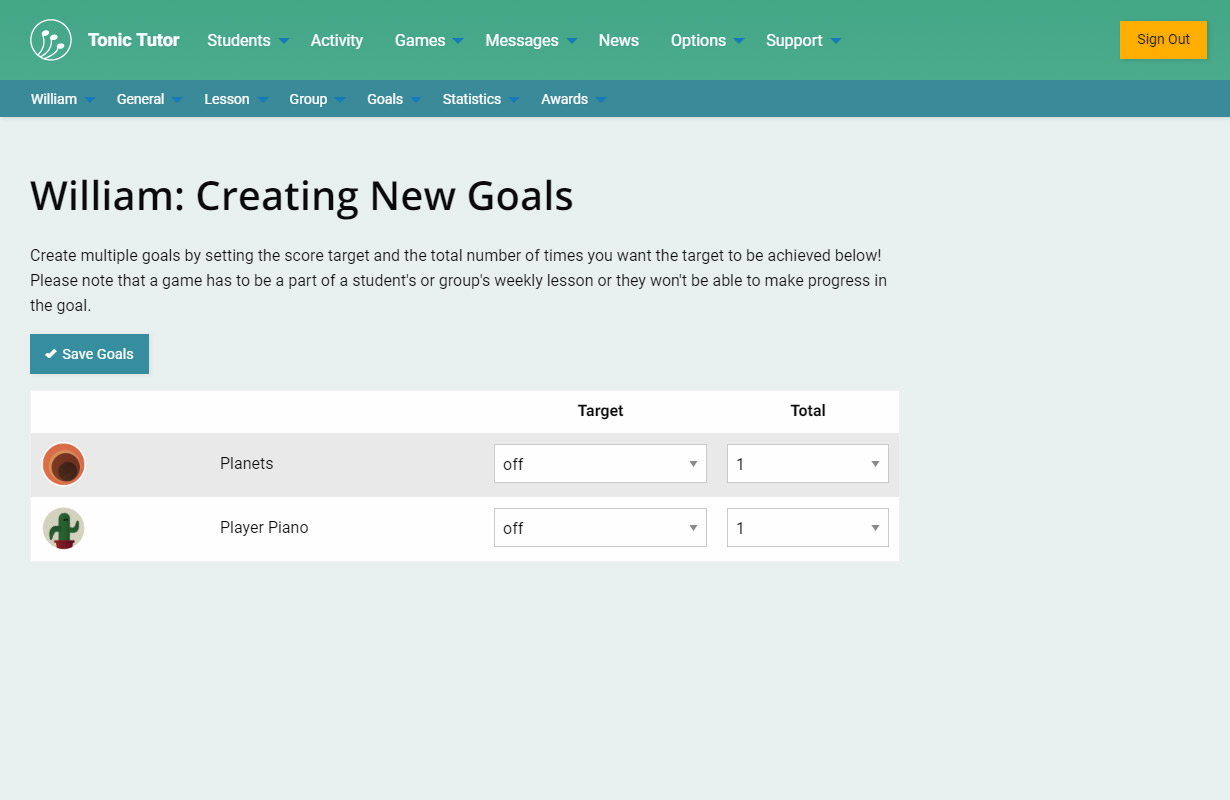
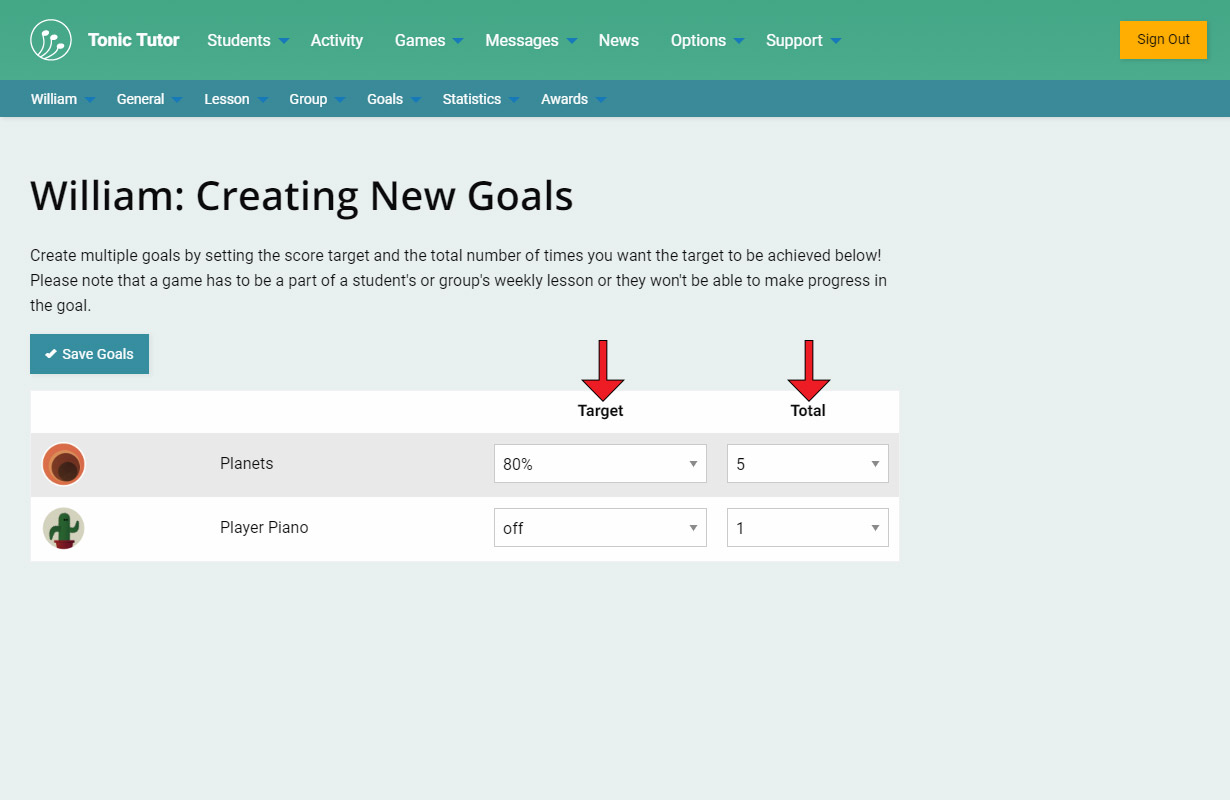
Each game listed has two drop-down menus: one labeled Target which is the score the student needs to reach to make progress for the goal, and Times which is the number of times the target needs to be reached before the goal is considered completed. I've set the target for Planets to 80% and the times to 5. That means William will need to get a score of 80% or higher five times when they're playing Planets as part of his lesson. Player Piano has a total that's set to 1, but the target is set to off. This is important! If the score target is set to off, a goal will not be created. When I click on the Save Goals button, a goal will be created for Planets but not for Player Piano.
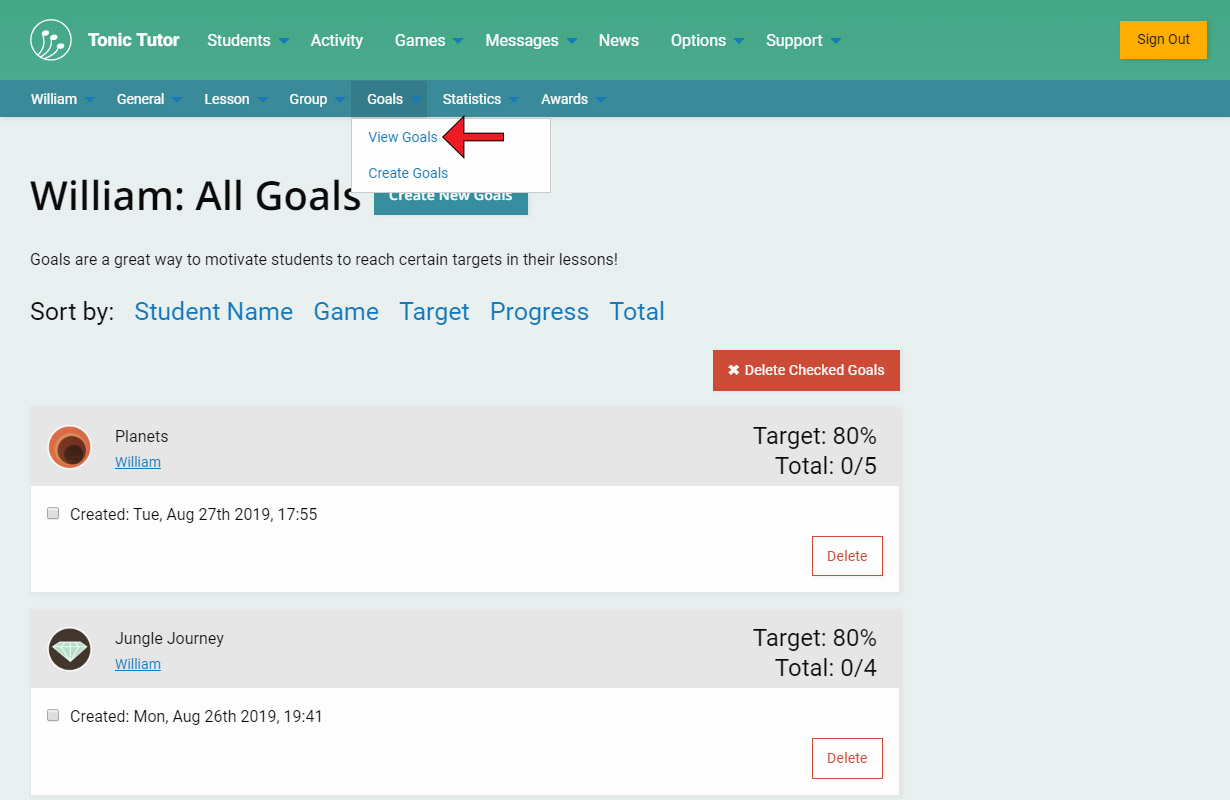
You'll be taken to a page that shows all of William's goals, both the completed and uncompleted goals that are still active. It's the same page you'll see if you select Goals>View Goals from the student contextual menu. At the top of the page is the goal for Planets that we just created, and there's no goal for Player Piano, which means everything worked out as expected.
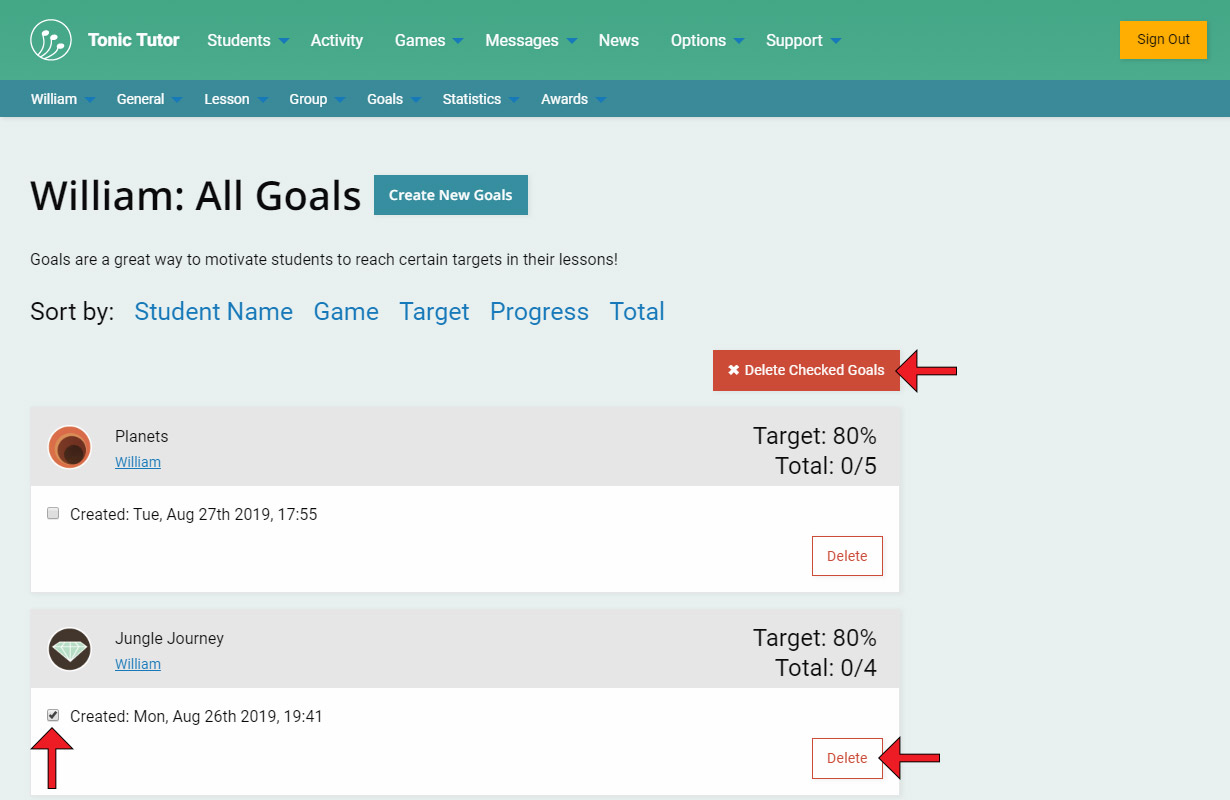
You can delete goals as long as they haven't been completed. Below the goal for Note Bird is a goal for Jungle Journey with no progress, which means it either hasn't been a part of William's lesson, or he hasn't reached the score target while playing it in his lesson. You can use the button labeled Delete to remove it. You can also use the checkbox next to the date and delete multiple goals at one time using the Delete Checked Goals button.
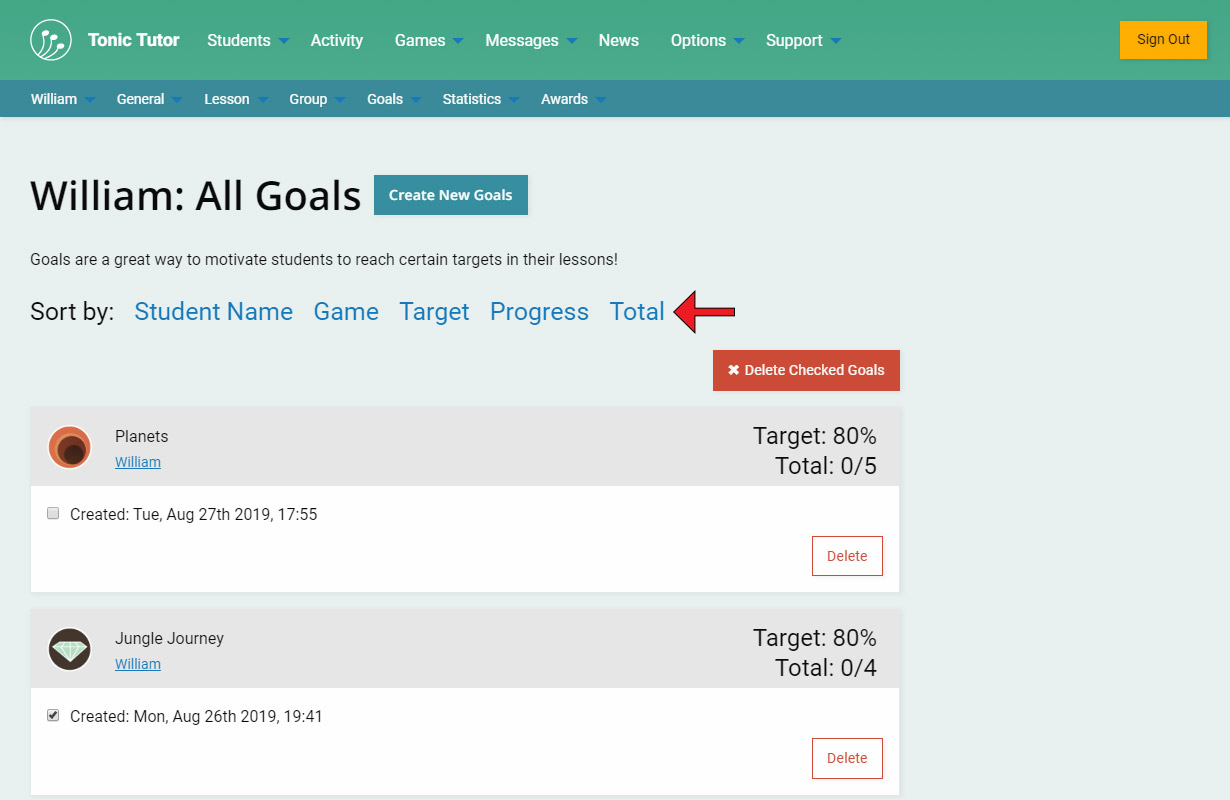
You also have the option to sort the list of goals using the options near the top of the page.
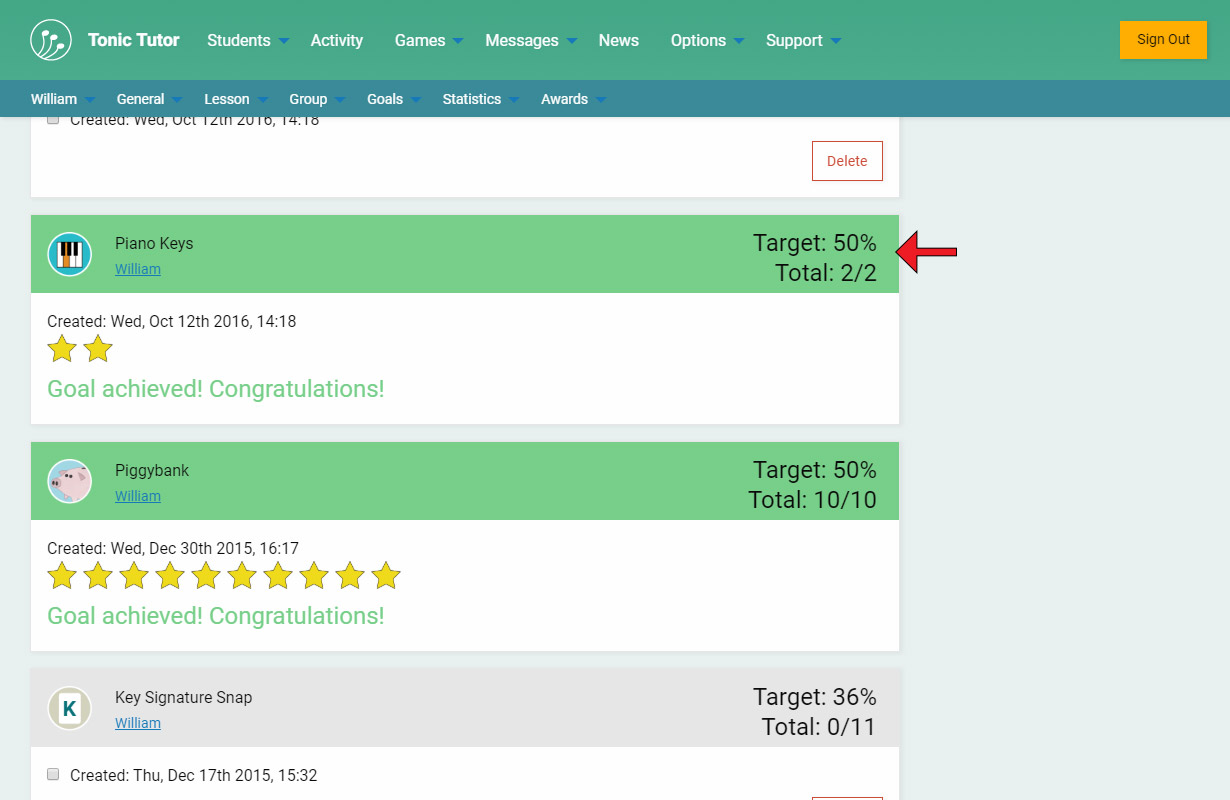
Completed goals are displayed differently on this page than uncompleted goals. The grey bar at the top of the goal changes to green, and the delete options are no longer shown.
If we use the Create New Goals button at the top of the page we can go back to the Creating New Goals page. Only Player Piano shows up, Planets is no longer displayed in the list because it already has an active goal. If we edited William's lesson and made a third game active, it would show up on this page (unless it already had an active goal that was set previously).
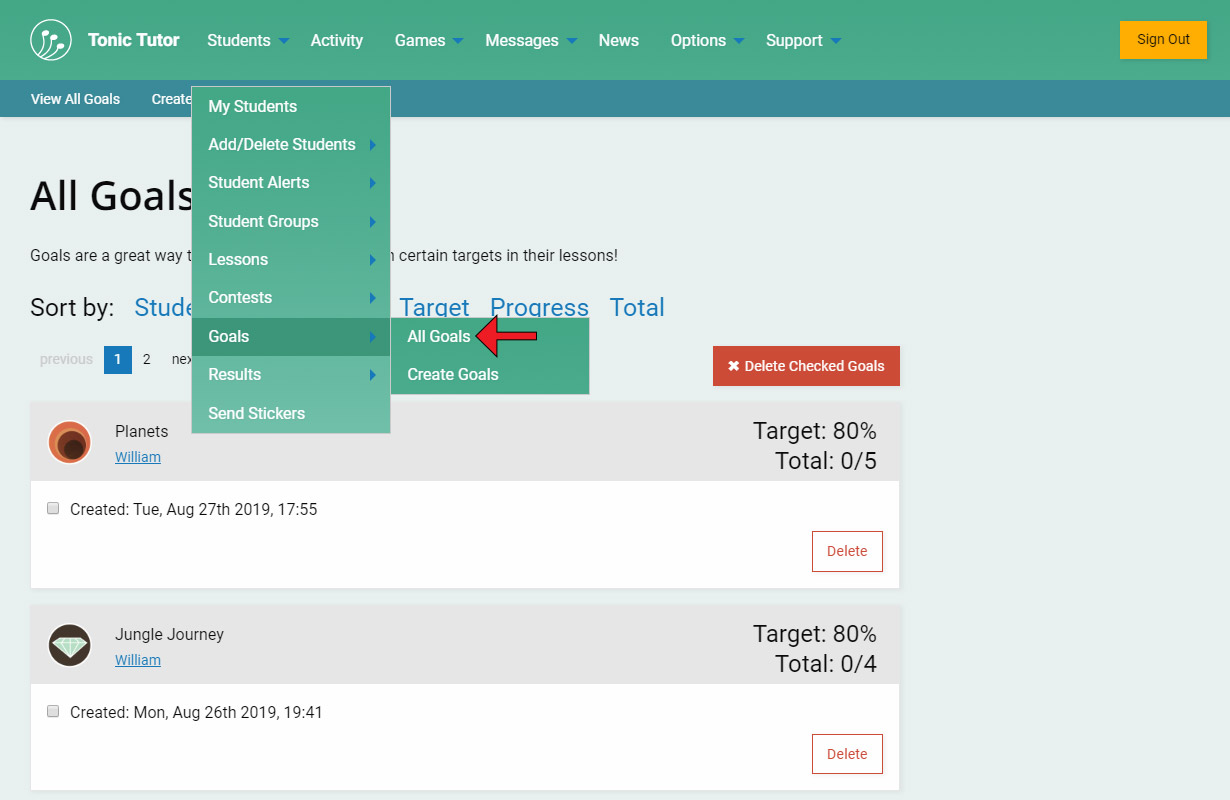
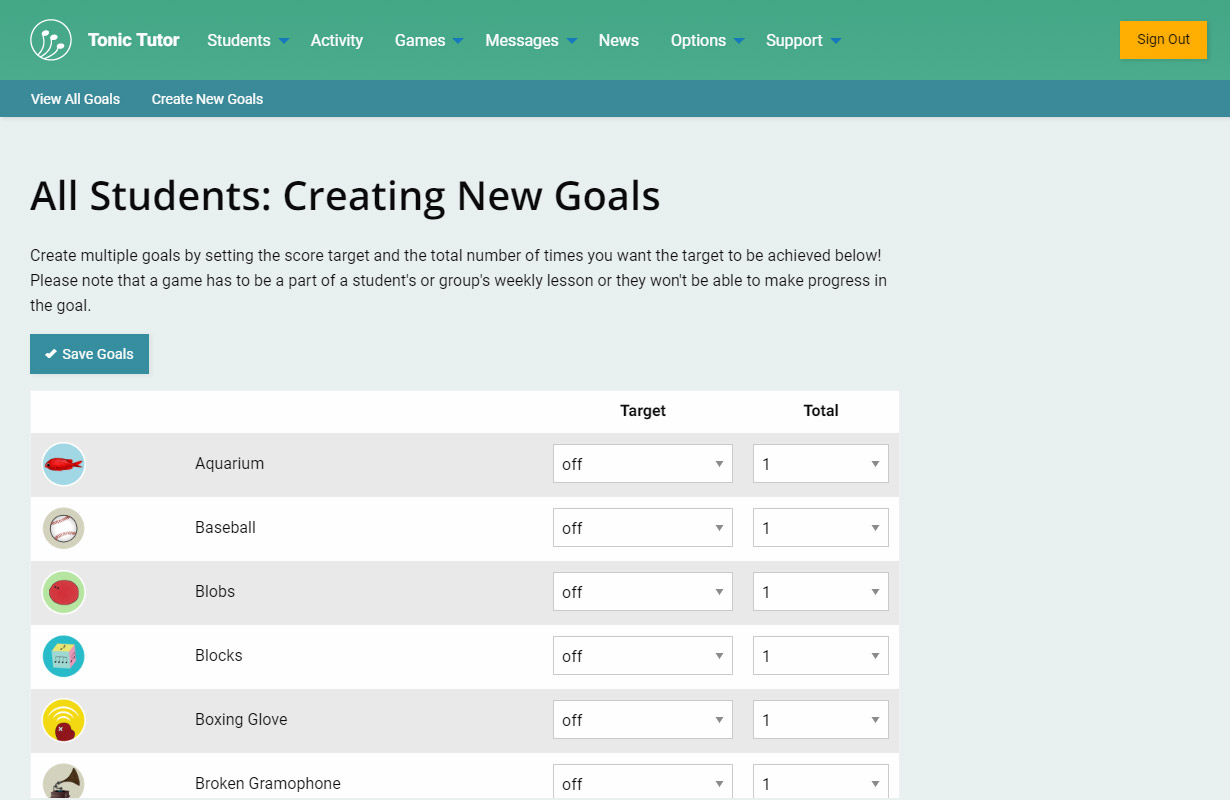
Now let's go over creating goals for all of your students at once. You can do this using the Students>Goals>Create Goals link in the main menu.
This page is similar to the individual Create Goals page we just covered, but all of the games are displayed. Since we're creating goals for multiple students, it isn't possible to filter the games the same way and limit the ones that are shown. Students will likely have a lesson with different active games. It also doesn't filter the list based on whether students have active goals for each game like the individual page, but that's not a problem because Tonic Tutor will make sure a duplicate goal isn't created. Set the target and total for the games you want to create goals for and Tonic Tutor will handle the rest. Creating goals in this way is a little bit less precise, but it's a lot easier than creating multiple individual goals separately.
After you save the goals you set on the Create Goals page, you'll go to a page that displays the goals for all of your students. It's almost identical to the individual goal page, giving you the same options to filter and delete goals. This is the same page displayed when you use the Students>Goals>View Goals link in the main menu. If you want to go to the individual goal page for a student, just select their name.
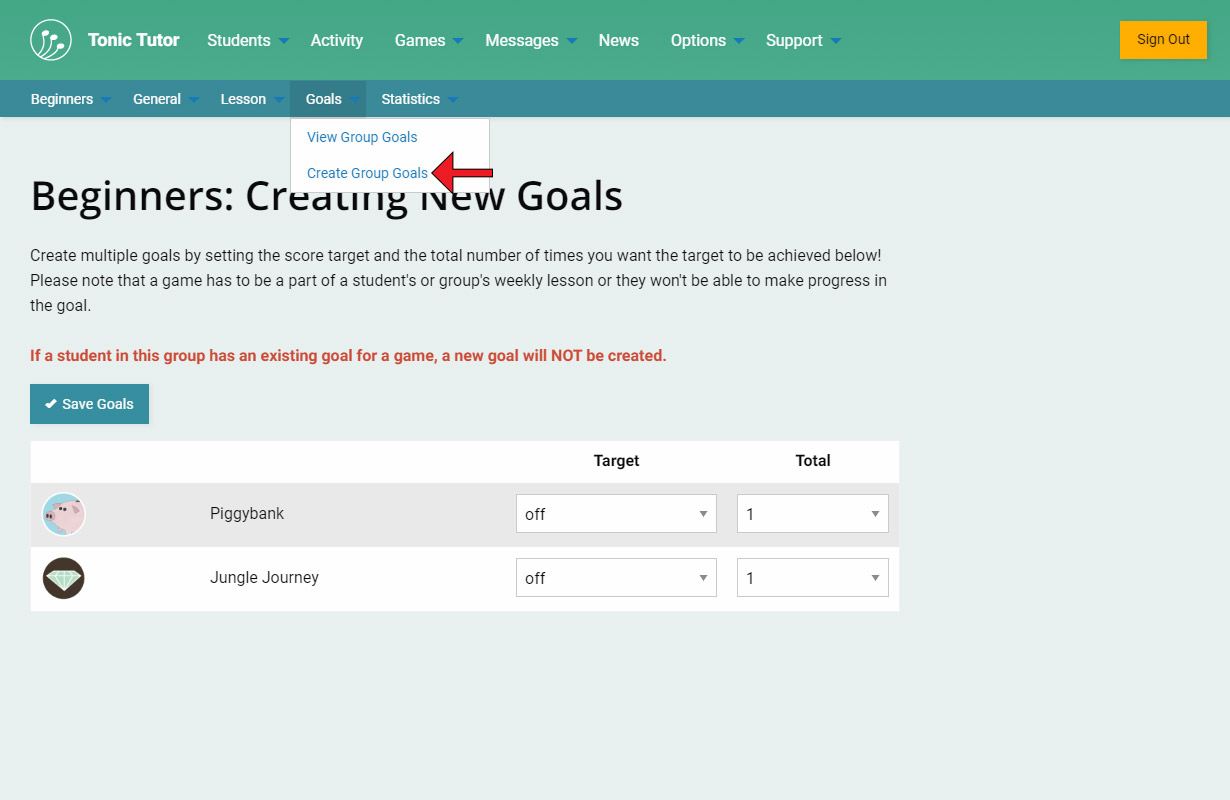
Creating goals for a group works identically to the page where you can create goals for all of your students. The advantage is that it only creates goals for the students that belong to that group. You can access the group goals page using the Goals>Create Group Goals link in the group contextual menu. You can also view all of the goals for the students that belong to the group.
View the next tutorial: What Students See