

1/11
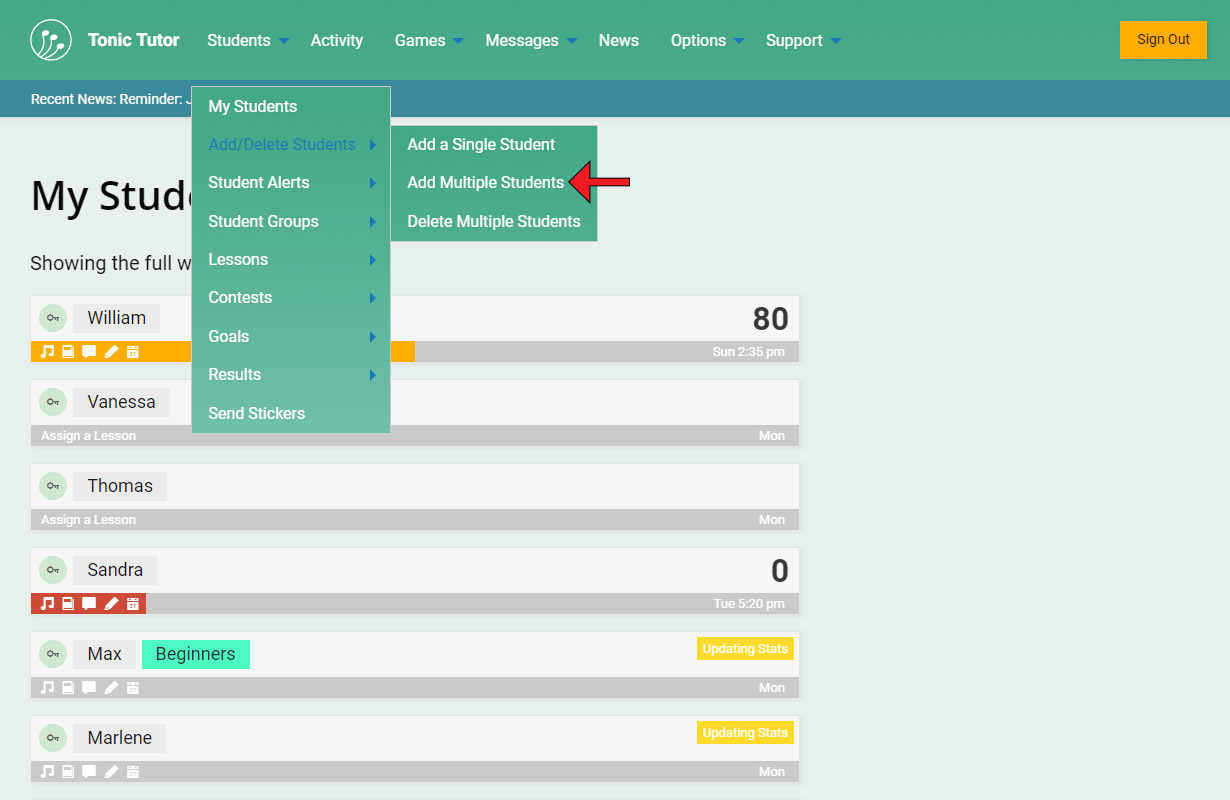
You'll find the links to the add student pages under the Student menu in the main menu at the top of the screen. If you hover over the Add/Delete Students option, a menu with three options will appear: Add a Single Student, Add Multiple Students, and Delete Multiple Students. Let's start with the first option to add a single student.
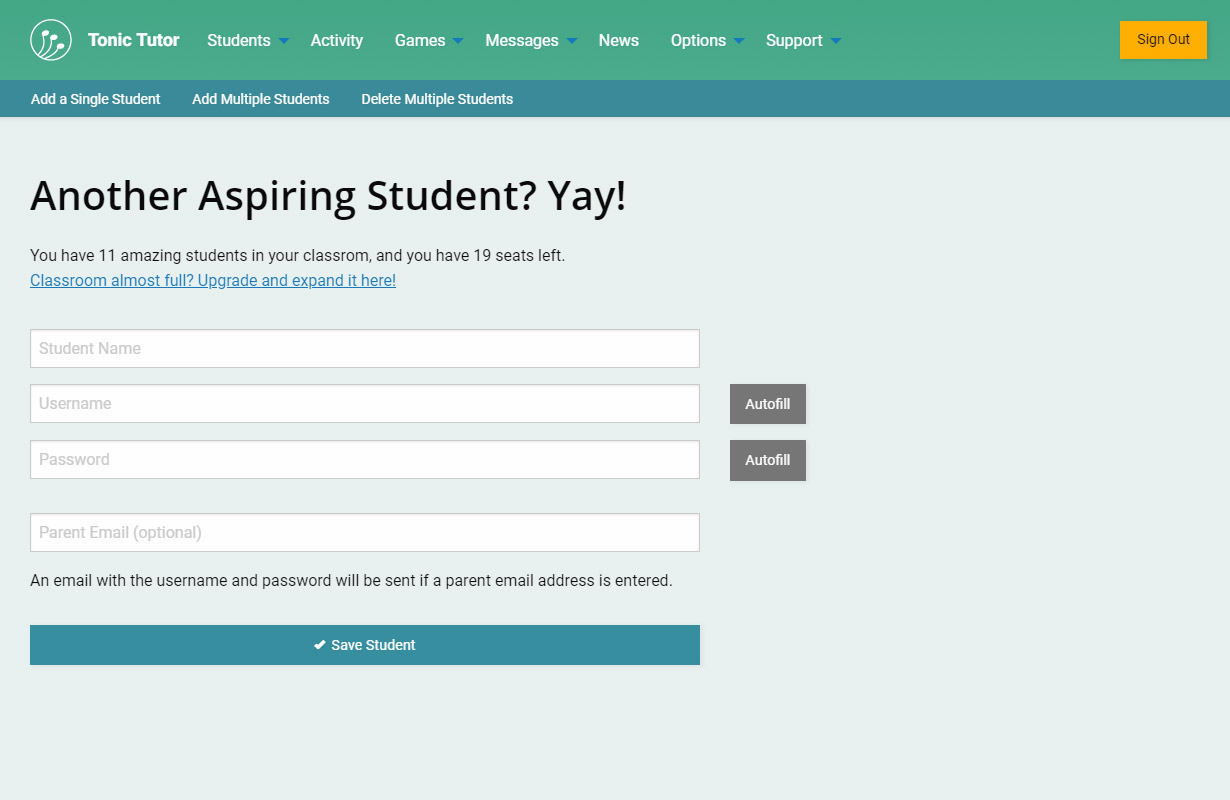
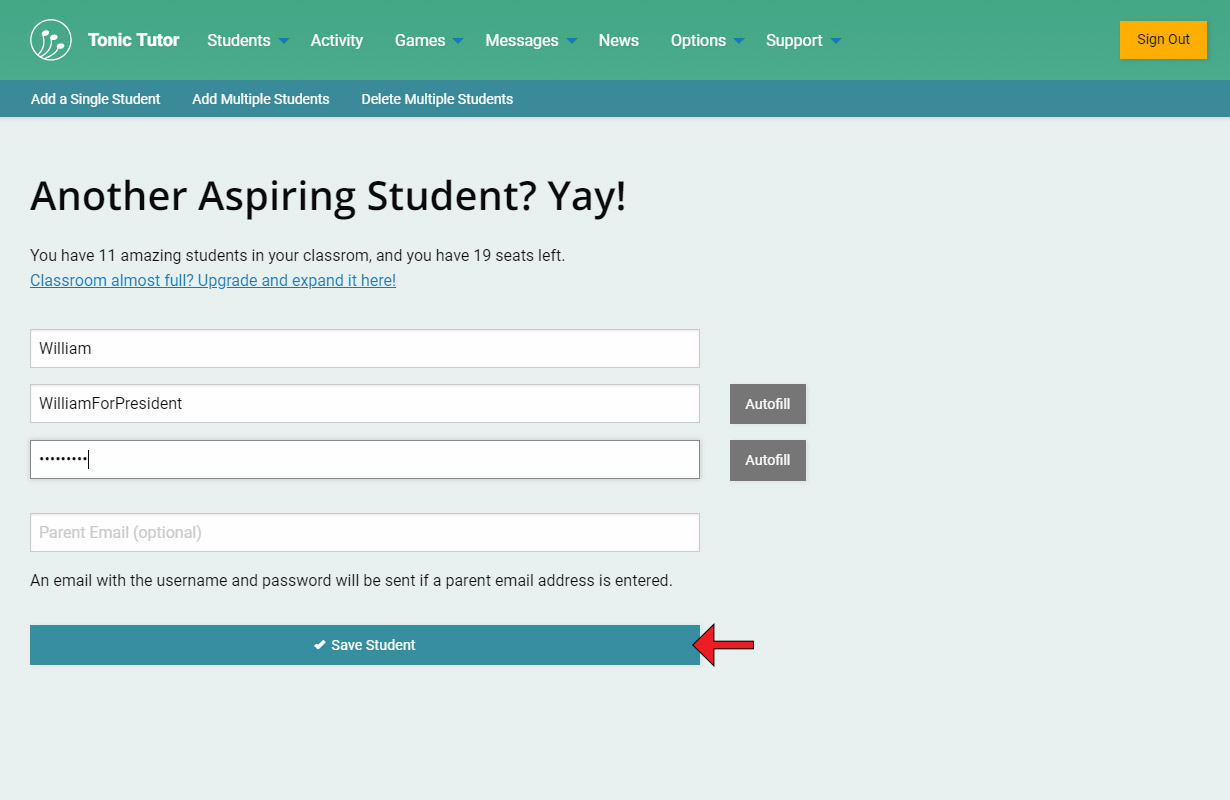
The number of students that are currently active and the number of students you can still add is conveniently displayed at the top of the page. If you don't have any student slots available, you'll need to upgrade to the next subscription level or delete a student. Below that is a form where you can enter the Student Name, and the Username and Password they'll use to sign into their Tonic Tutor account. The username has to be unique, so the student name is there so that you can use whatever name you want without causing a conflict (if you use Steve as the student name, it doesn't matter if another teacher has added a Steve, the student name doesn't have to be unique).
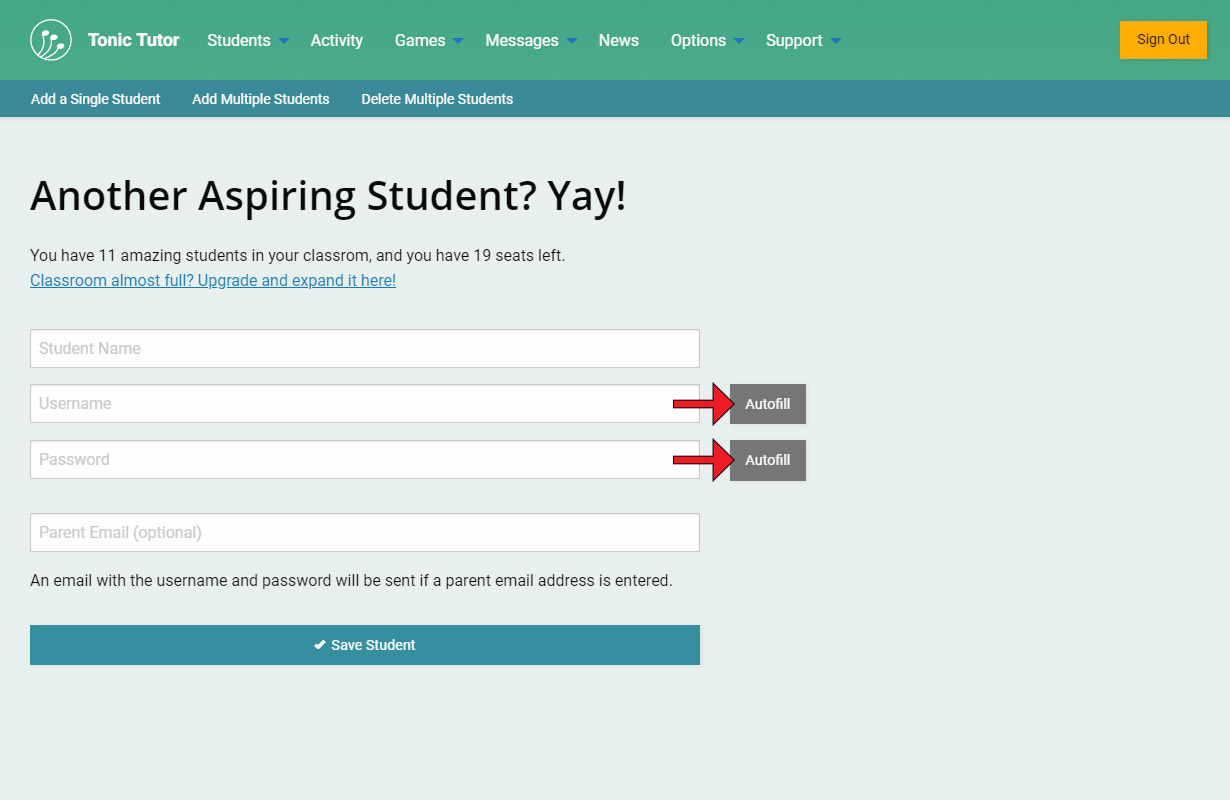
There are buttons next to the Username and Password inputs labeled Autofill. You can use those buttons to generate a random string of characters in the input, saving a bit of time.
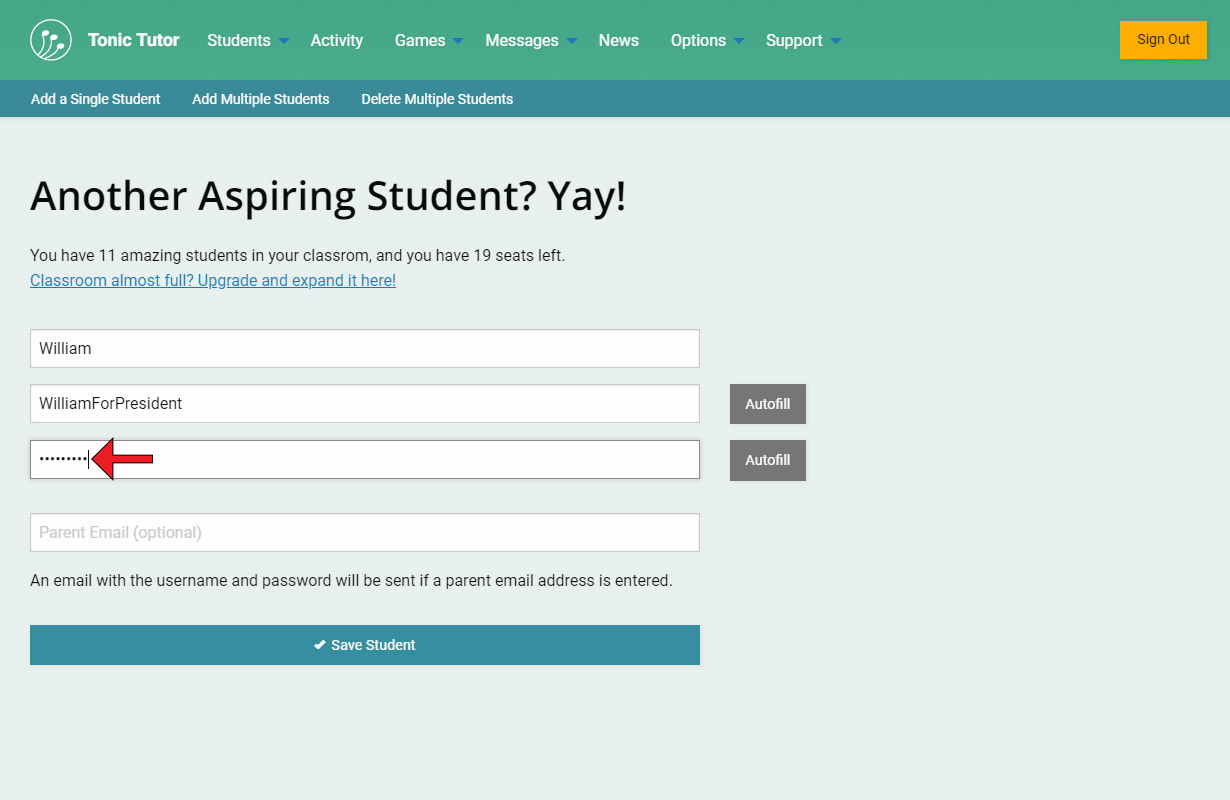
All password inputs display dots instead of letters (security is important!). The password you entered will be displayed below the input after you click out of the input. It makes it a bit easier to confirm that you entered it without any errors.
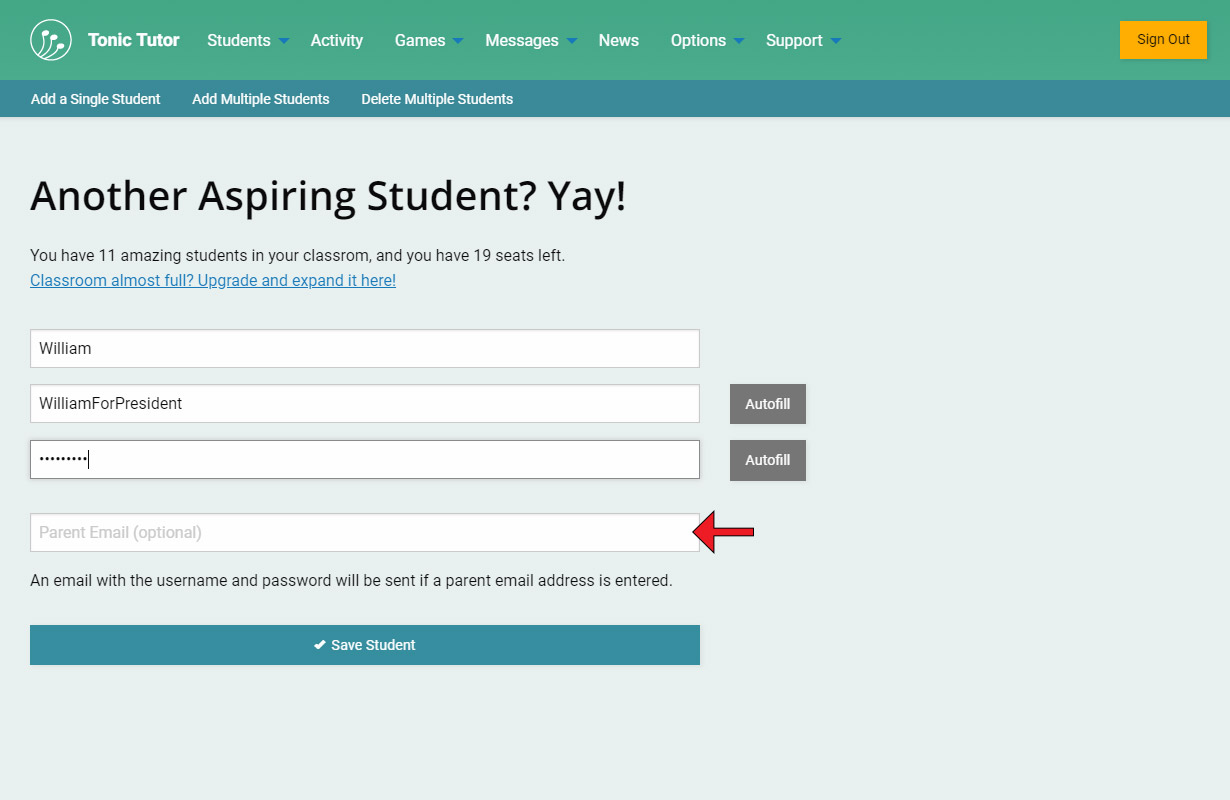
There's one last input for a Parent Email, but it's not required. If you enter an email address an email will be sent to that email letting the recipient giving them the option to opt into receiving email notifications when a lesson is close to resetting if it's still unfinished (which will help the parent motivate their child to finish it), along with the option to receive periodic reports on the student's progress. It will also conveniently send the username and password that was entered to the parent (yay!). It's important to note that Tonic Tutor will never send spam or contact parents directly, it's only used for the two notifications mentioned above. Parents can opt out of the notifications any time they want from the student account. You can add a parent email to a student's account after you've added them as well, so if you don't enter a parent email now you still have the option to do it later.
Once you've entered all of the information to your satisfaction, use the Save Student button at the bottom of the form to save the student. Don't worry, you can change any of this information later on a student's Student Options (more on that later). Want to know something really awesome? The username and student will be emailed to you once the student is saved, so you don't have to wear yourself out writing every student's username and password on paper!
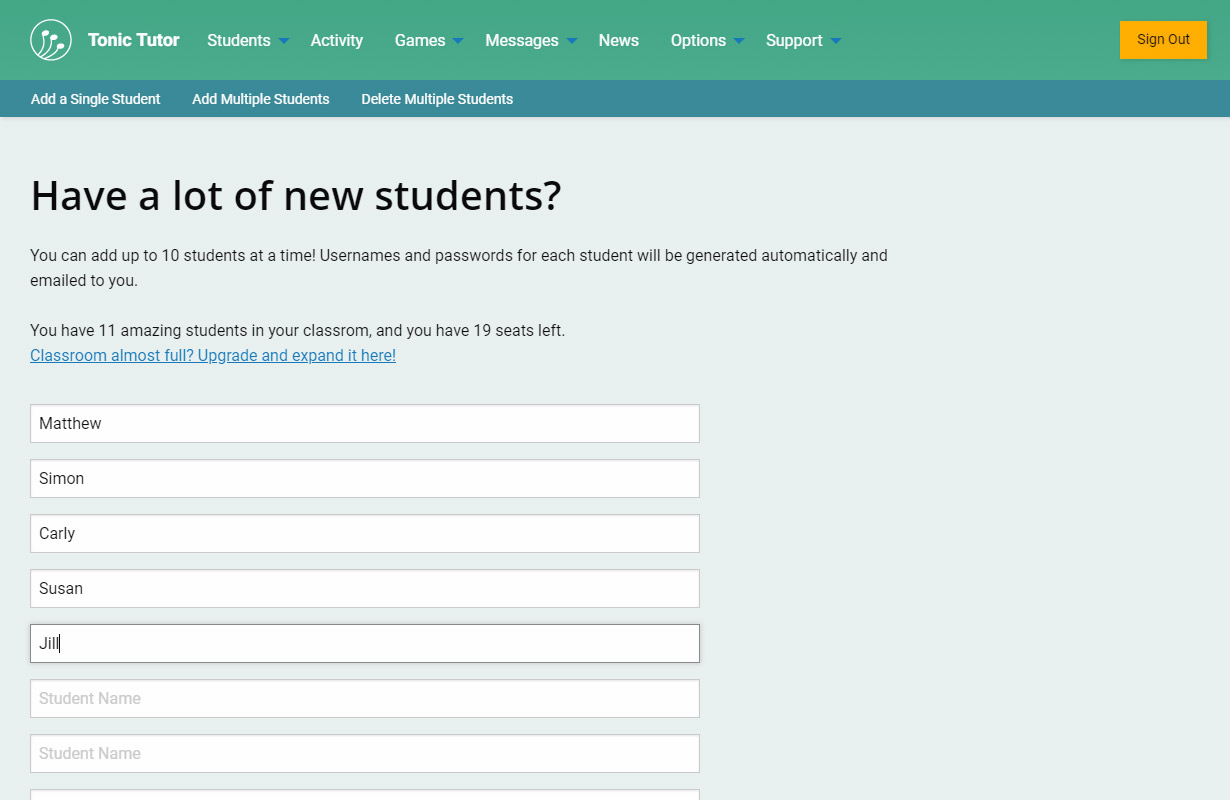
Now that we've covered adding a single student, let's look at adding multiple students. This is useful if you have a large studio or a classroom and adding students individually would be overly time-consuming. You can access using the Add Multiple Students link from the menu we saw before.
All you need to do is enter some names and the usernames and passwords will be created automatically. Don't worry about leaving inputs empty, students will only be created if a name is entered. An email will be sent with all of the information for all of the students added using this form for your referennce. At Tonic Tutor, we like to give you control, but we know it's also important to give you the option to make tasks fast and easy if that works better for you.
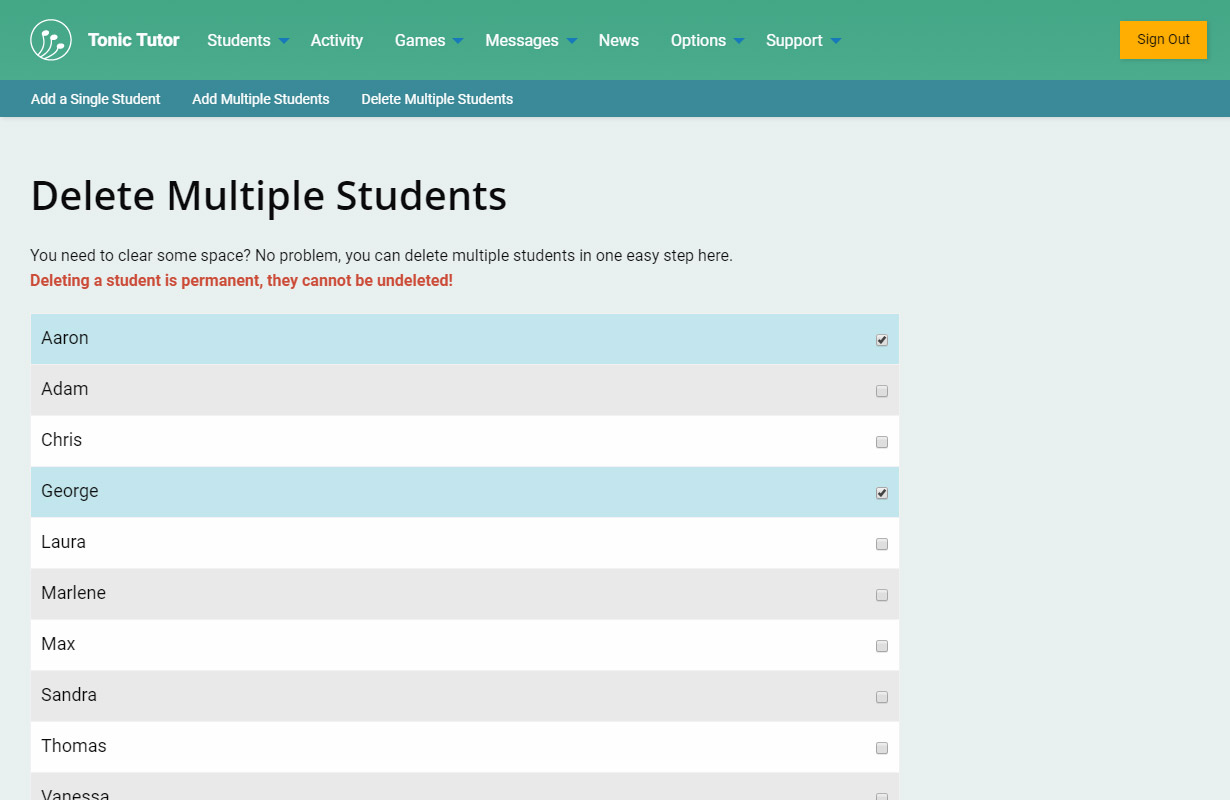
Finally, let's cover deleting students. If you need to clear up some space, or a student has finished studying with you and is moving on (to great feats of music making), you can remove them here. All of your active students are displayed in a list, just click or tap their name to flag them for removal. We can't stress strongly enough that deleting students is permanent and cannot be reversed. If you accidentally delete a student, we can't reverse it or recover the data for you, so we advise that you use this page with extreme caution.
Once you've selected the students you want to remove, use the Delete Students button at the bottom of the form to complete the process. A confirmation dialog will be displayed that shows the names of the students that will be removed, at this point you still have a chance to cancel if a mistake has been made. Once you select OK, that's it, the students will be no more....
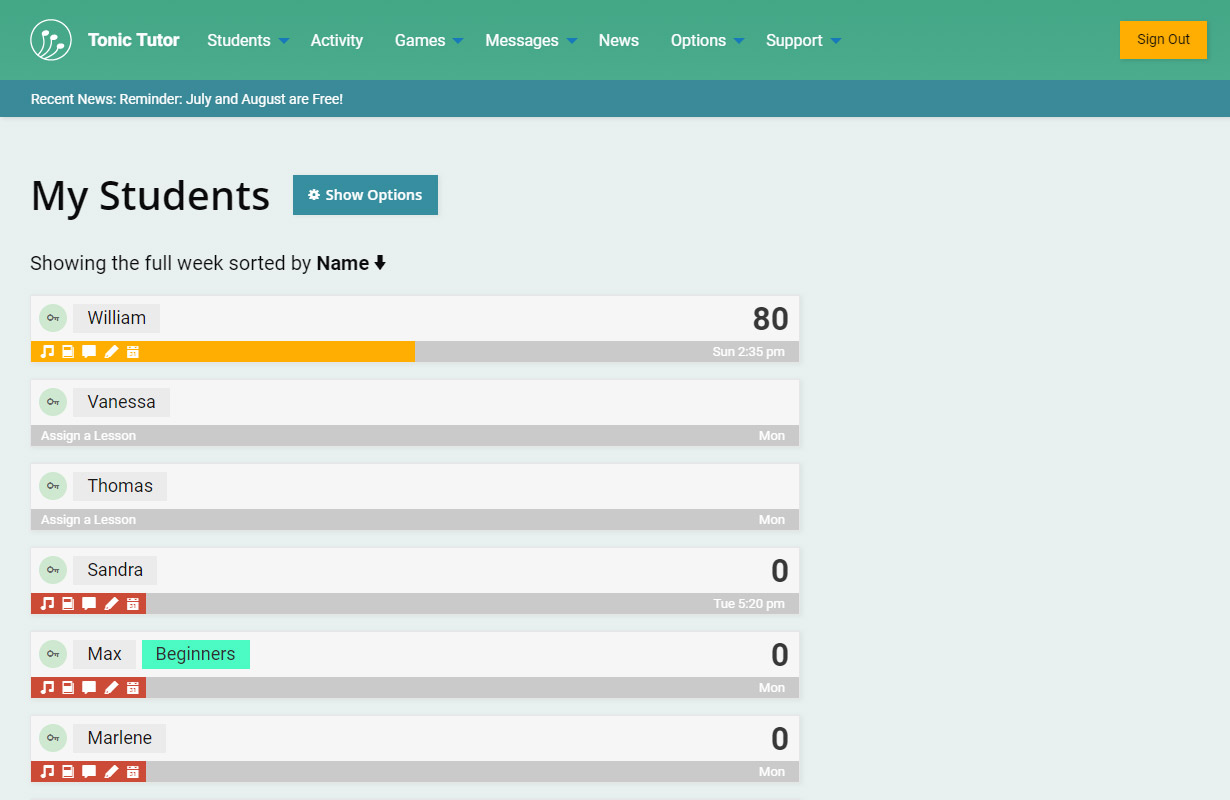
So now that you know how to add (and remove) students, we can move on to the My Students page where you can get an overview of their progress and manage them. Fun!
View the next tutorial: The My Students Page