
1/21
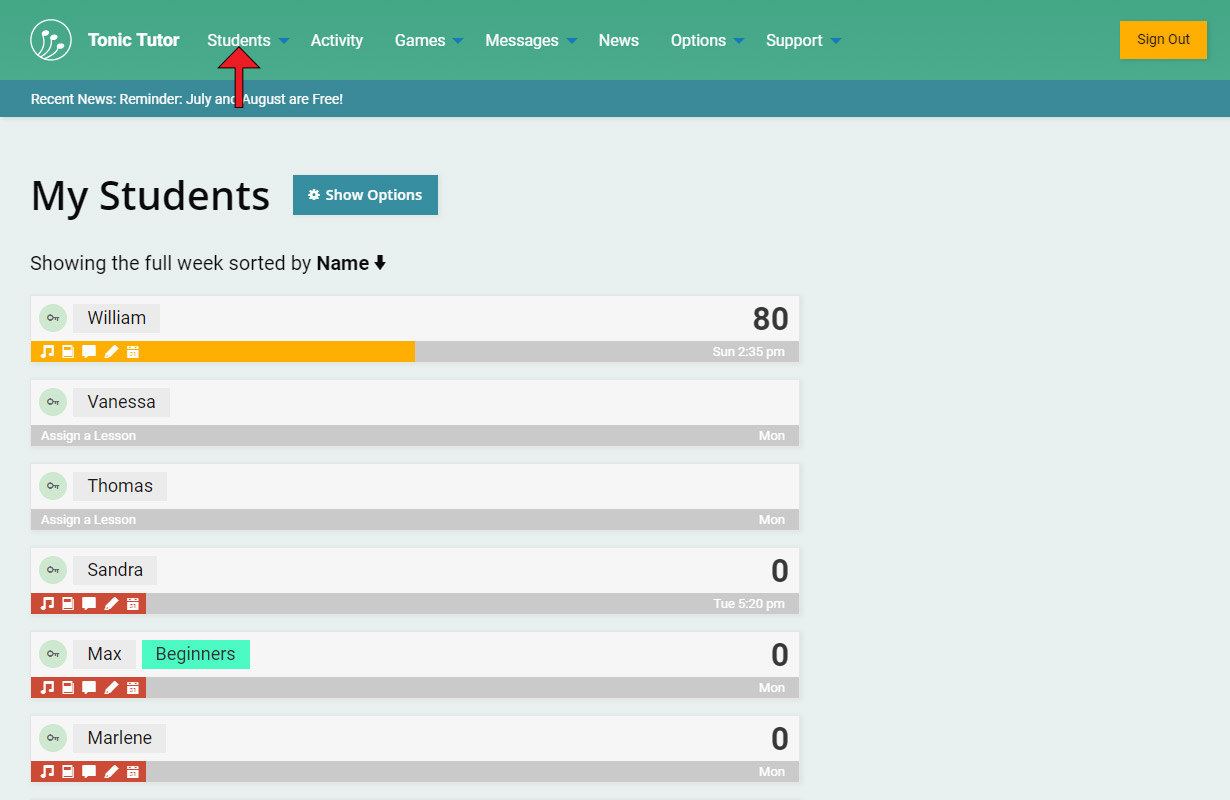
The My Students page is the nerve centre of Tonic Tutor where you can manage all of your students and get an overview of their progress. It's the first page you'll see when you sign into your account (after you've added some students). Clicking or tapping on the Students link in the main menu will return you to the My Students page (you don't need to select anything from the menu that appears when you hover over the Students link, the main link will always link to the first item in the sub-menu which is the My Students link).
On the My Students page, you should see a list of the students you've added. If you haven't added any students yet, why don't you go do that now? Don't worry, we'll wait for you. Once you have some students, buckle in, we have a lot to go through, but once this tutorial is finished you should have a good idea how to leverage this page to make your time on Tonic Tutor much more efficient.
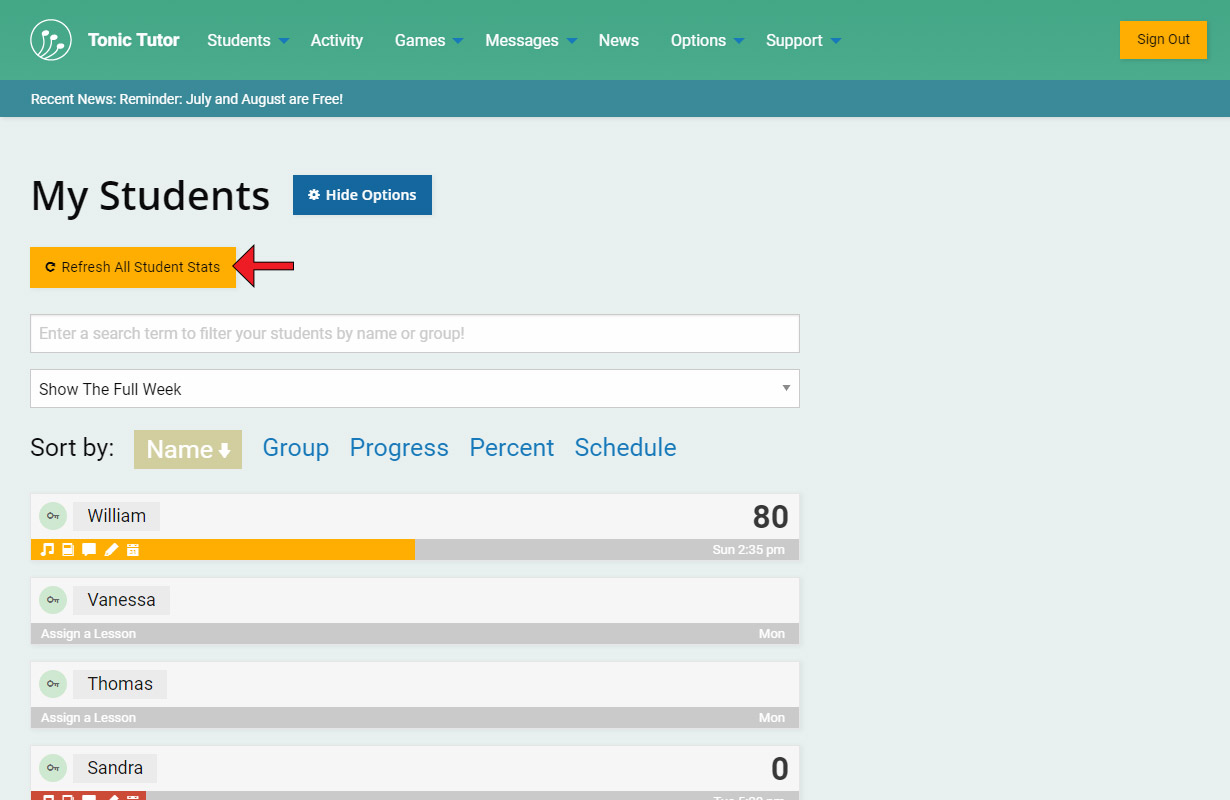
At the very top of the page next to the title is a blue button. It allows you to hide and unhide the display options for the page. If the button is labeled Show Options, click or tap on it so that you can see the options as we go through them.
The first item in the options is a yellow button labeled Refresh All Student Stats. When you sign in to your account after some time has passed, your students' lesson scores and progress will be updated, and it will update again anytime you return to the page while signed in as long as five minutes have passed. This button allows you to manually refresh all of your students. If you want to see exactly where everyone is, this button will give you real time results.
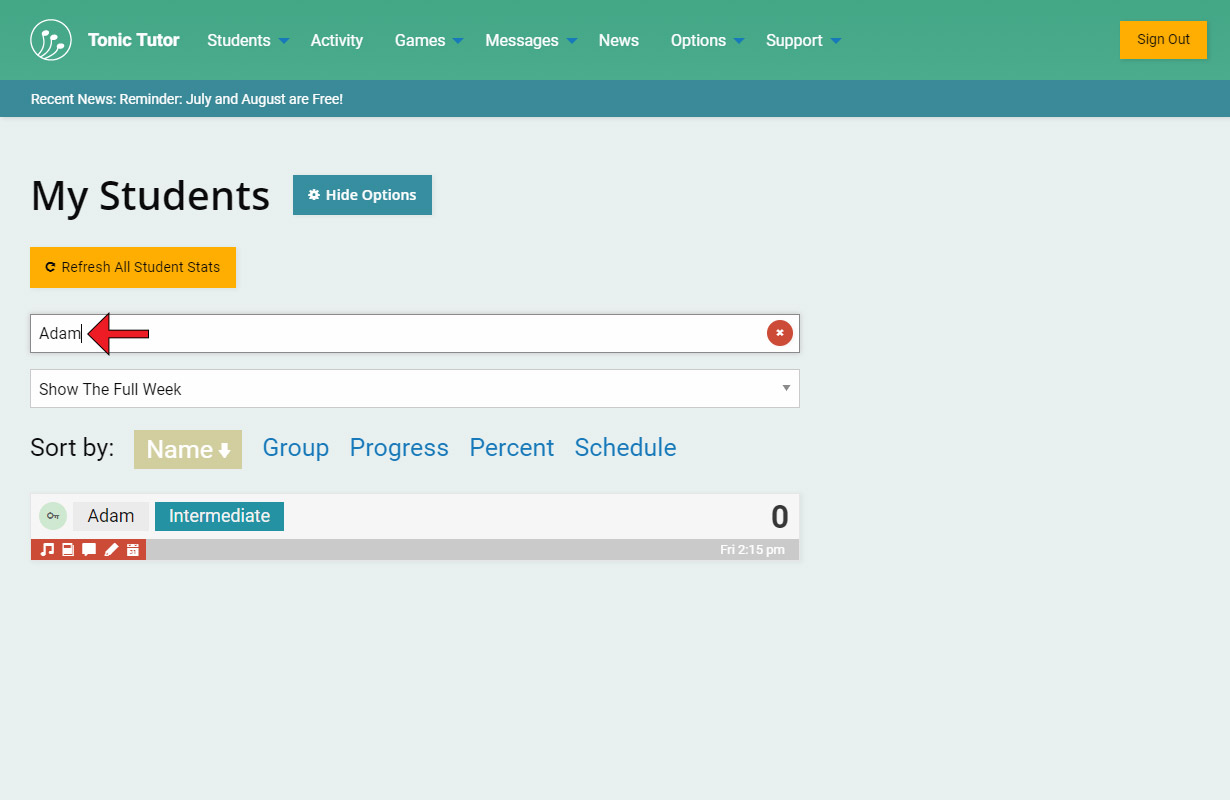
The next option is an input you can use to filter the list of students. Enter a student or group name and watch your list shrink! You don't need to enter the full name, as soon you enter a character the list will start to filter out anything that doesn't match the partial term you've entered. You can see in the screenshot that I've entered Adam into the input, and behold... Adam appears! You can click or tap on the red X icon that appears in the input to clear the filter.
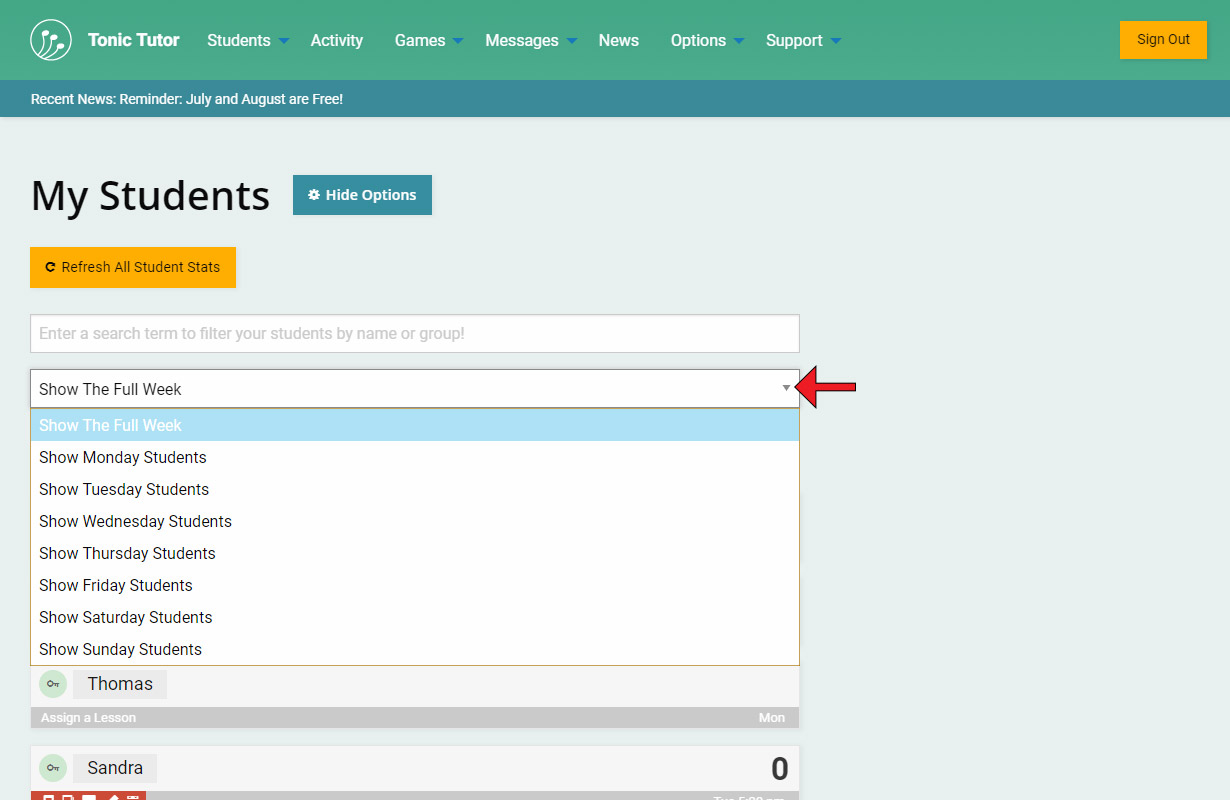
The drop-down menu below the filter input allows you to filter your list so that only students with a lesson for a specific day are shown (don't worry, we'll explain how to assign a lesson time a little bit later). By default, it's set to Show The Full Week. If you have a studio, you can set this to the current day of the week and only the students that are coming for their lesson will be displayed, making things a little bit easier to manage.
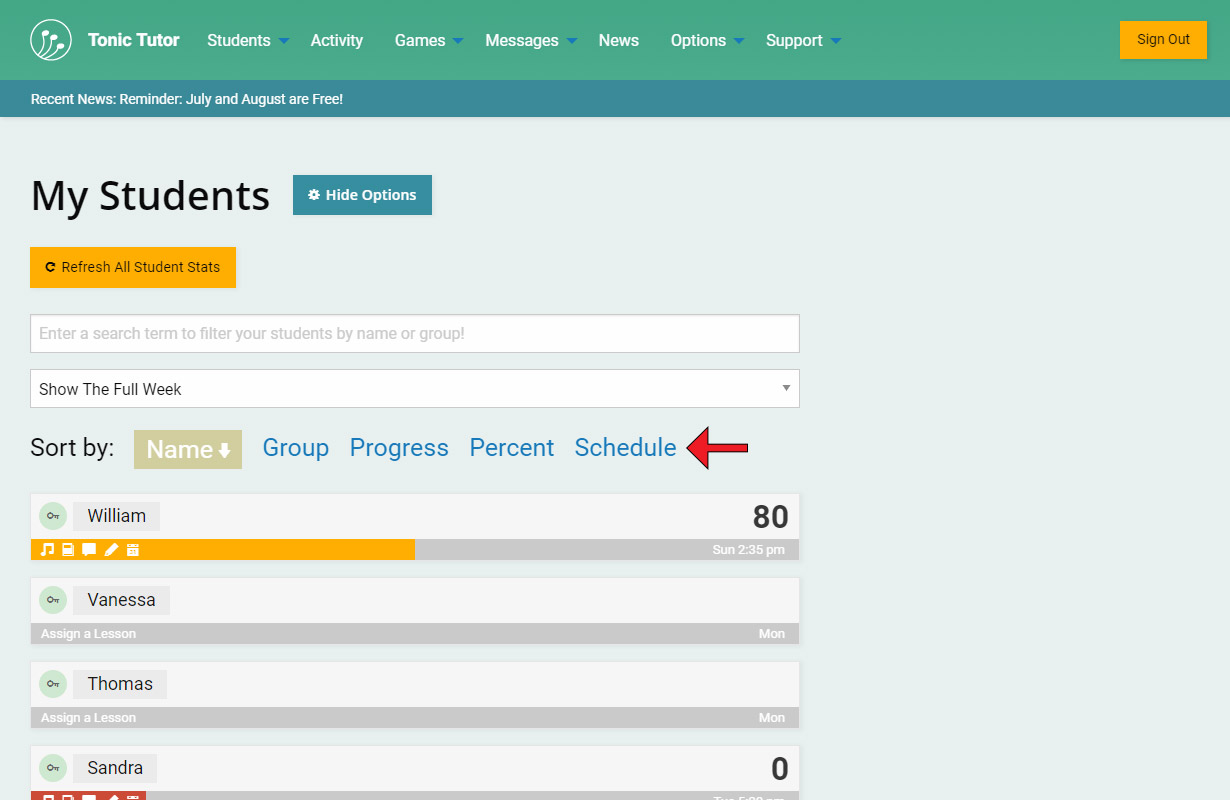
The last option allows you to sort the list of students by Name, Group, Progress, Percent, and Schedule (which is the lesson time you assign them). The active sorting method is highlighted and the arrow shows the order (an arrow pointing up means the list is being displayed in Ascending order, and an arrow pointing down means the list is being displayed in Descending order). Click or tap on any of the options to change how the list is being sorted. If you click or tap on the active sorting type, it will toggle the order. In the screenshot the list is being sorted by Name in Descending order.
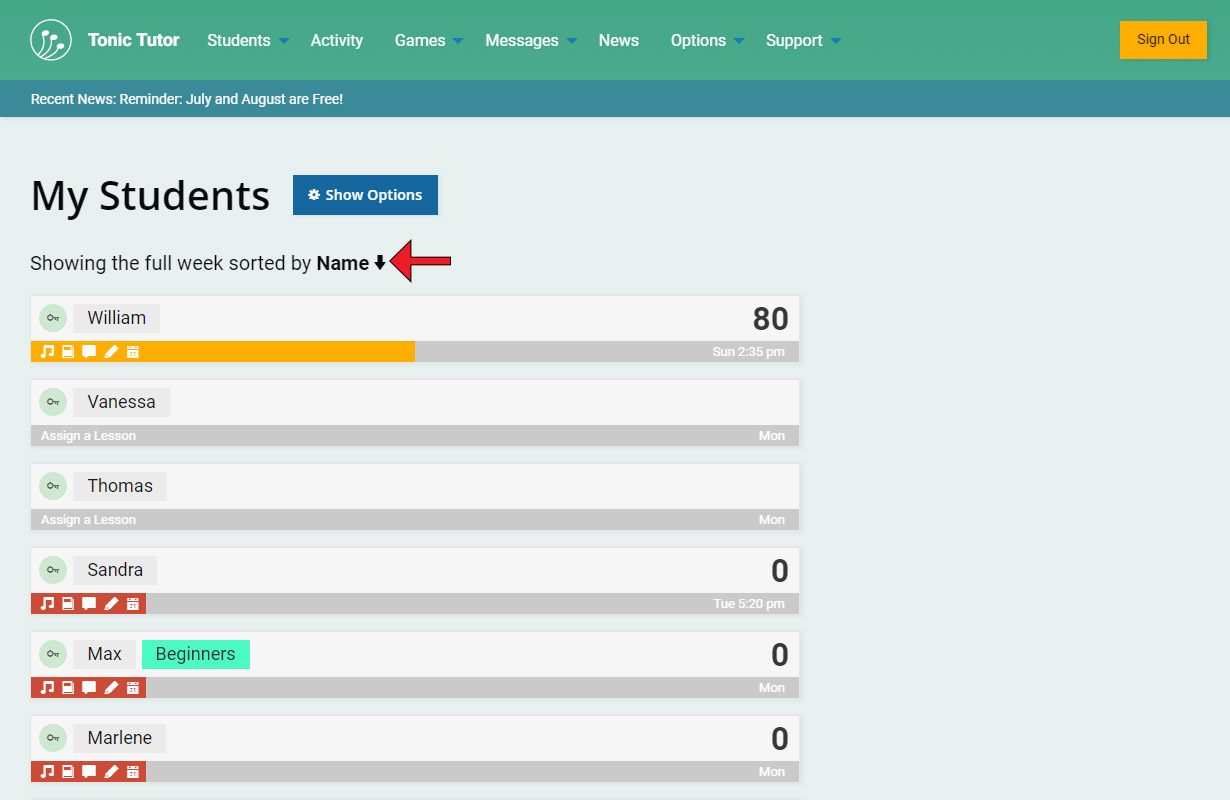
Trying clicking or tapping on the Hide Options button. All of the options are hidden, clearing up the clutter on the page, but some text is displayed that lets you know what the current sorting type and order are.
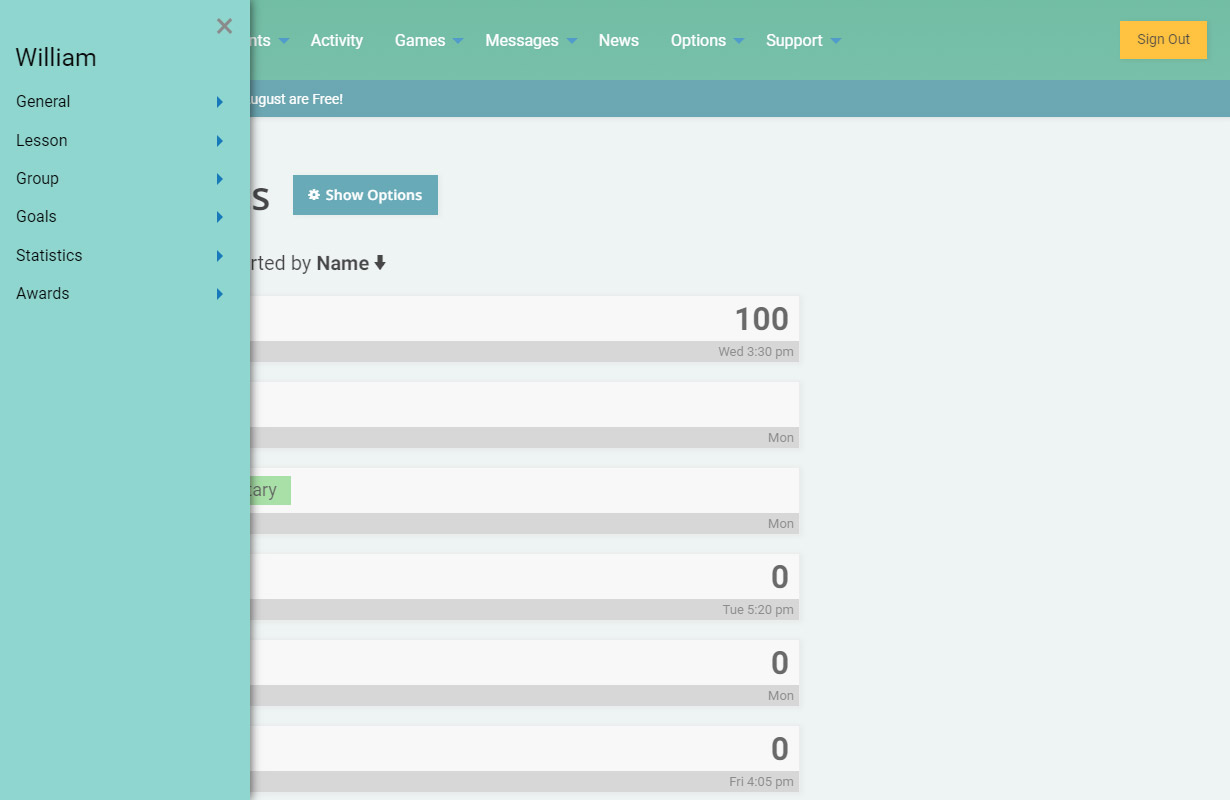
Now that we've covered the options, let's take a look at the information displayed for each student. There's a lot more information available to you than it might seem at first glance, but first let's note how each student has their own individual box with the names you assigned them. If you click or tap on a student's name, a menu will appear with a lot of options. We won't cover all of those options now, but it's useful to know that you can access that menu for each student from the My Students page.
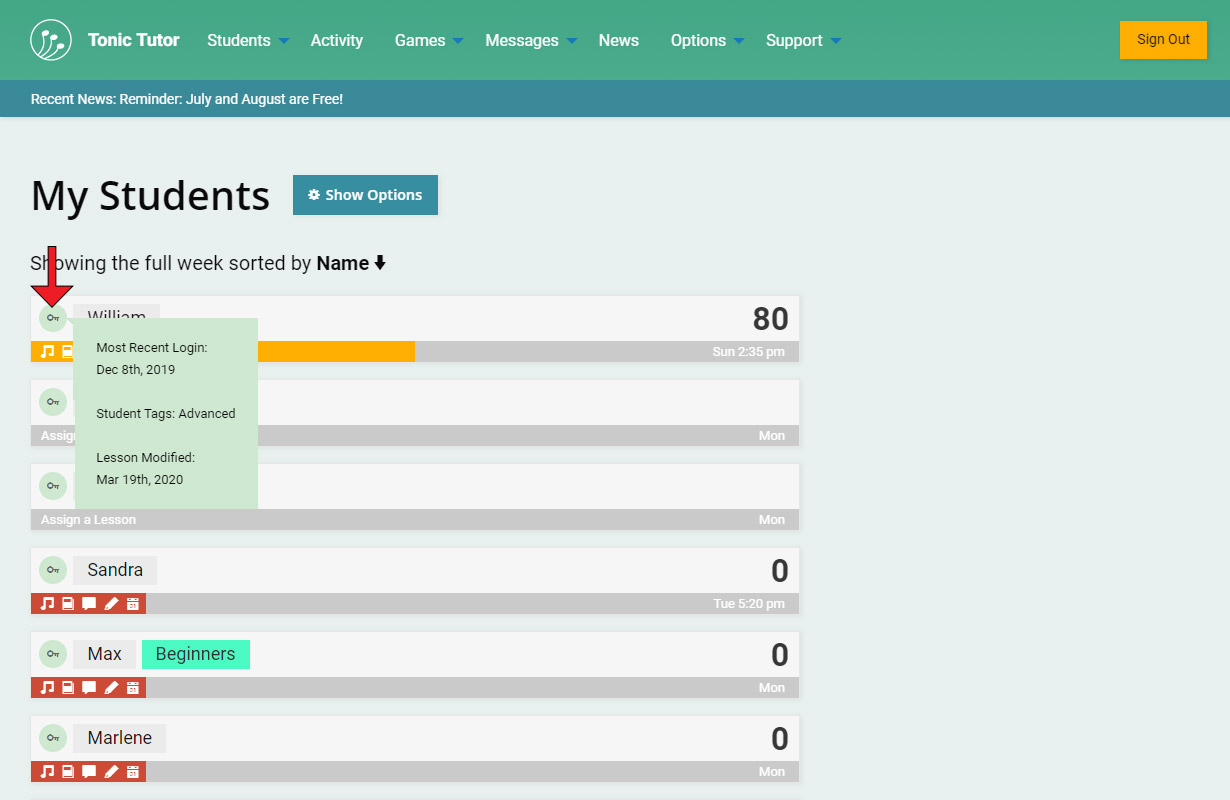
To the left of each student's name is a key icon. If you hover over or tap the icon, the last time the student signed into their account, the date their lesson was last modified, and any student associated with them will be displayed.
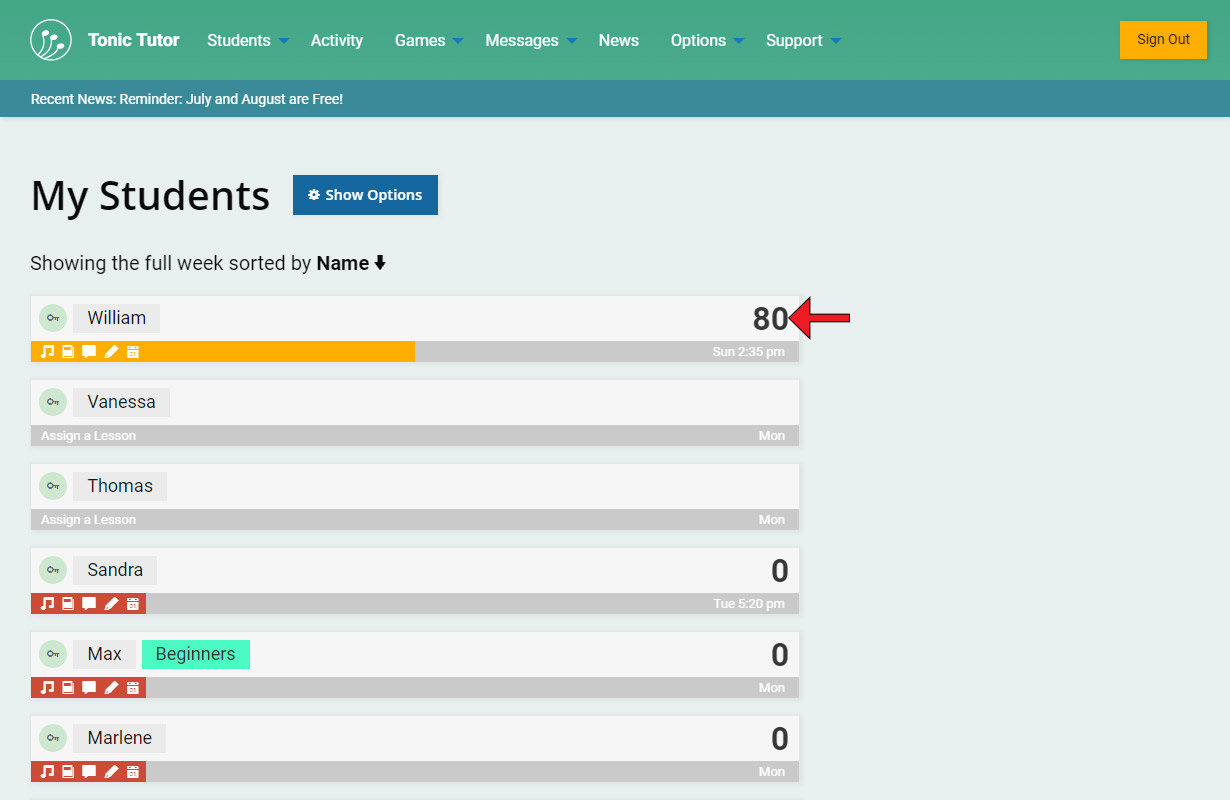
In the top right corner, there's a number: that's the current lesson score for the student. When you sign in or use the refresh button in the options (which we covered in step 4), the current lesson score is calculated and will be displayed here. If a student's lesson isn't completed yet, the score will represent the overall score of whatever games they've completed. In the screenshot you can see that William has a current lesson score of 95 and Wendy has a current lesson score of 0 (which indicates she hasn't started her lesson yet).
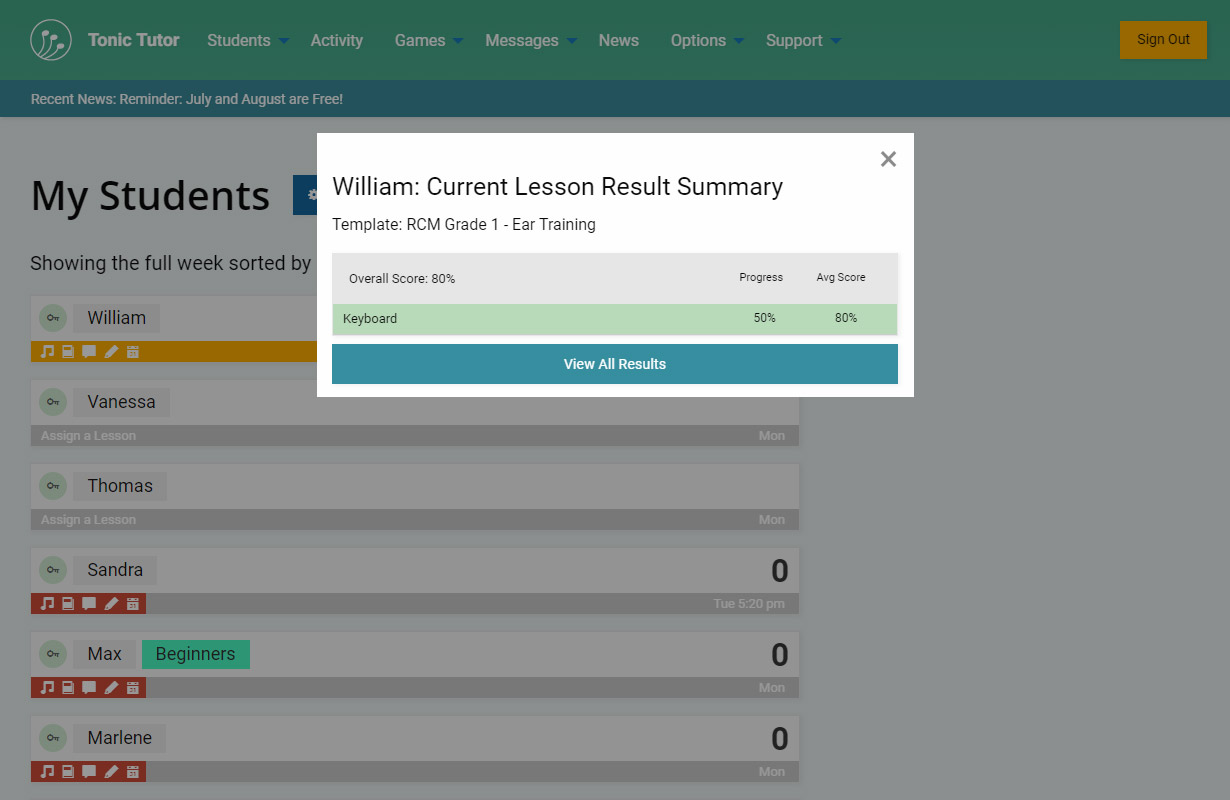
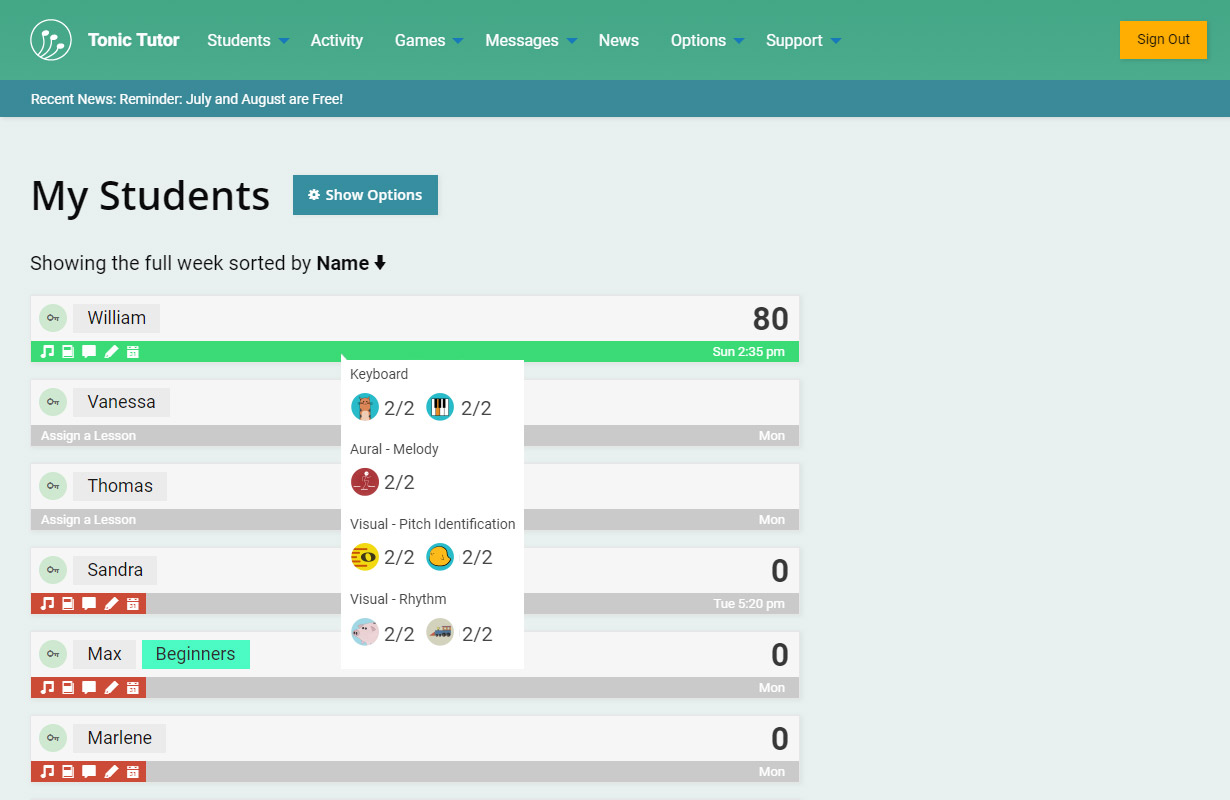
But wait, there's more! Here's the first bit of information burrowed away that you can access with a single click or tap. It's a more detailed summary of the lesson scores by category! You can click or tap on the X icon in the top right corner of the window that appears to close it. You can also select the View All Results button to navigate to the Current Lesson Results page where you can get a detailed breakdown of the current lesson, including individual game results.
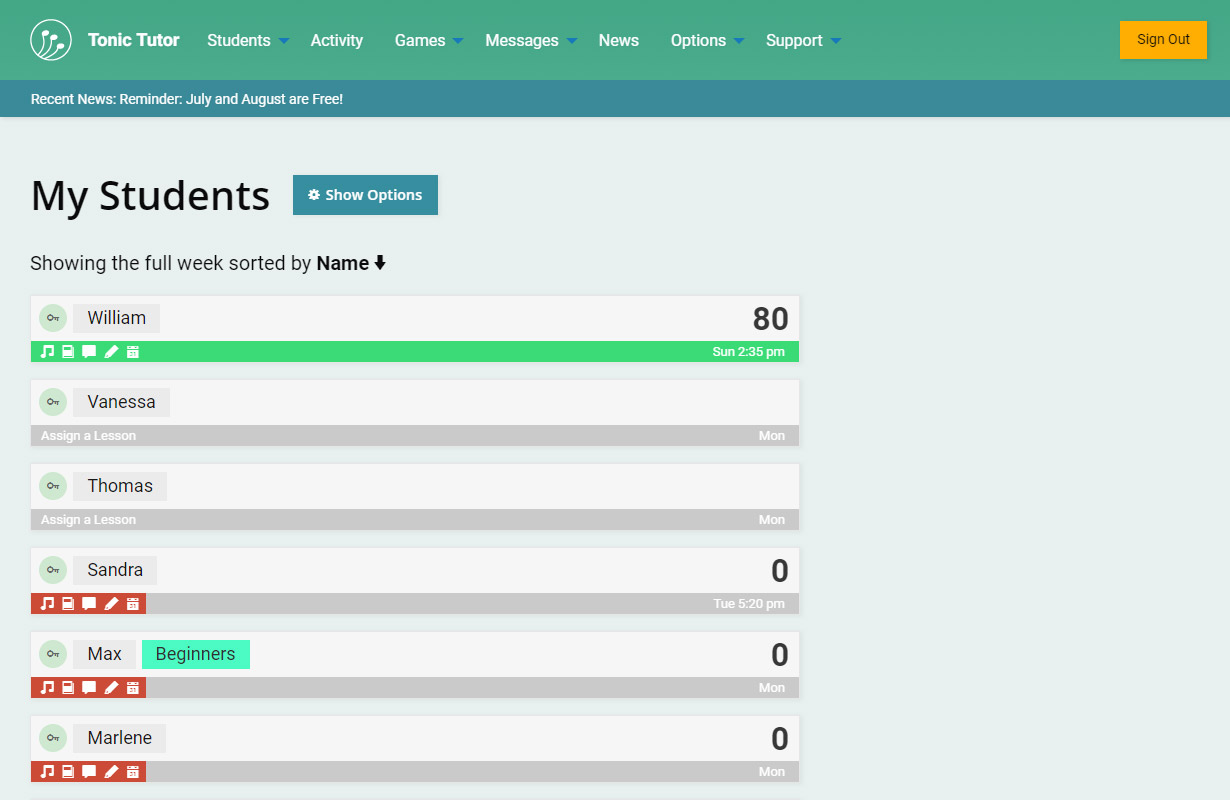
Let's take a look at what's at the bottom of the student box. Most of it is contextual, which means that if a student has lesson what's displayed there will be different than if they don't have a lesson assigned to them yet. If you look at William, the bar is green and it spans the full width of the box, while Max's bar is red and only fills a small portion of the box. That bar is a visual indicator that displays a student's Lesson Progress. William is finished his lesson, that's why his bar is full and green, while Max hasn't started his lesson yet. Even if the lesson progress is 0, we show a bit of red, just to differentiate it from the grey bars displayed for student's that don't have a lesson. The bar can also be yellow and orange, here's how it breaks down:
Red: 0%-25%
Orange: 25%-50%
Yellow: 50%-75%
Green: 75%-100%
And now for more hidden information! If you hover over the progress bar (or tap on it if you're on a touch screen), a summary of the games that have been played will be displayed. The goal with the My Students page is to make as much information as accessible so you can quickly get a sense of how each student is doing without requiring you to leave the page. Our goal at Tonic Tutor is to make your life easier, but some of the convenience we've added to Tonic Tutor isn't obvious, which is why these tutorials can be so useful.
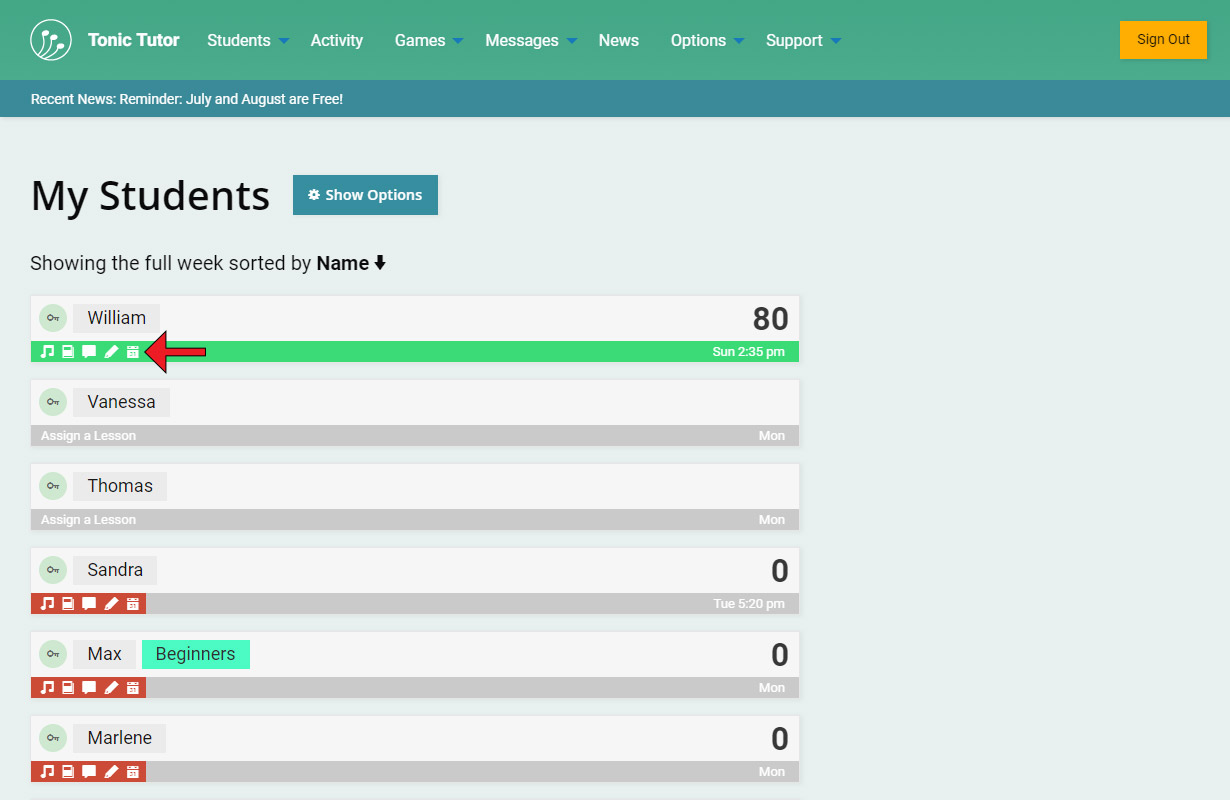
There's a row of icons in the bottom left corner that's displayed for students that have been assigned a lesson. Those are some shortcuts to some of the pages that you'll likely use often. You can access them all from the student menu we covered in Step 9 of this tutorial, but having the shortcuts available can save you a lot of clicking. The shortcuts (in order) are Edit Lesson, Lesson Plan, View Lesson Notes, Create a Lesson Note, and Activity Overview. You don't know what all of that means yet, but don't worry, we'll cover them in other tutorials. For now, it's important to know that the shortcuts exist, you'll likely be using them in the future.
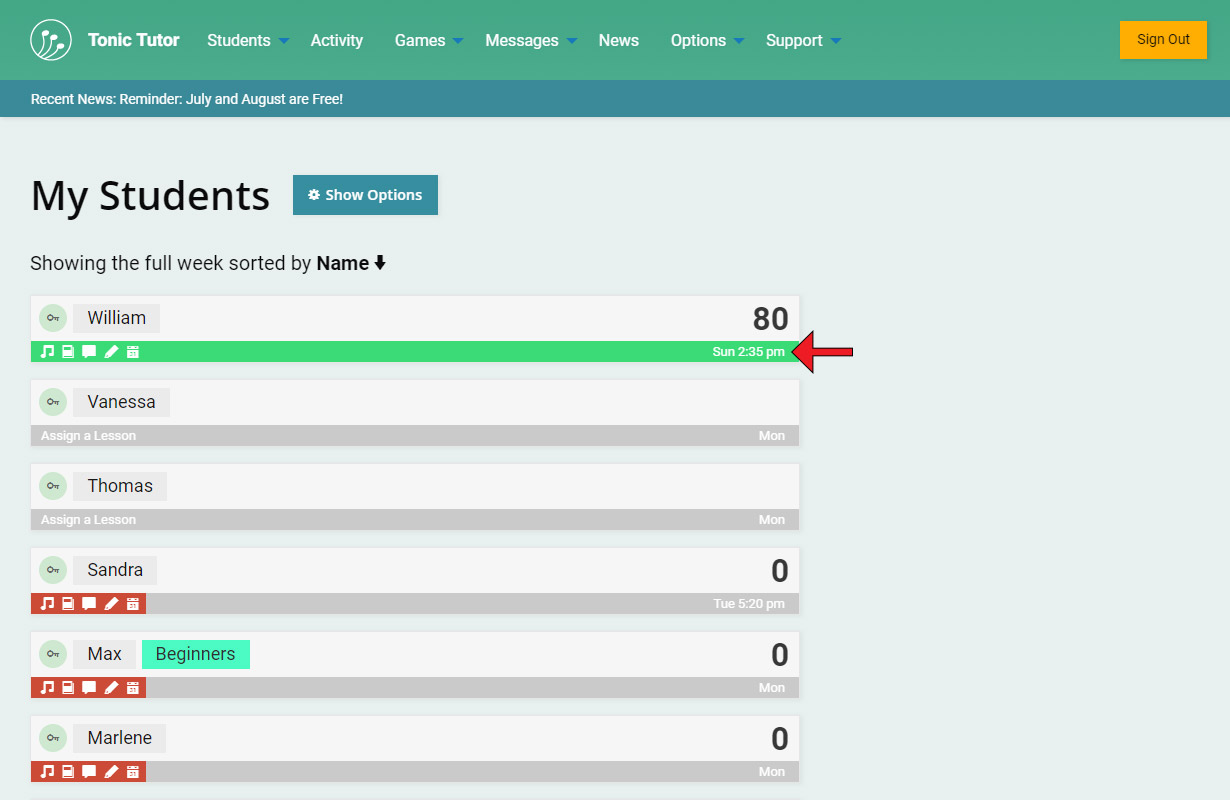
In the bottom right you can find the student's lesson time. This is the time a student's lesson will reset (even if it hasn't been completed). When you create a student, the lesson time is set to 12:01 am on Monday by default, but you can set this to any time you'd like by clicking or tapping on it.
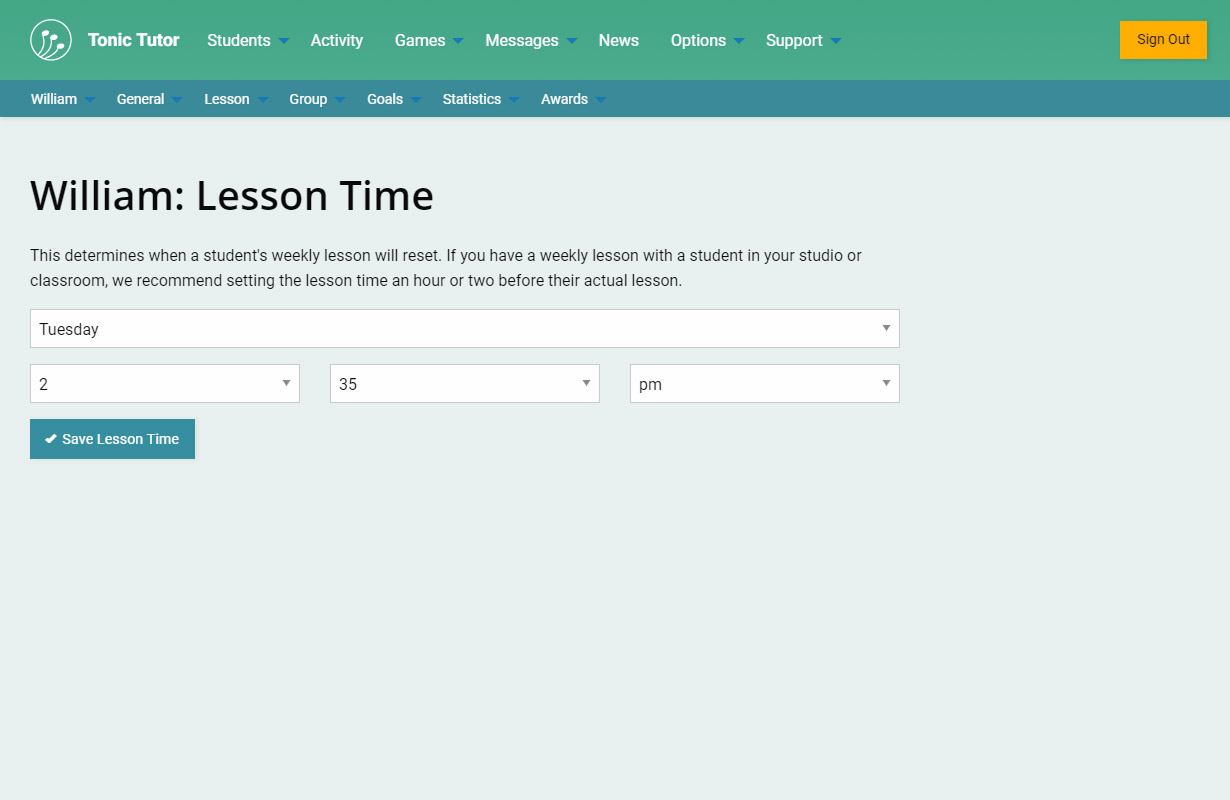
The Lesson Time page allows you to select the day and time. We recommend setting the lesson time a bit before they have their lesson with you so that you can review their results and discuss their progress during their lesson. Once you set the time, use the Save Lesson Time button to save it, and you'll be returned to the My Students page.
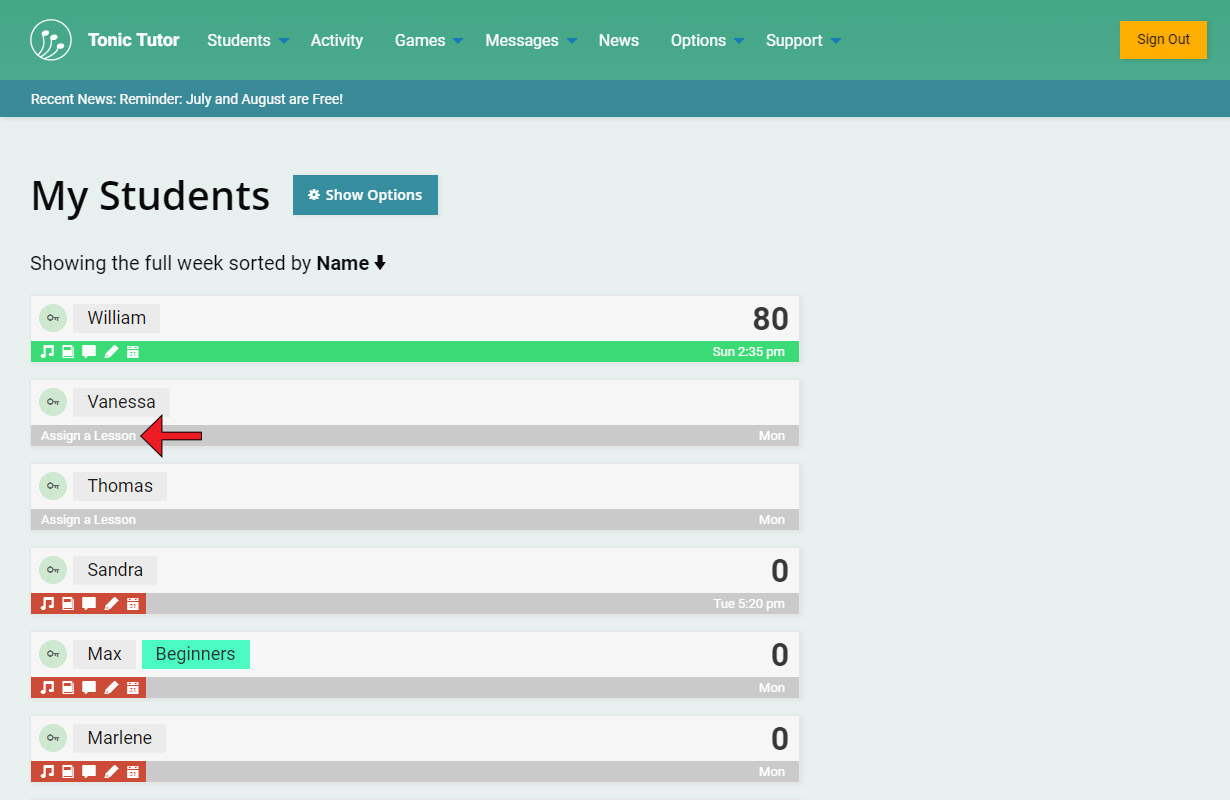
We've gone over everything in the box for students that have a lesson, but what about student's that don't have a lesson assigned to them yet? Their progress bar is grey, and instead of a pencil icon, you'll see a link that will take you to the Assign a Lesson page (you can find out more about lessons and how to assign them in the Lesson tutorials. If the student is part of a group that doesn't have a lesson assigned to it, the link text will be slightly different, it will be labeled Assign a Group Lesson. The other thing that's missing is their lesson score (since they don't have a lesson yet, there's no score to display).
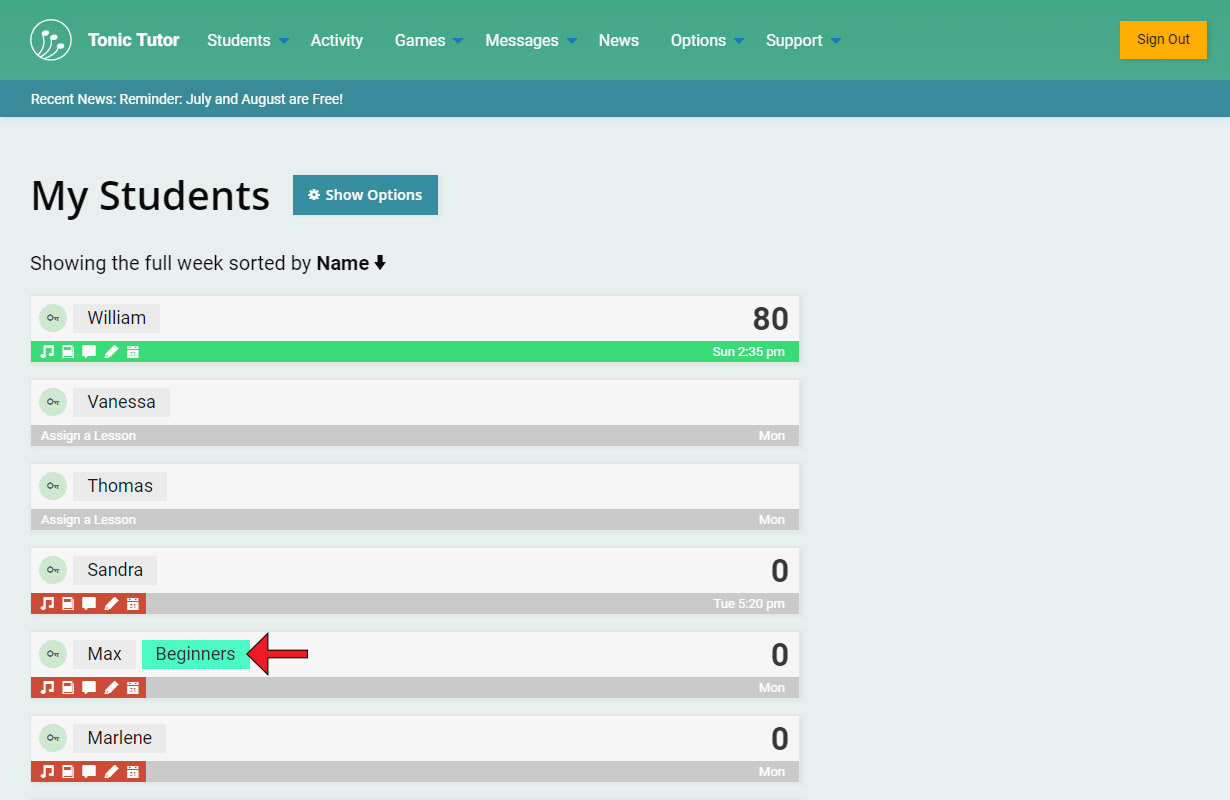
Finally, let's take a quick look at what's different when a student is part of a Student Group. If we look at our student Max, we see there's a coloured button next to his name labeled Beginner.This indicates that Max is part of the Beginner group and instead of having an individual lesson, he shares the lesson with that group. He still has individual lesson scores and lesson progress from the other students in that group, but if you make changes to a group lesson, it will affect all of the students in that group (more on that later!).
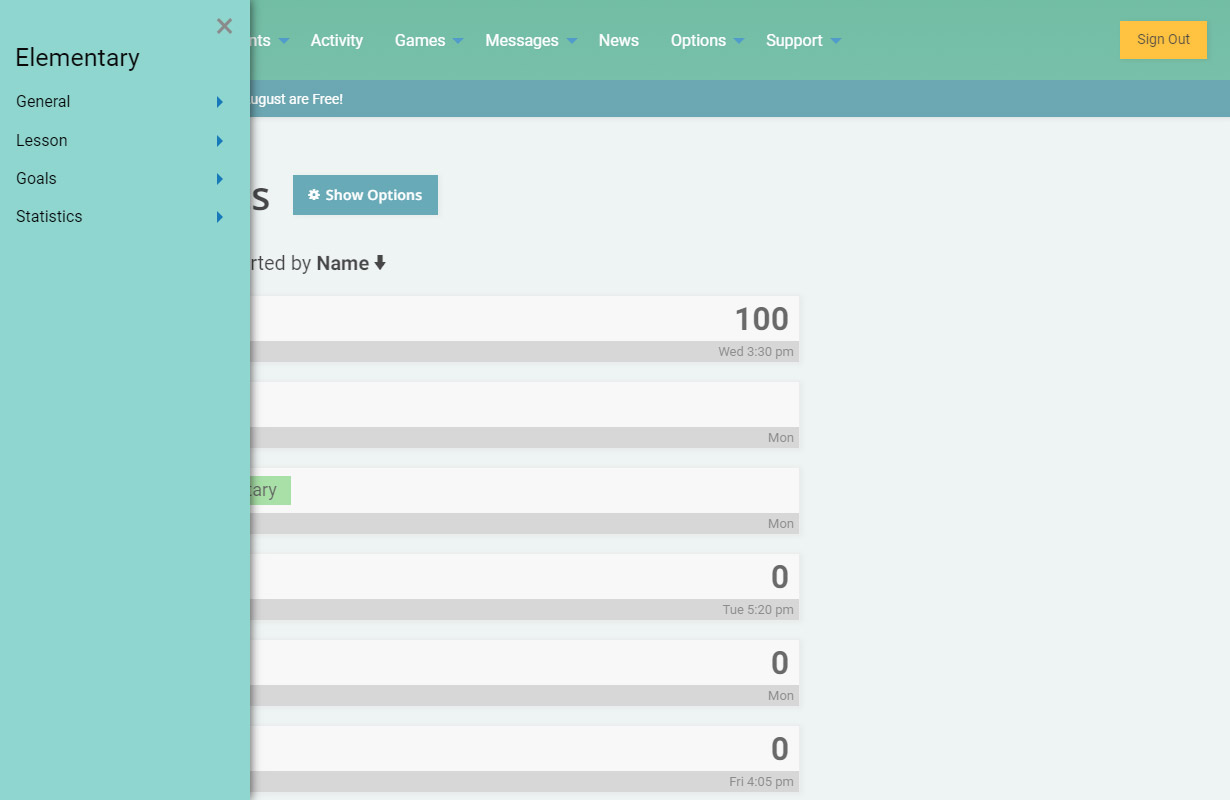
If you select the group button, a menu will appear with contextual options related to the group (similar to what happens when you select a student's name).
Wow, that was a lot to go through! We hope this tutorial makes your time with Tonic Tutor a little bit easier. Knowing how to scan for information on the My Students will save you a lot of time and allow you to use the website more efficiently. With some practice, you'll be able to get a sense of how all of your students are doing in just a few minutes. Exciting stuff!
View the next tutorial: Menus