1/10
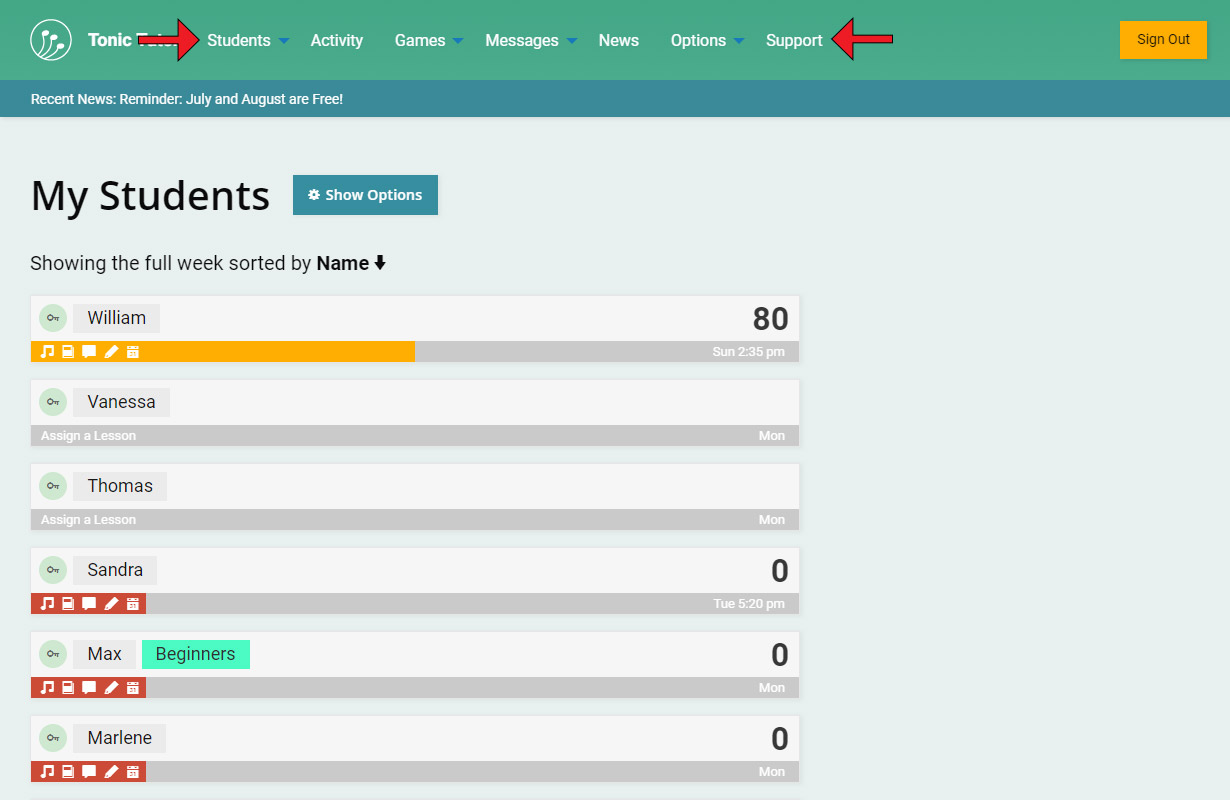
Now that we've gone over adding students and how to view them on the My Students page, we're going to take a quick detour and let you know about how the menus work on Tonic Tutor. The most important menu appears at the top of the page, we refer to it as the Main Menu in the tutorials. You can use this menu to navigate Tonic Tutor &emdash; whether you want to view your list of students, try out some of the games in Freeplay, make some changes to how Tonic Tutor functions in the Options, or get some help in the Support section, the main menu is what will get you where you need to go.
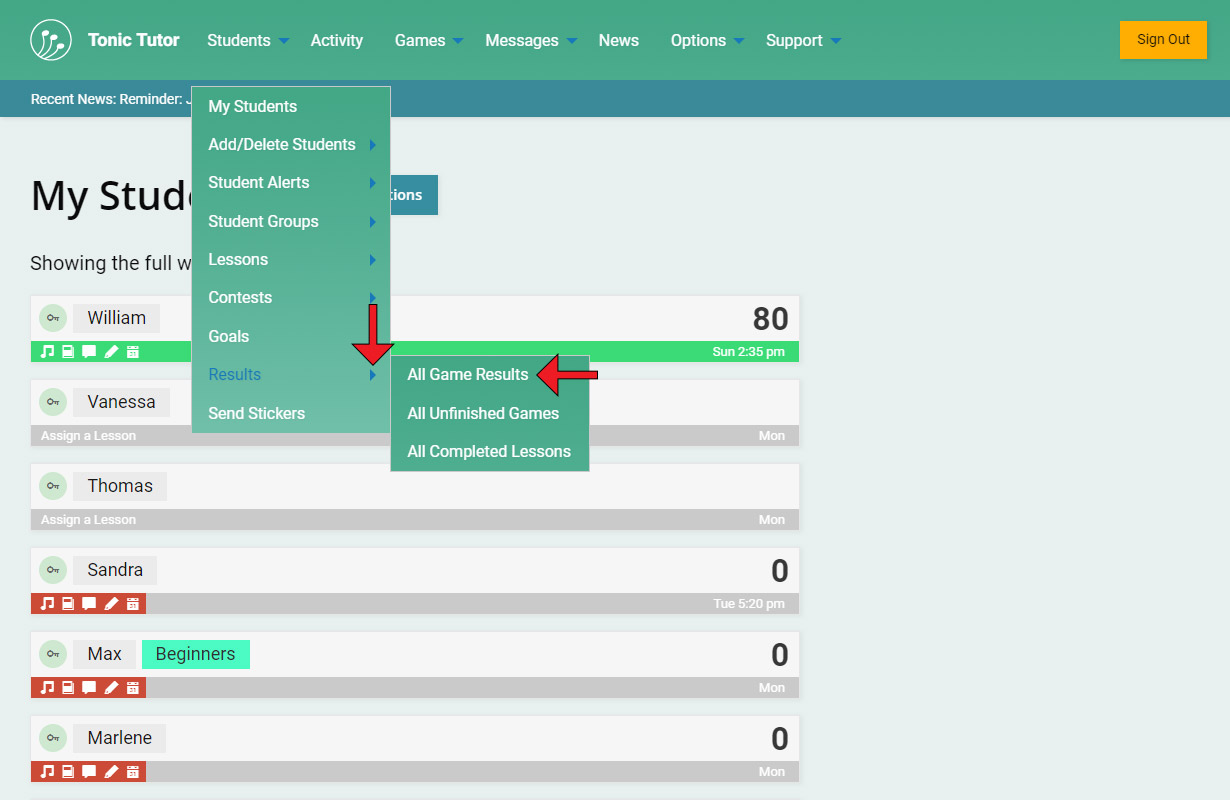
A good rule of thumb when using the menus is that if you see an arrow next to an option in a menu, a sub-menu with more options will appear if you hover over it (or tap on it if you're on a touch device). For instance, if you hover or tap on the Students option, a menu with options related to students shows up. Next to Results option is an arrow, hovering over that option reveals another sub-menu. A useful tip is that selecting any of the options that open a sub-menu will open the first item in the sub-menu. So if you click or tap on Results, you would go to the All Game Results page without needing to select it from the sub-menu. In the tutorials we'll use this format to indicate that we're talking about a link in a sub-menu: Menu Name>Sub-menu Name>Link. Using the menus highlighted in the screenshot as an example, the shorthand that would indicate the menus you would need to traverse to access the All Game Results link would be formatted like this: Students>Results>All Game Results.
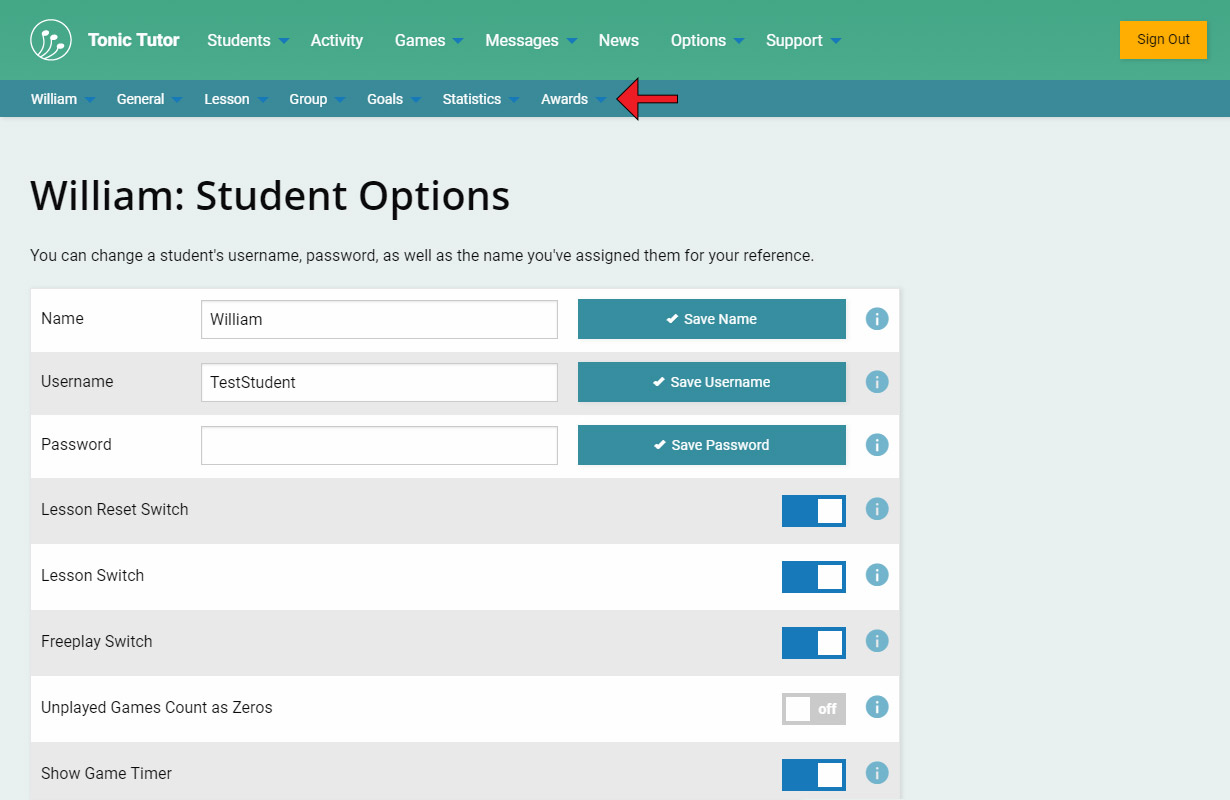
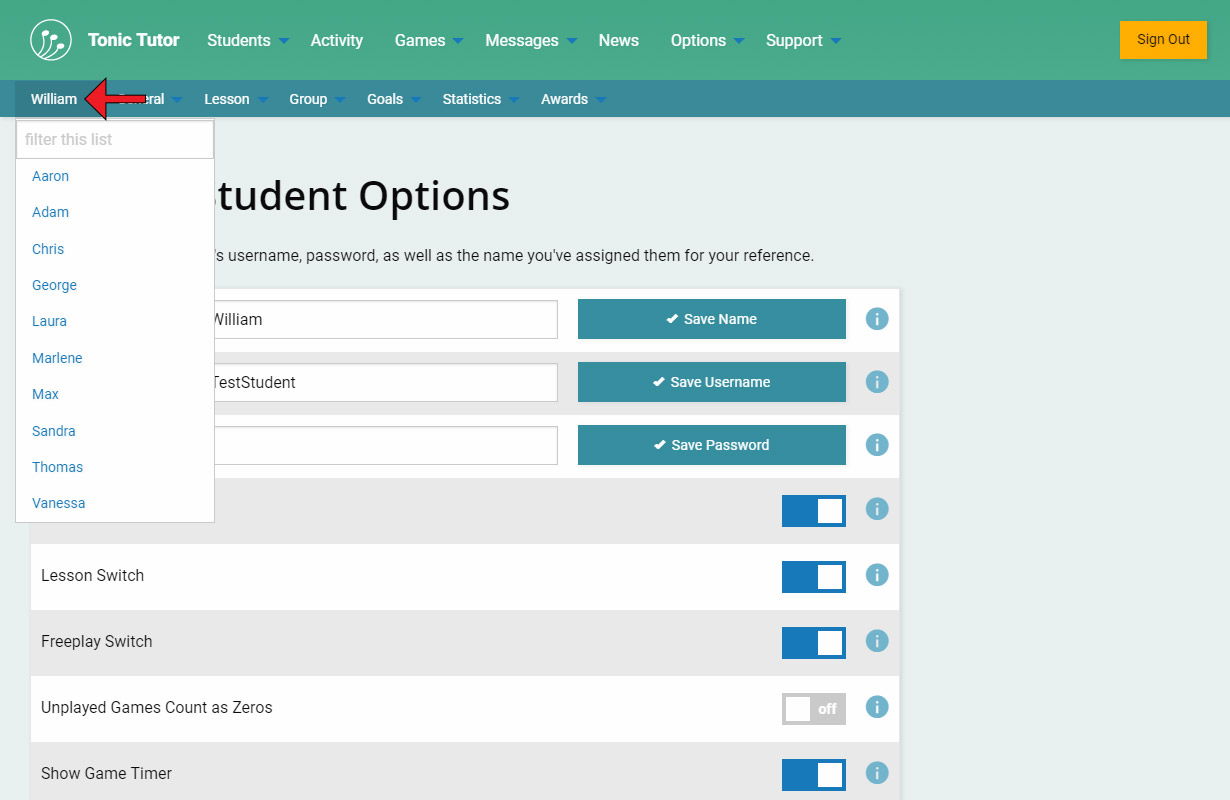
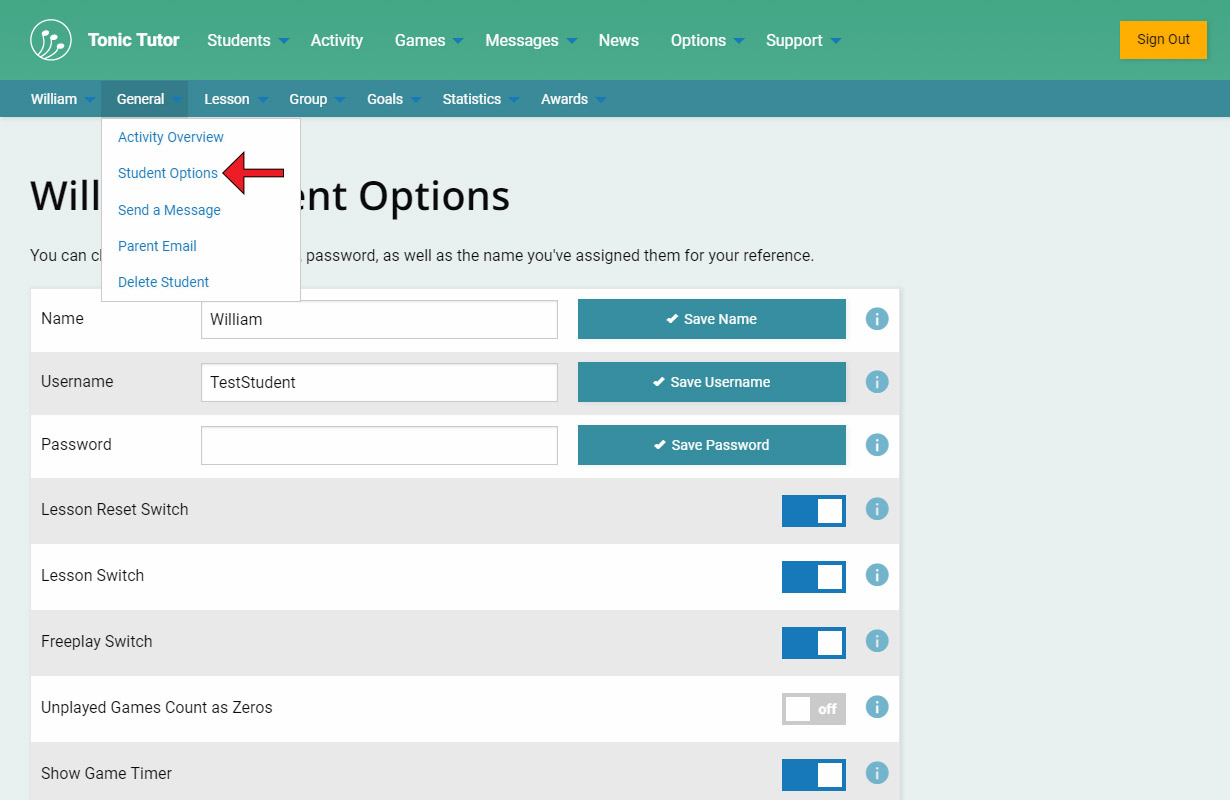
There's another type of menu that can appear below the main menu on some pages which we refer to as a contextual menu. The most important contextual menus appear on any page that's associated with a student or a student group. If you're on a page associated with a student, a blue bar will appear below the main menu with several sub-menus. This menu makes it easy to jump around and work with an individual student. The content of the menu is identical to the menu that appears when you select a student's name on the My Students page.
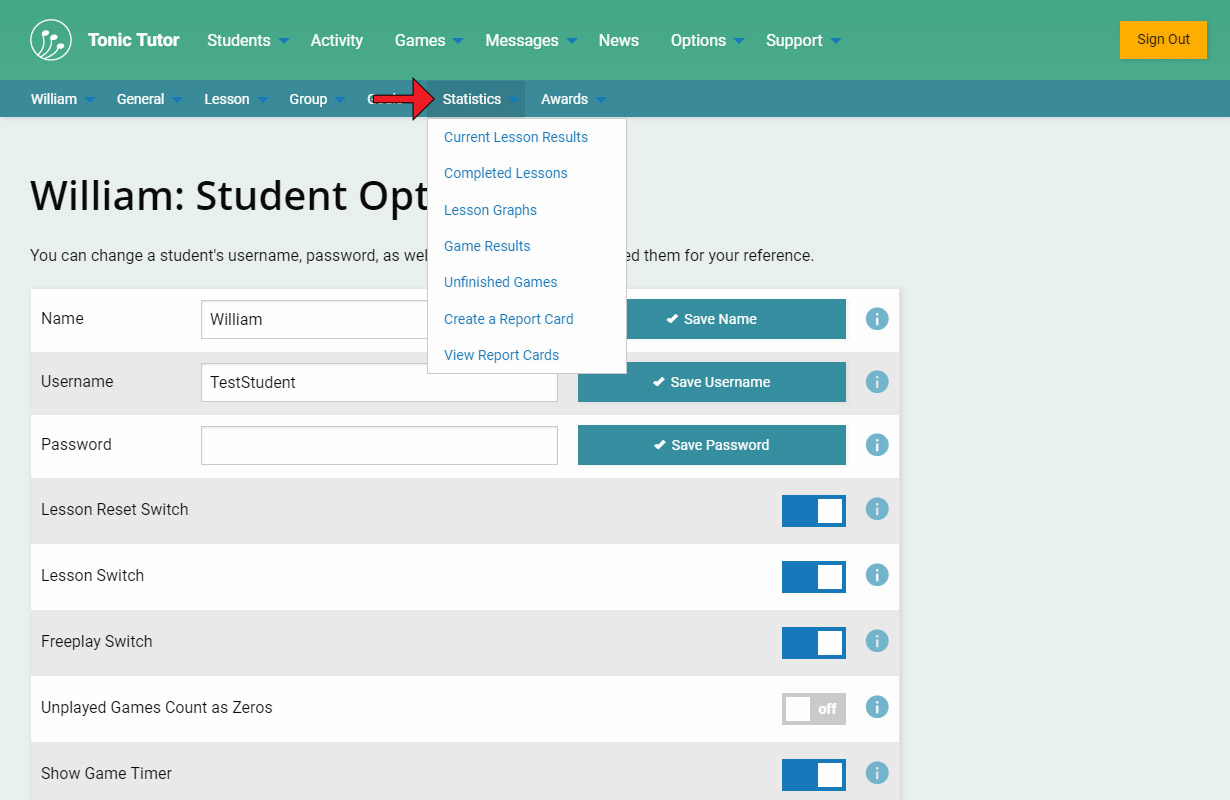
Hovering over any of the menu items that have an arrow next to them will display a sub-menu (it works the same way as the main menu and the menu that appears on the side of the screen on the My Students page). The options available will change depending on different variables. For example, if a student is part of a group, the group menu will have different options than a student who isn't. There are a lot of options there, but no need to worry, everything you see will be covered in upcoming tutorials.
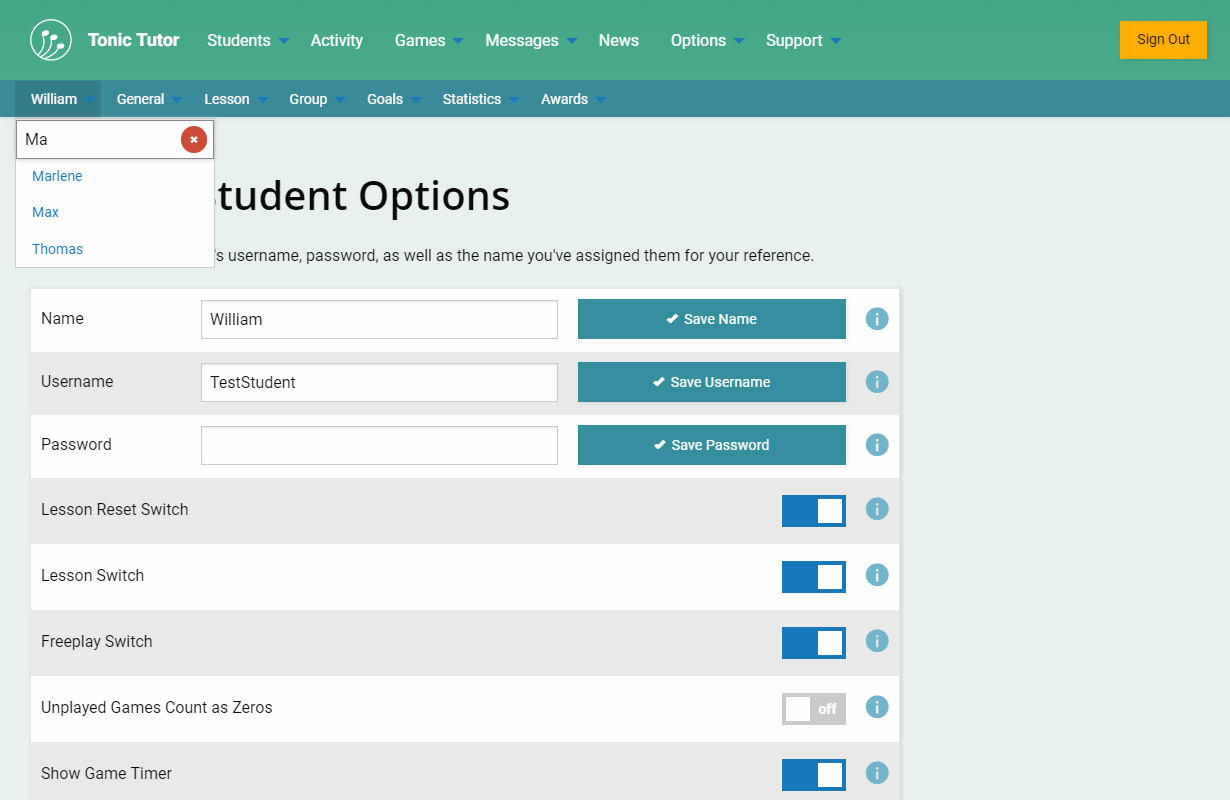
There is one substantial difference between the contextual menu on the My Students page and the menu that appears in the blue bar on a student or group page. If you click or tap on the name at the start of the menu, a list of all of your students will appear if you're on a student page, and a list of your groups will appear on group pages. Selecting a student or group from the list will load the same page you're currently on, but for the student or group you select. This is a HUGE time-saver, allowing you to quickly navigate between multiple students and groups without having to go back to your My Students page to click through each student or group.
There's also the option to filter that list, which is especially helpful if you have a lot of students.
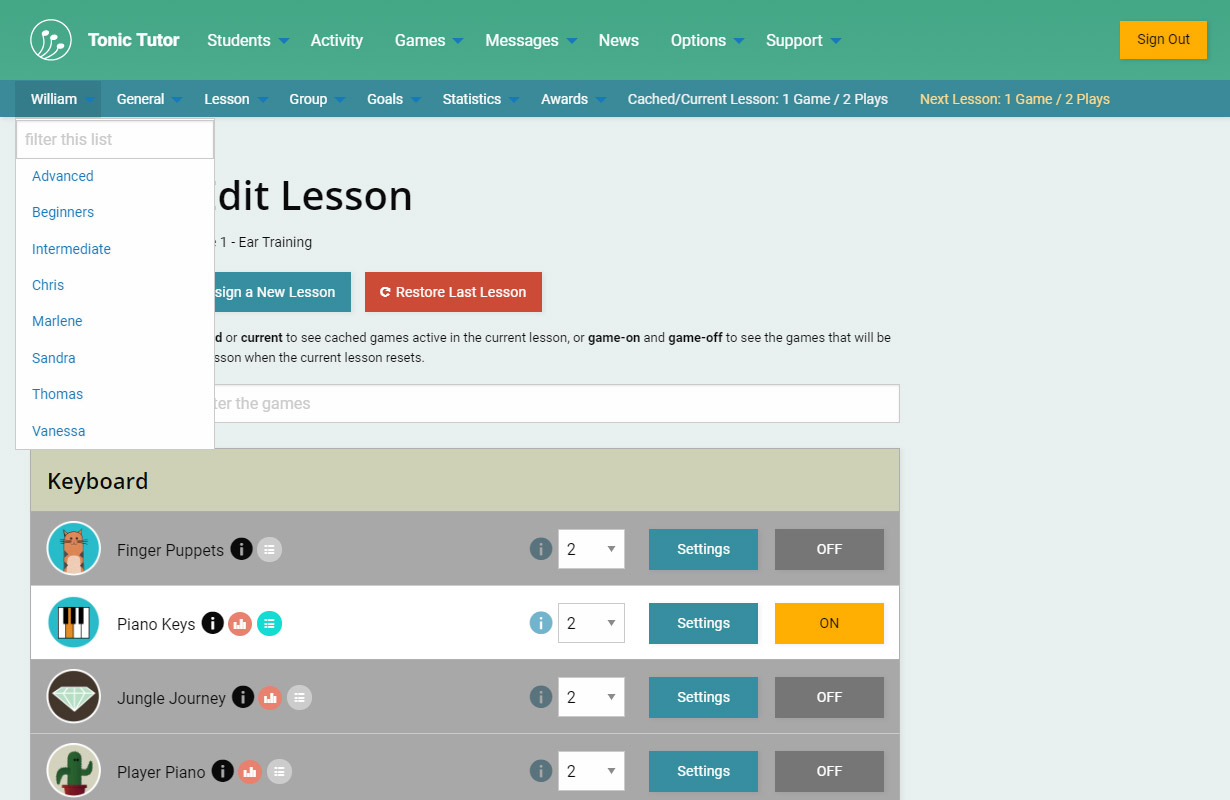
The contextual menu is pretty smart. Since lessons and lesson plans can be associated with an individual student or to a group, the list changes on those pages, removing the students that are part of a group and adding the groups instead. This little menu will save you a ton of time and make your experience with Tonic Tutor much less frustrating, so we encourage you to use it a lot.
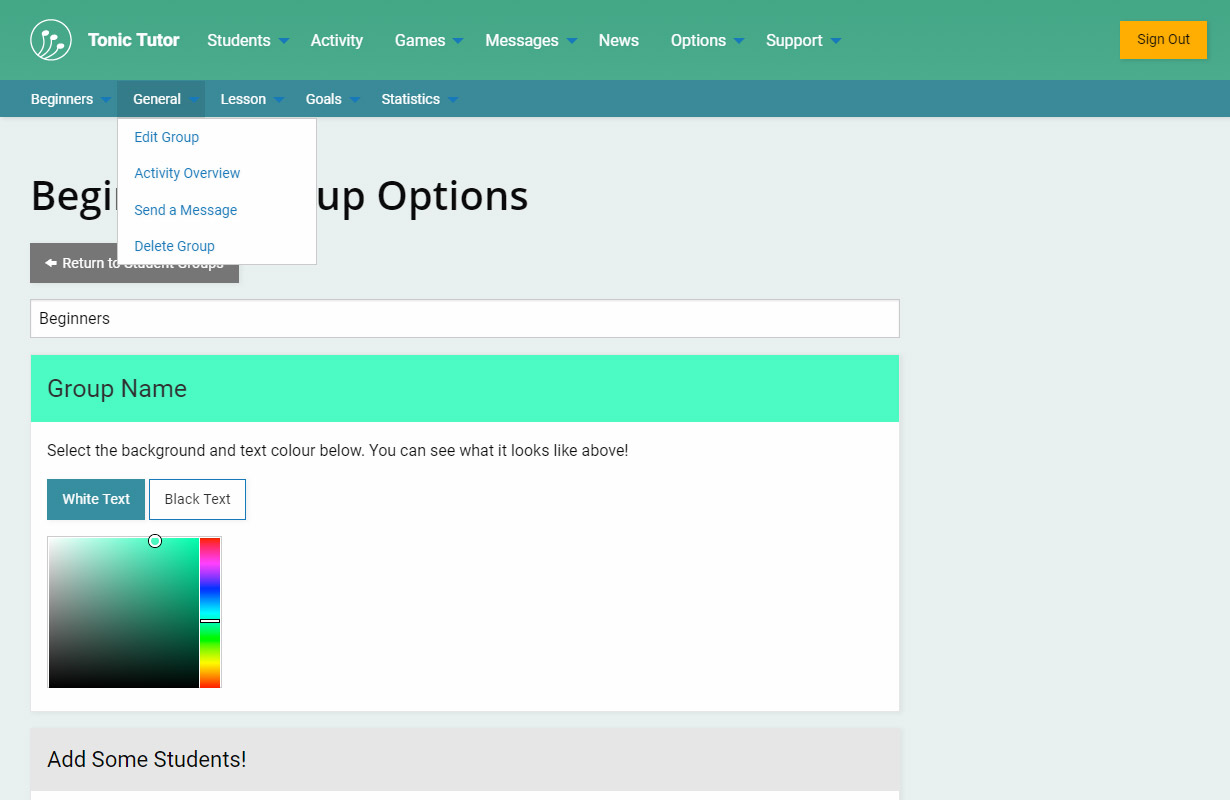
Pages that are associated with a group will have a contextual menu with options that relate to the group being displayed. It works essentially the same as the student contextual menu.
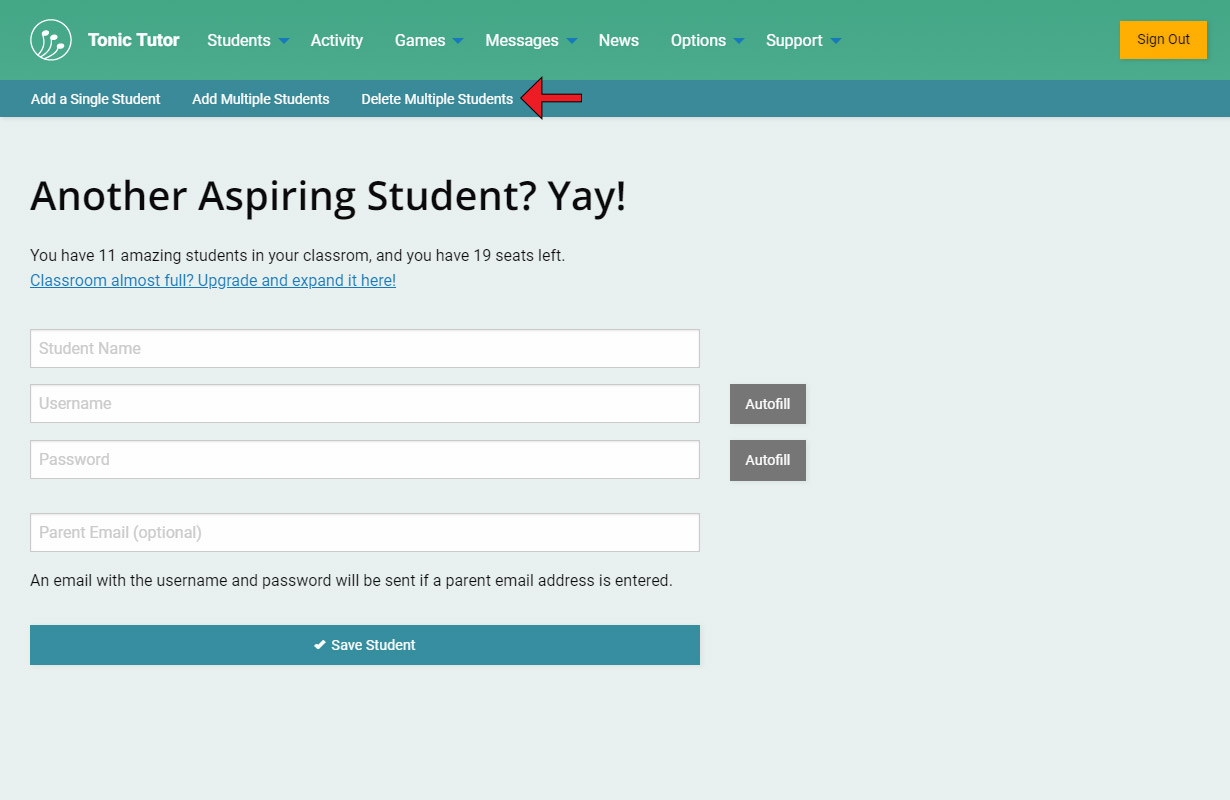
You might notice that some pages that aren't associated with students or groups also have a contextual menu. Going back to the pages associated with adding and deleting students, you can see that the contextual menu displays the same options that you'll find in the Add/Delete Students sub-menu that we covered in the tutorial on adding and deleting students.
Now that you have a better understanding of what contextual menus are and how they can help you navigate Tonic Tutor more efficiently, let's take a look at one of the pages you'll find in the student menu: the Student Options page!
View the next tutorial: Student Options