1/5
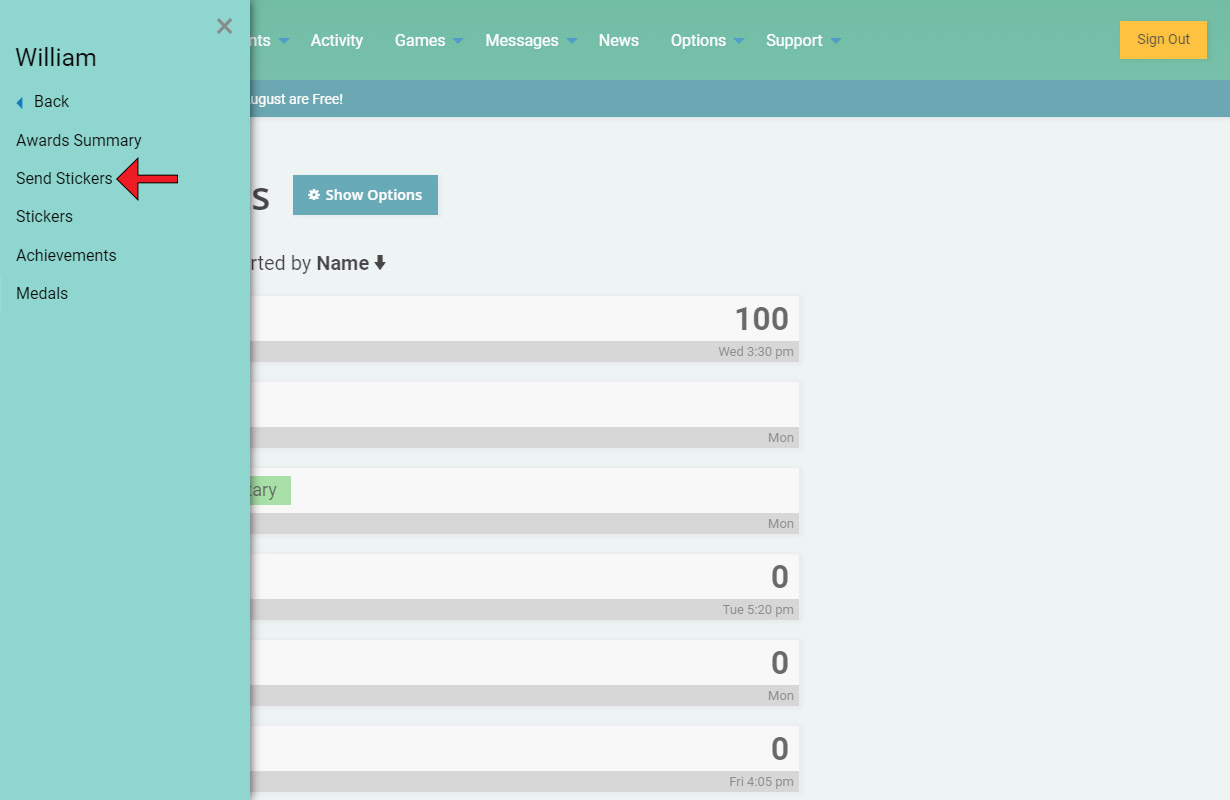
Sending stickers is pretty straightforward. You can send stickers to a single student by selecting Awards>Send Stickers from a student's contextual menu.
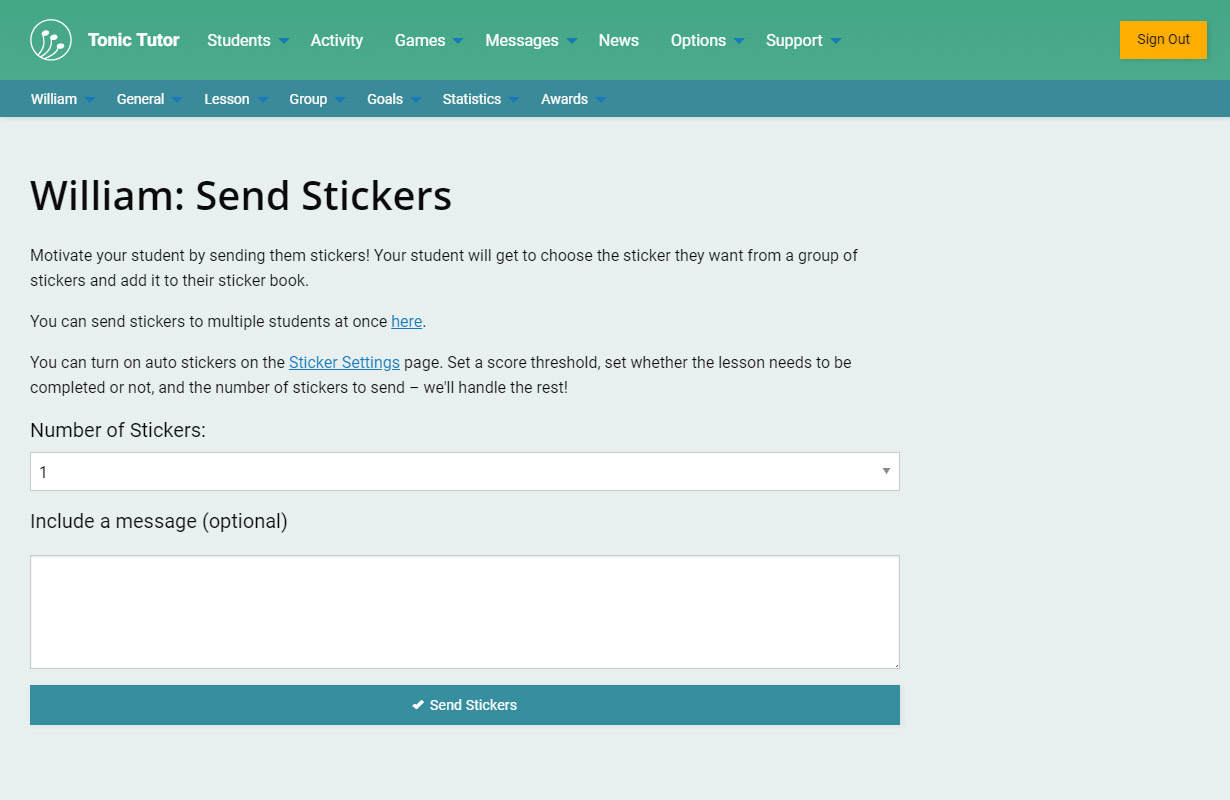
On the Send Stickers page, you can select how many stickers you want to send (up to 9 in total), and add an optional message that will be displayed along with the sticker. Use the Send Stickers button once you're finished and that's it — the stickers will automatically be sent to the student.
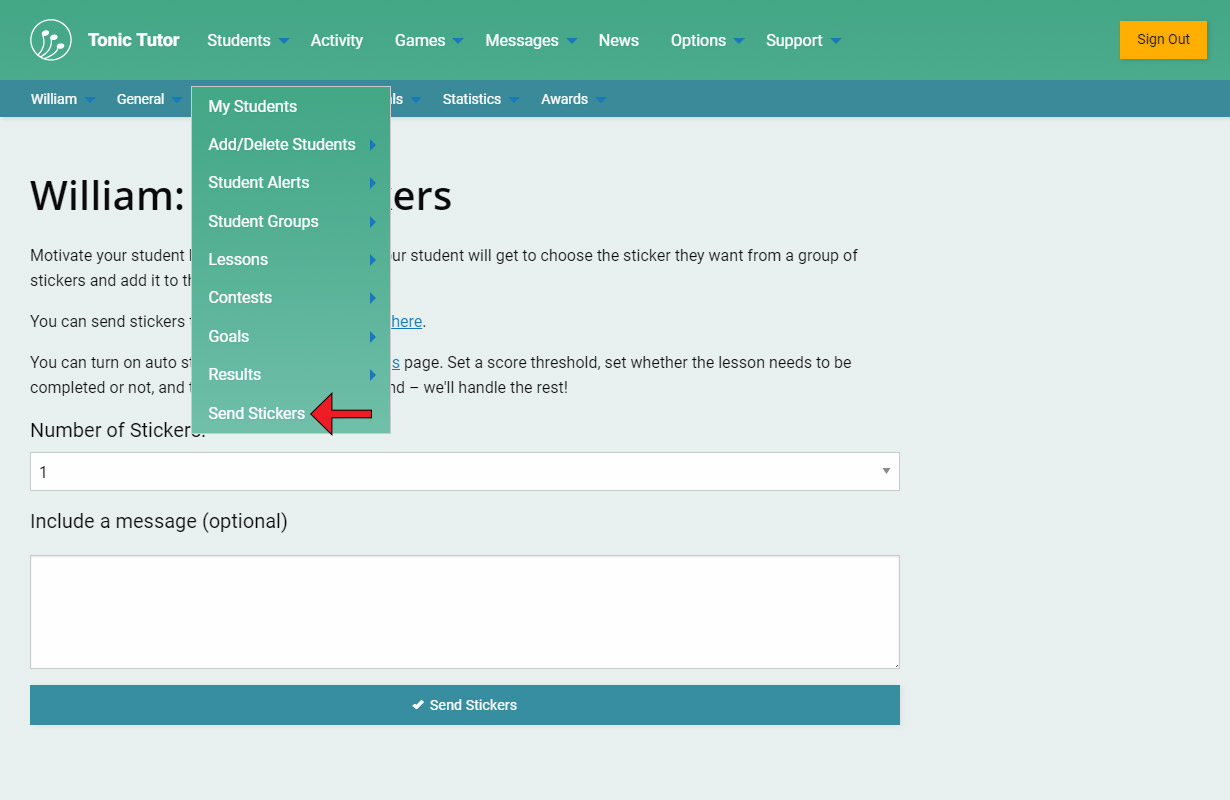
You can also send multiple stickers to multiple students in one easy step, saving you a lot of time. That option is available from the main menu under Students>Send Stickers.
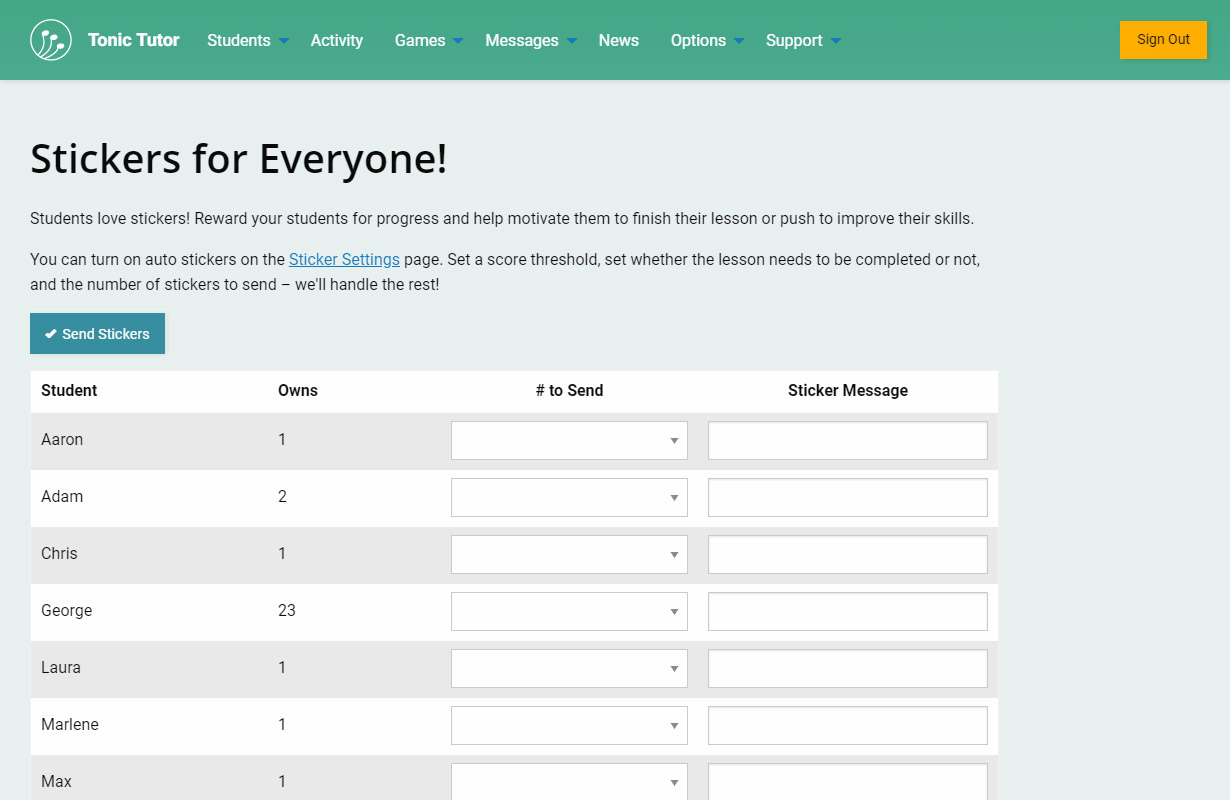
You'll see a list of all of your students with the same options that were available on the page you use to send stickers to a single student. Don't worry, you don't have to send stickers to every single student if you use this page -- if you leave the # to Send drop-down menu empty for a student, no stickers will be sent to them. Another nifty feature of this page is that the total number of stickers a student owns is displayed.
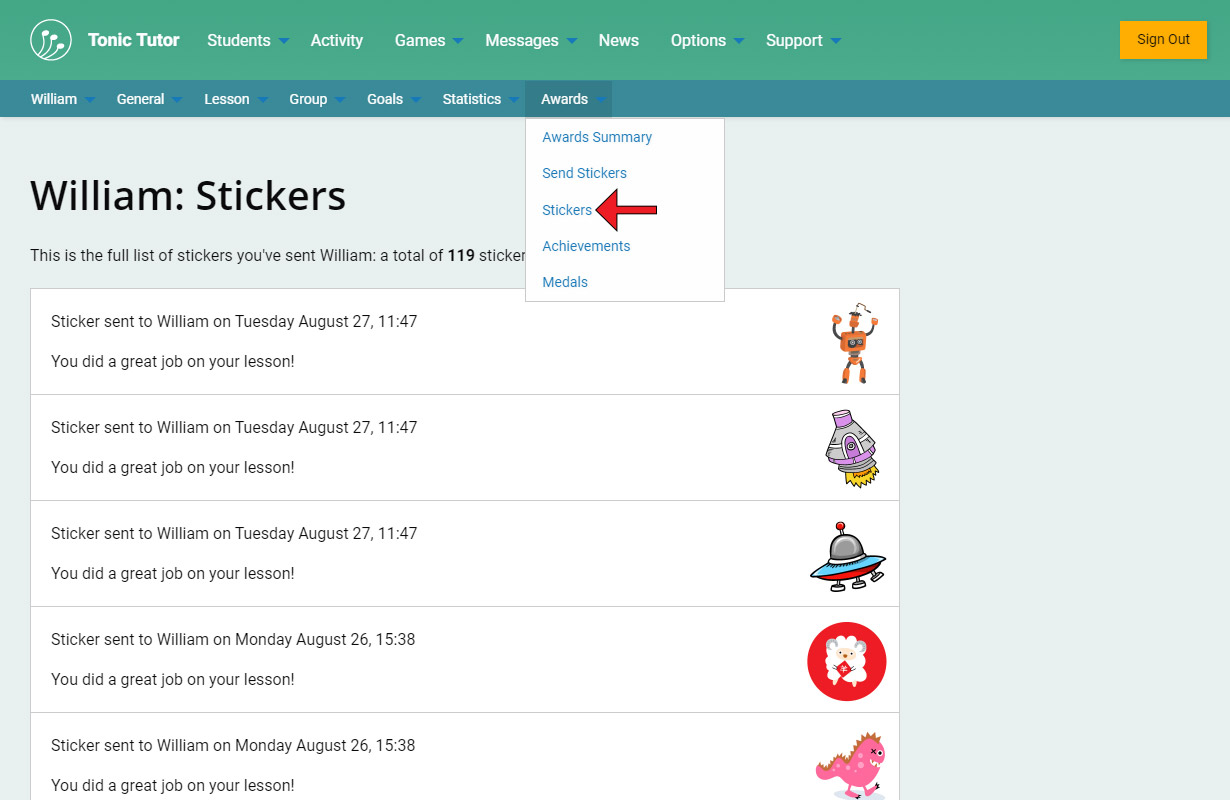
You can use the Awards>Stickers link in the contextual menu to see all of the stickers you've sent, the date you sent them, and the sticker the student selected. What if you don't want to have to remember to check and send stickers every time a student completes a lesson? Good news! You have the option to automate stickers, though you still have full control over when that happens.
View the next tutorial: Automating Stickers