1/9
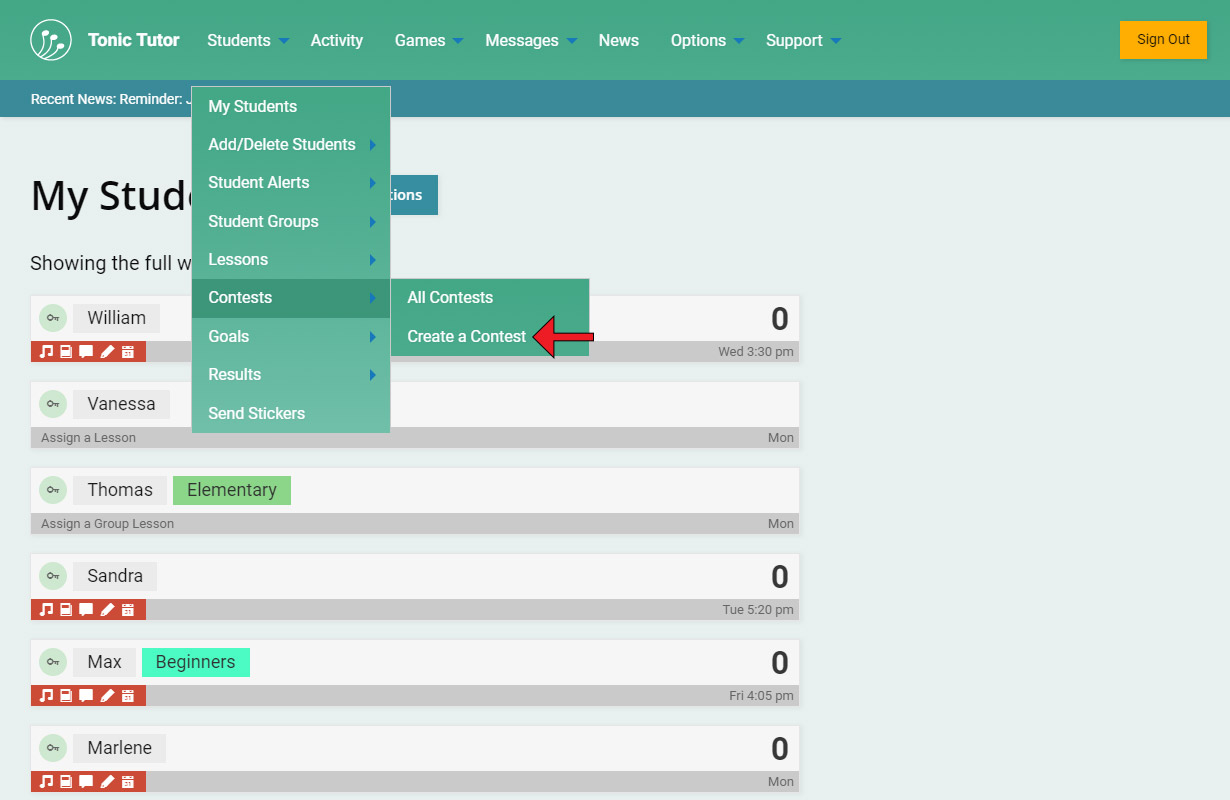
Most of Tonic Tutor's motivation tools involve goals and rewards when students reach those goals. With Contests, Tonic Tutor adds another valuable tool to your toolbox, allowing your students to engage in some friendly competition. You can access your contests from the main menu under Students>Contests. Let's start with how to create a new contest using the Create a Contest link from that menu.
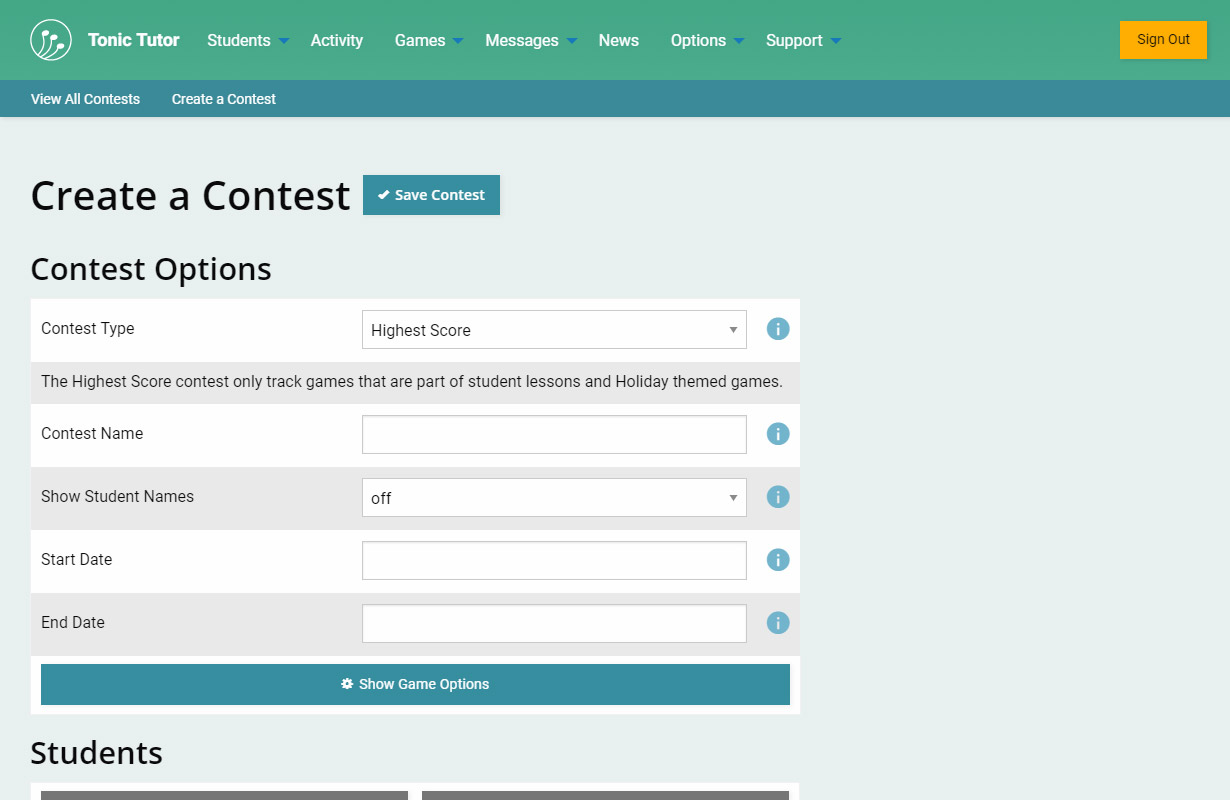
You'll see a bunch of options on the Create a Contest page. The Contest Type setting determines the type of contest you're creating, tracking the highest score or the number of achievements students have earned. Scores only count games from lessons, while achievements can only be earned in Freeplay. Depending on which type you select, the options displayed below will vary. Here's what the Highest Score contest type looks like.
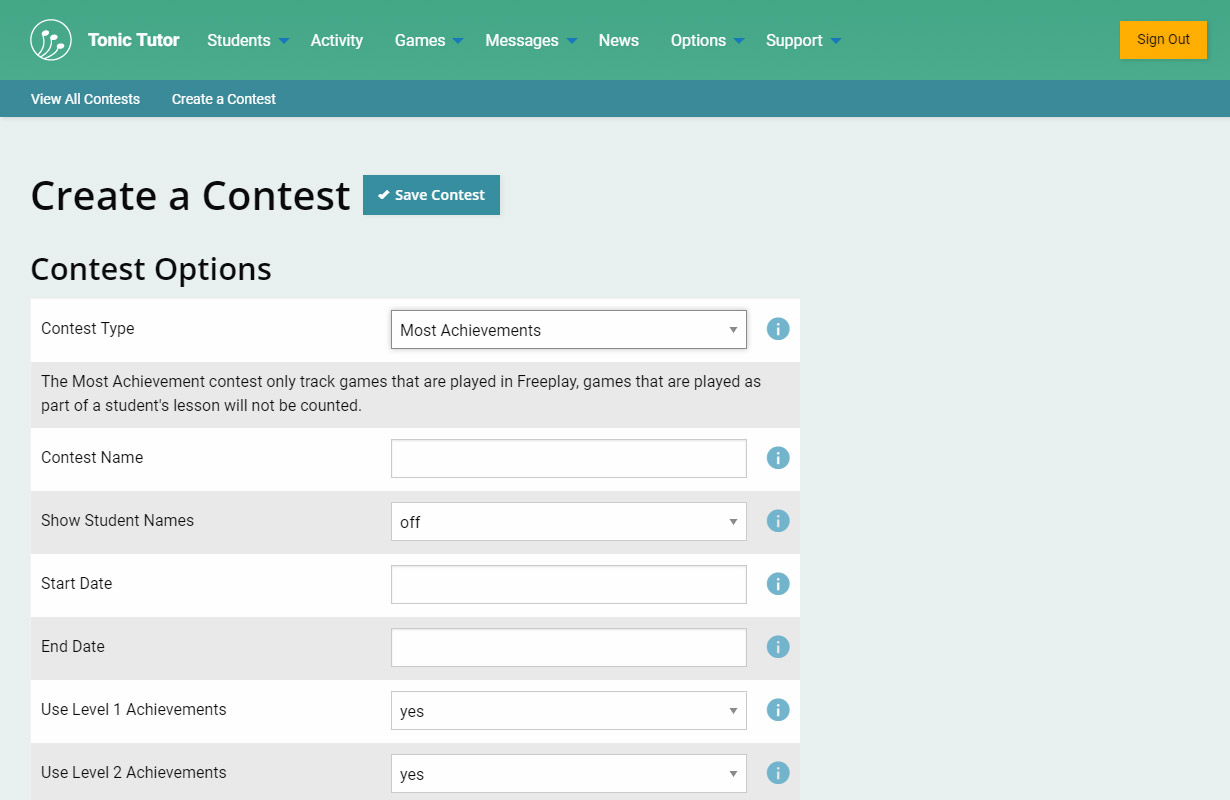
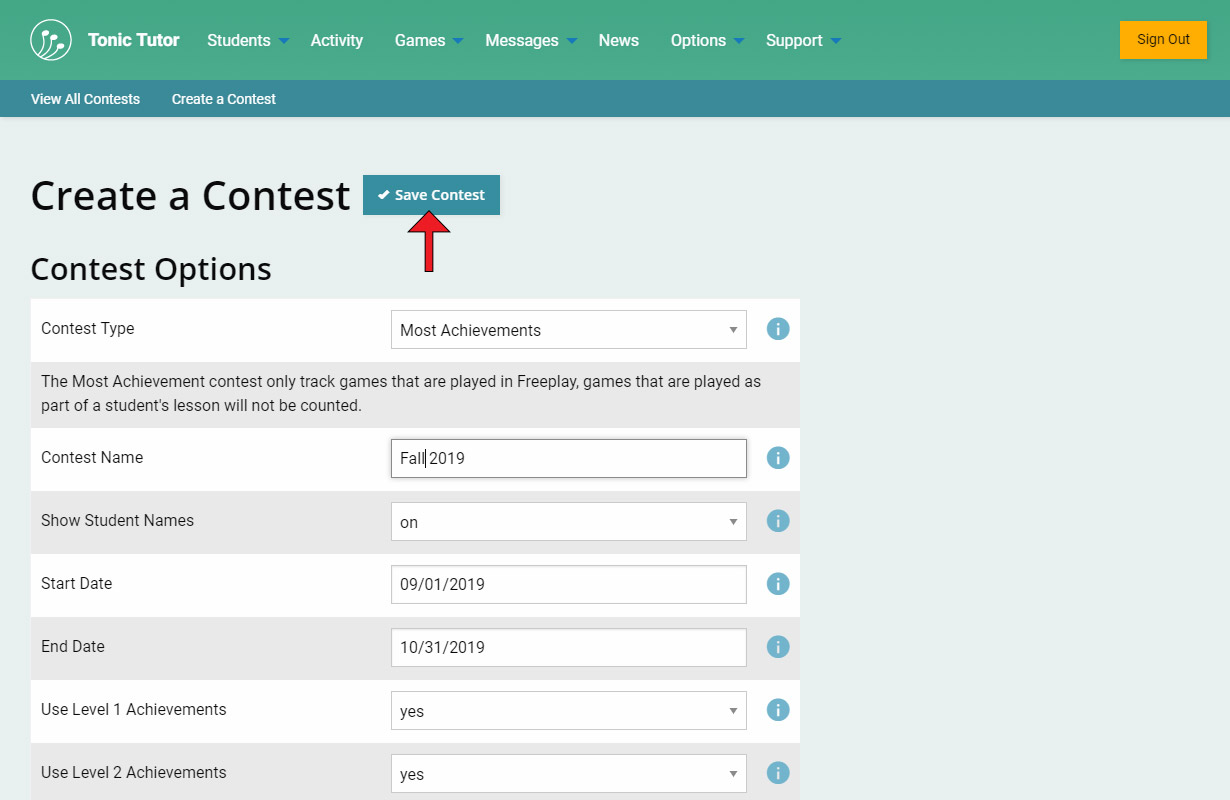
And here's the settings displayed when Most Achievements is selected. They're mostly the same, the main difference is that the achievements contest type lets you control which achievement levels are counted when calculating student results for the contest. Just a quick note: Most Achievements contests are a great way to motivate your student to complete their lessons every week since they won't be able to participate in the contest otherwise. The faster they finish, the more time the have to earn achievements!
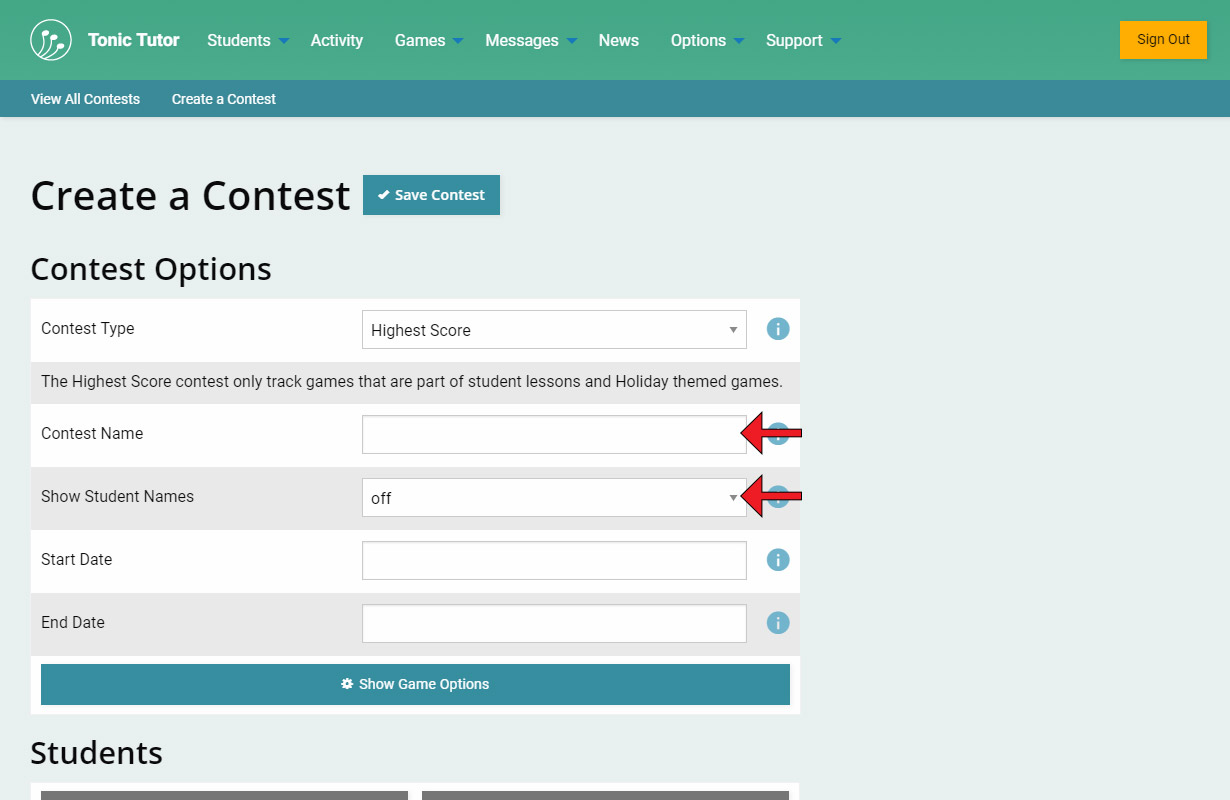
The next thing you need to choose is the name for the contest, which can be whatever you want. The name of the contest will be visible to students. The Show Student Names option determines whether the student names will be listed when a student is looking at the results for the contest and how they're placing in it. We've had requests from teachers to make the students anonymous to avoid hurting anyone's feelings or making it too personal for a sensitive student.
Of course, you can't have a contest unless you have a start and an end. You can select any start date after the current day, so it's easy to queue up contests and they'll automatically start on the start date you selected. Once the end date is hit, the contest results are finalized and medals are assigned to each student that was part of the contest.
Finally, you can choose which games are included in the contest using the Show Game Options button. By default, all of the games are included, but you can filter out as many games as you'd like, just as long as one game is active. It wouldn't be much of a contest without any games.
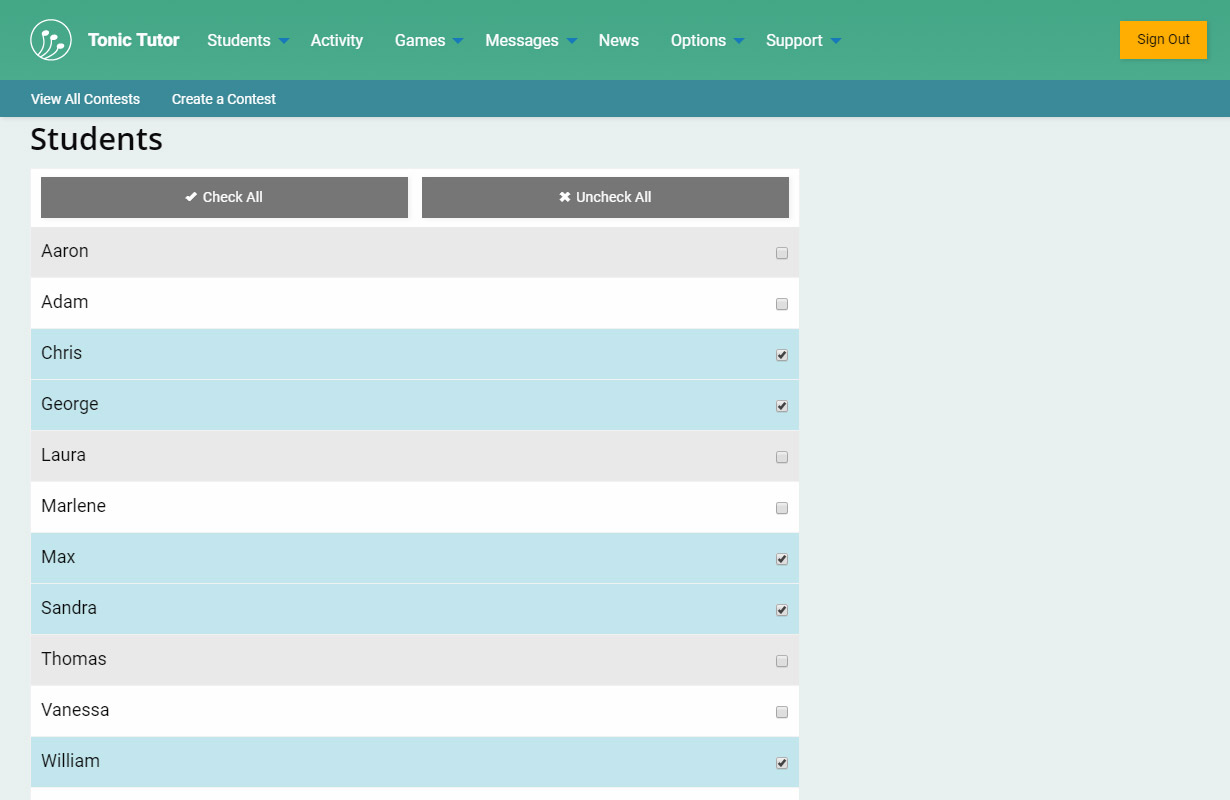
And a contest without students would be even worse! You can select individual students or add all of the students in a group.
Once you're set everything just the way you want it, use the Save Contest button at the top of the page to save the contest.
So, now that we've created a contest, what happens next? Let's take a look at what options you have for viewing your contests by selecting Students>Contests>All Contests from the main menu.
View the next tutorial: Viewing Contests