1/11
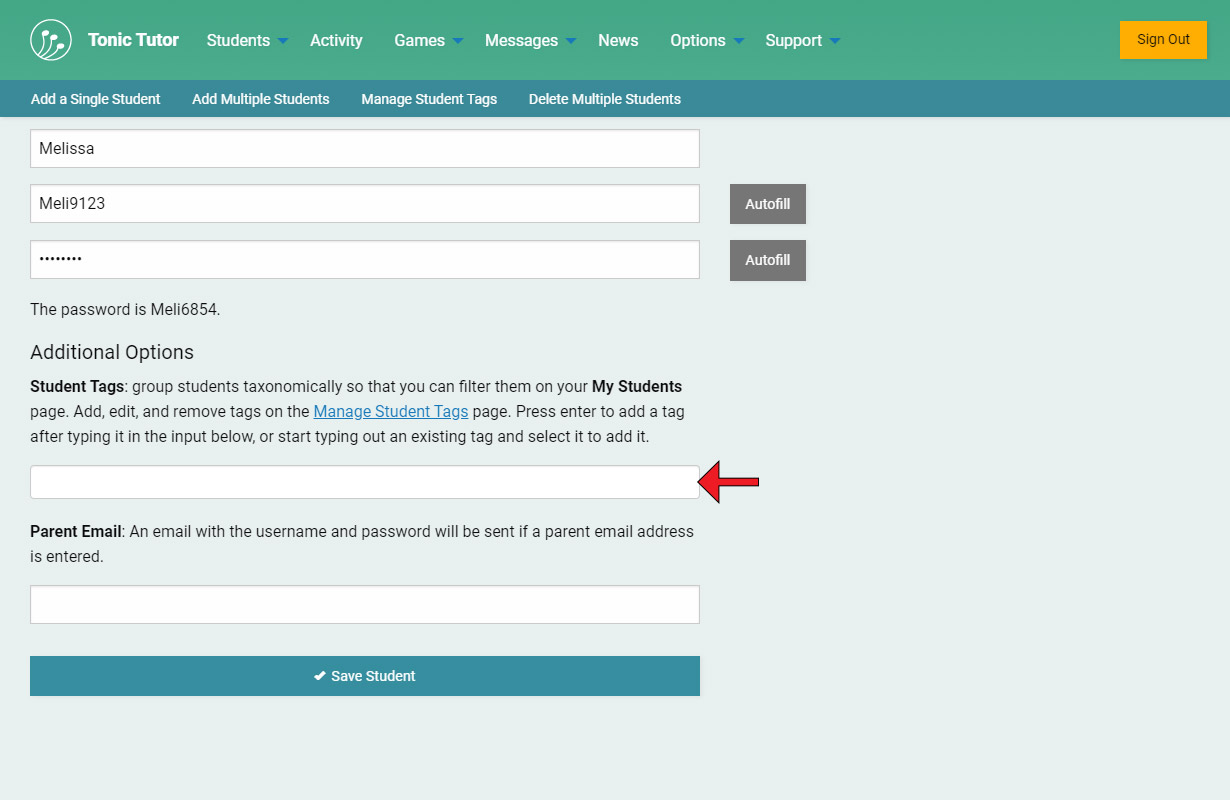
Student Tags are a way of grouping your students taxonomically without requiring them to share a lesson. If you have a large studio or you have multiple classes, tags give you a lot more flexibility to filter your list of students so you can manage them more efficiently. There are a few different ways you can create tags and link them to students. You can assign them to a student when you add them, which is the first method we'll cover.
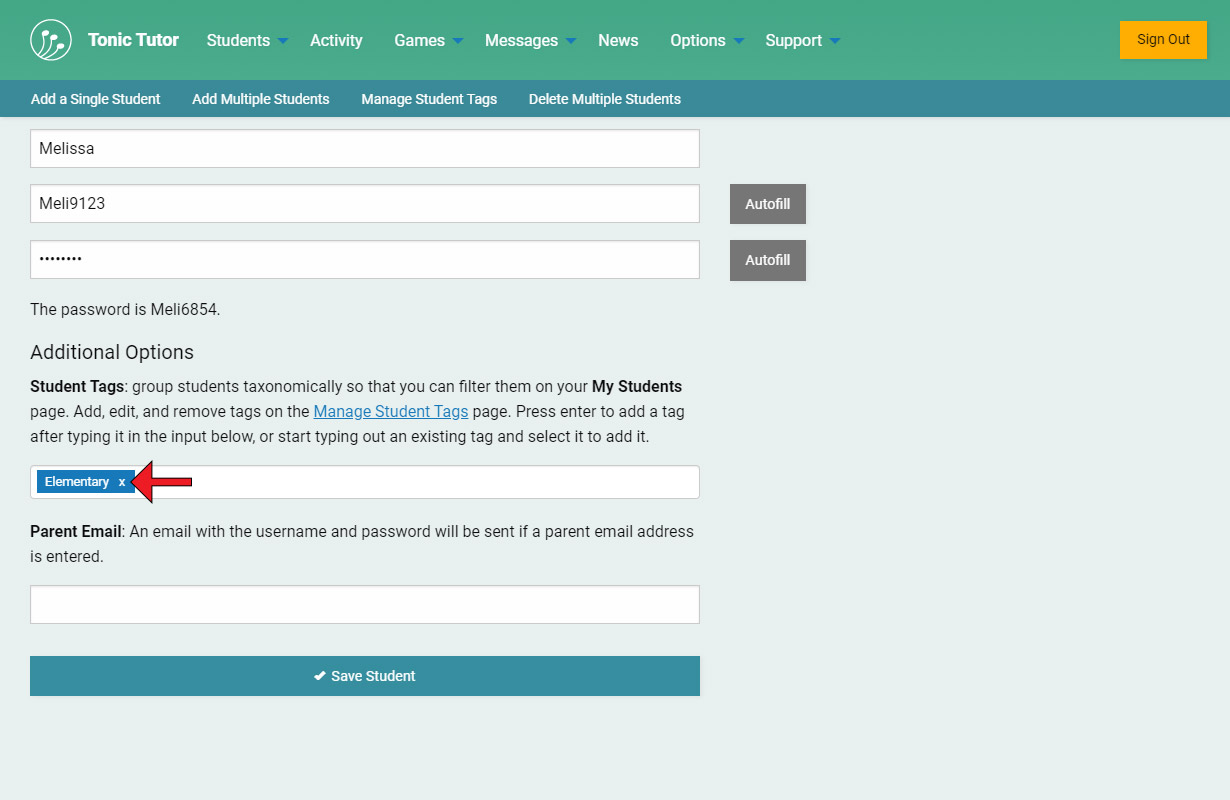
Start typing a tag into the input, and you're finished press enter to complete the tag. You can see that I've entered the tag Elementary and pressed enter, and it shows up in blue. There's also an X icon which you can use to remove a tag from the input. If I saved the student now, I would create a new Elementary tag and assign it to Melissa.
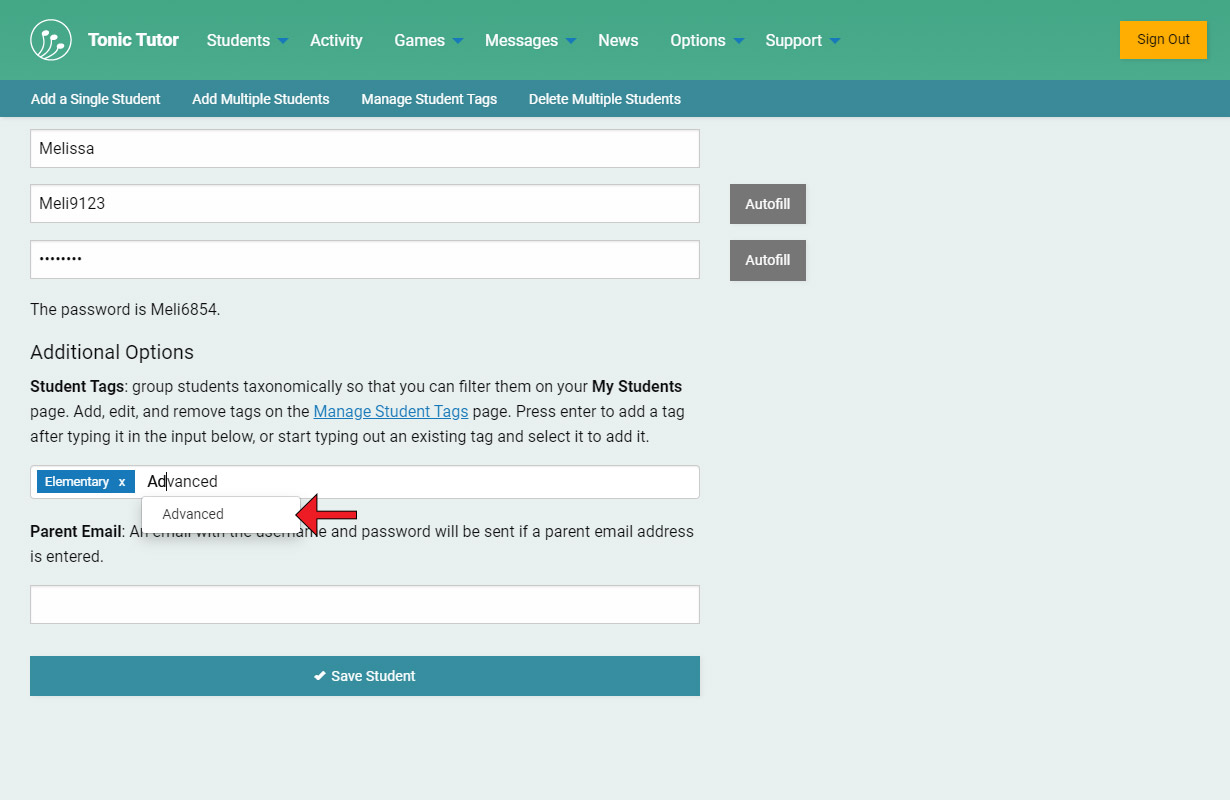
Students can have multiple tags assigned to them, which means you can add more than one tag at a time to the input. If I wanted to add a second tag, I'd type out the name and use enter to add it just like I did for Elementary. If you have an existing tag that you'd like to assign to a student, you'll see it show up when you start to type it. I've started to type out Advanced and I see a box show up with the existing tag. If I click or tap on that box, it will add the tag without requiring me to type out the full tag.
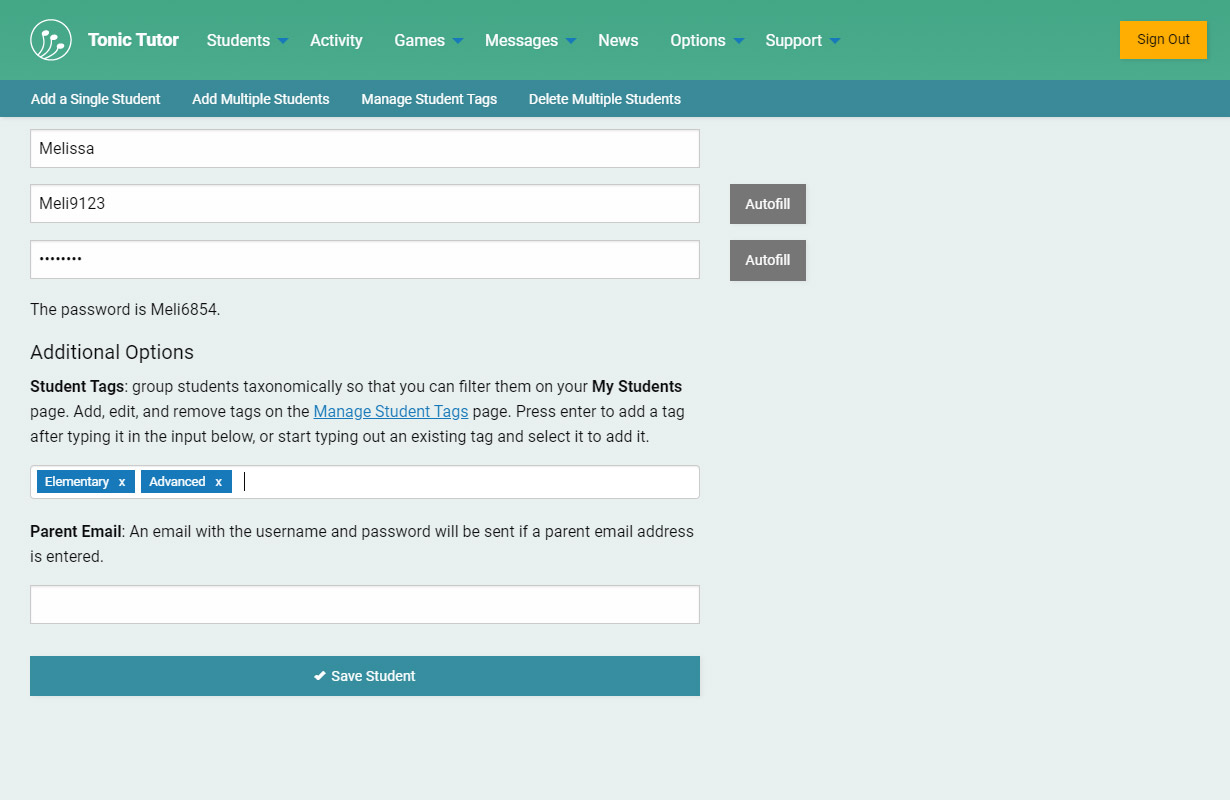
I'm adding tags that are indicating the level a student is at, but there's no limit to what sort of tags you can add. They're just labels you can use to group and filter students, so feel free to use whatever works best for you. I'm going to remove the Advanced tag before I add Melissa (since it doesn't make much sense to assign her both of those tags).
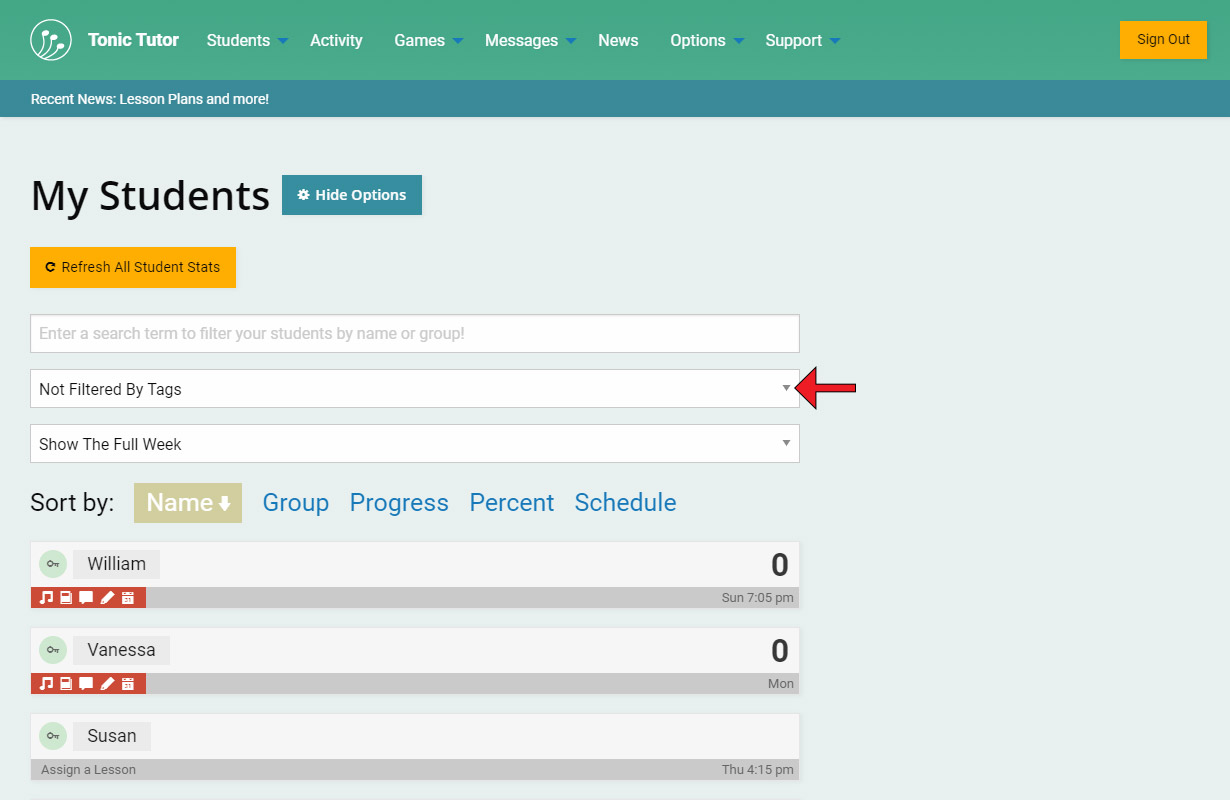
Once you've added tags, an option shows up on your My Students page that allows you to filter you students by tag. Selecting a tag from the drop-down menu will reload the page.
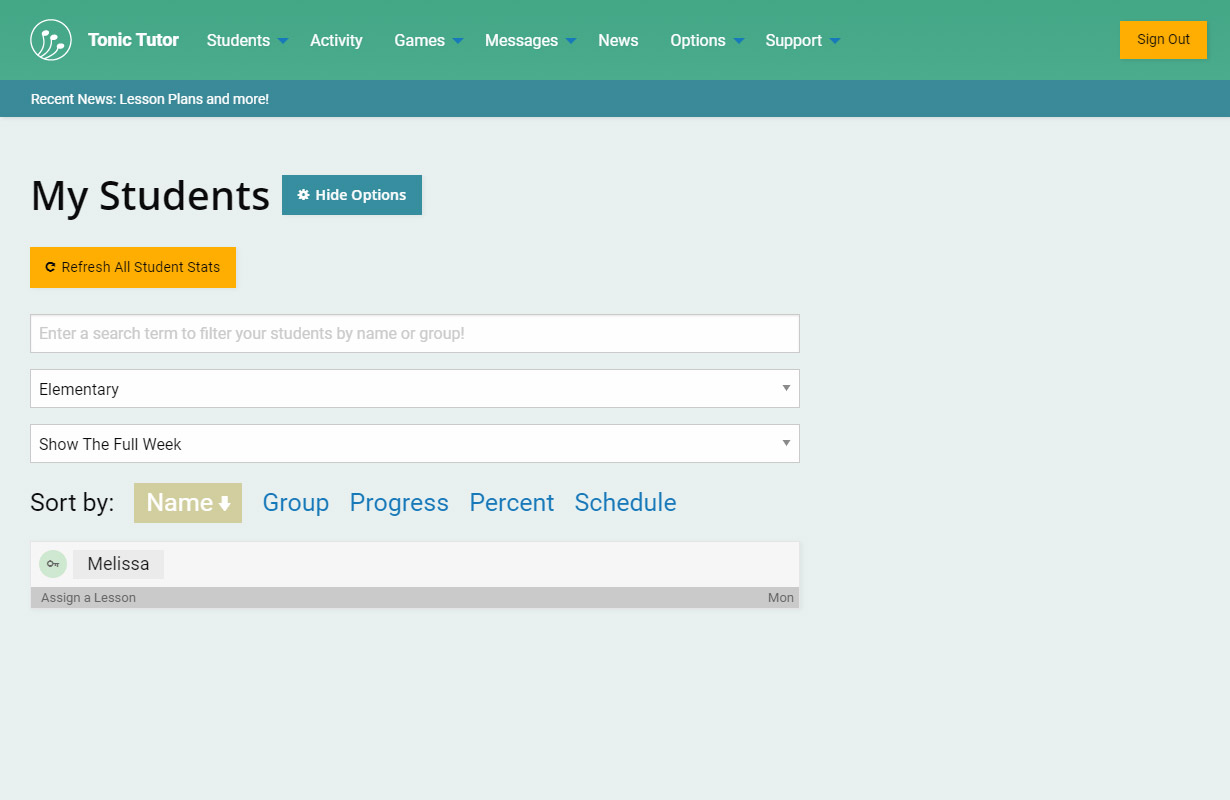
If I select the Elementary tag I just added, the list of students is filtered and Melissa is the only student that's displayed. You can see how being able to view a specific subset of students can be helpful, especially if you have a large group of students. If I wanted to see the full list again, I can select Not Filtered By Tags from the drop-down menu to remove the tag filtering.
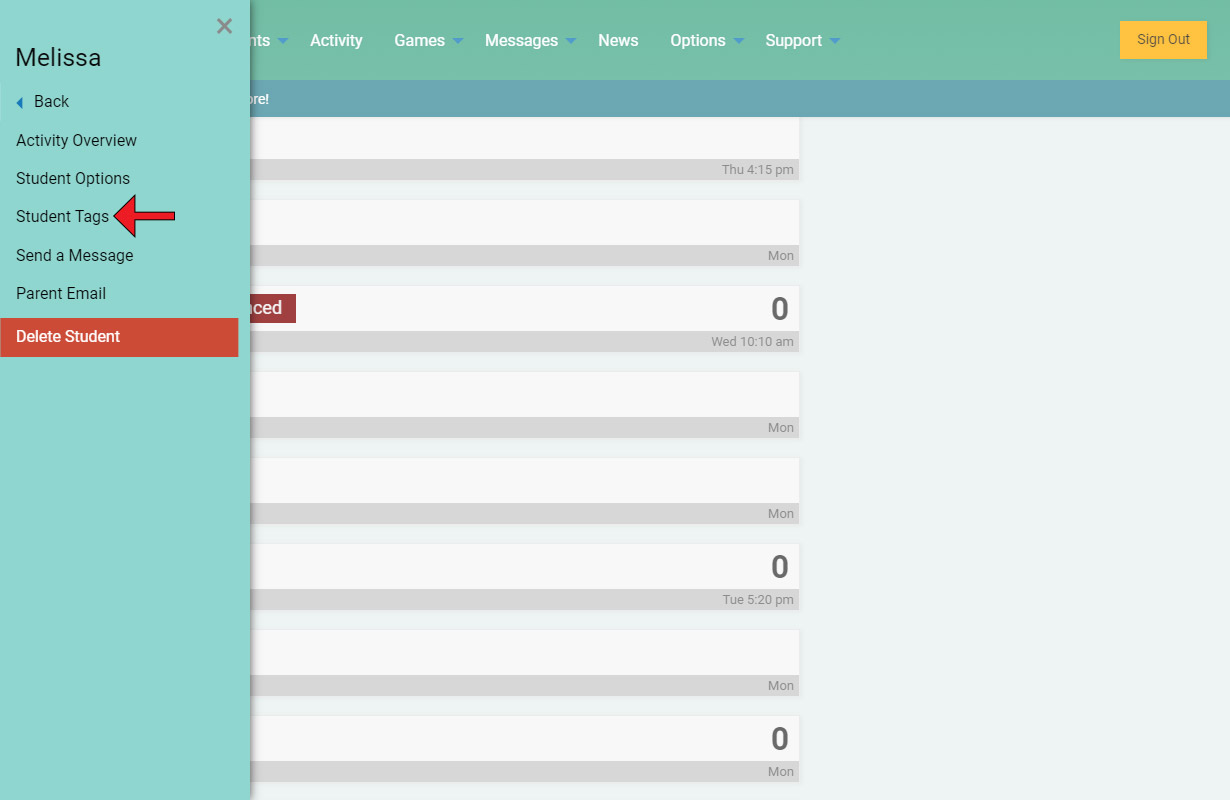
Say I wanted to add or remove tags for a student that already exists. You can do that from their Student Menu by selecting General>Student Tags.
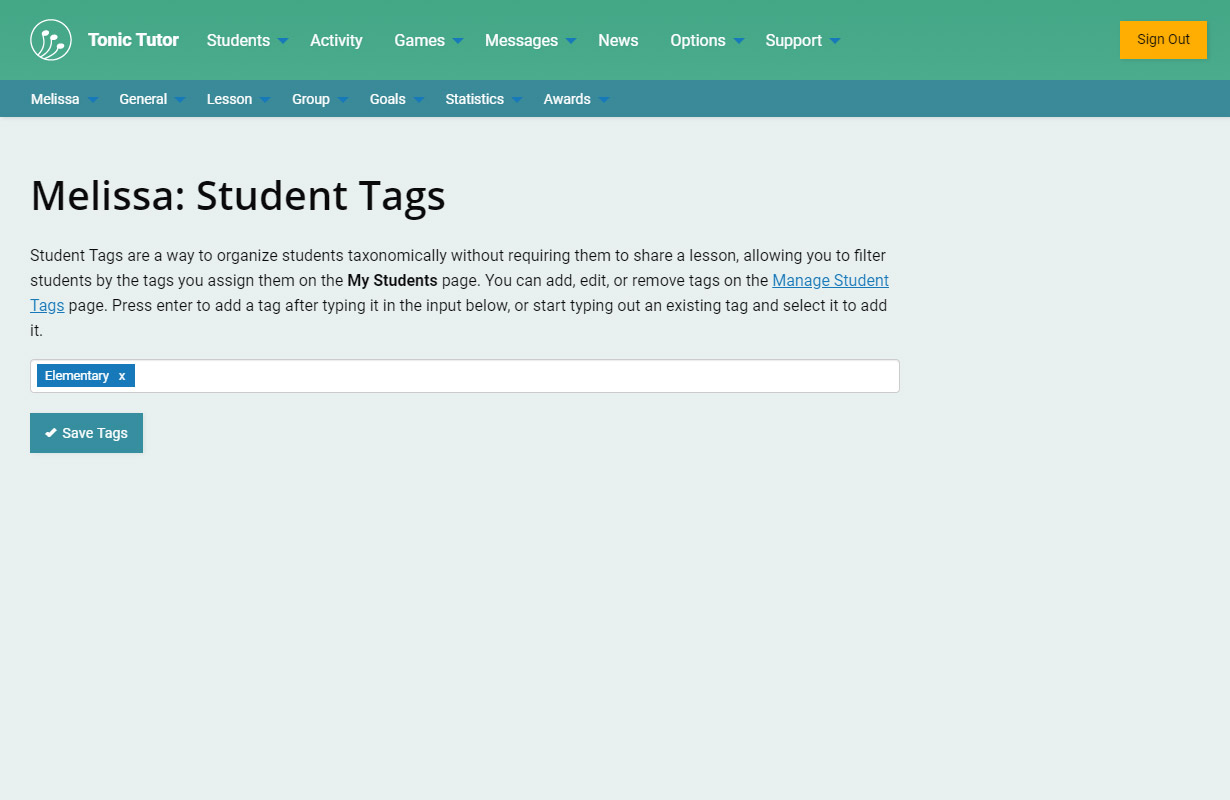
The input here works exactly the same as the input on the Add Student page. You can add a new tag, assign an existing tag, or remove a tag, and then use the Save Tags button to save your changes.
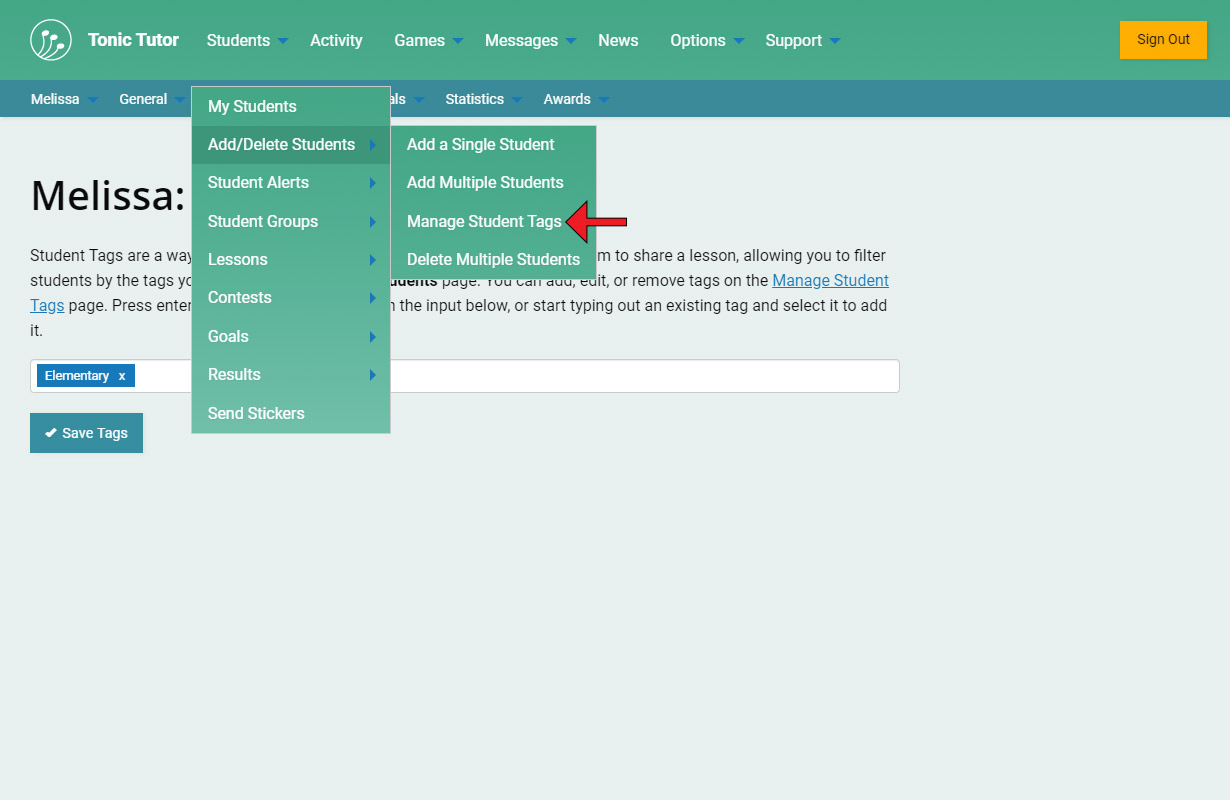
There's also a way to manage all of your Student Tags in one place. You can access it using the Students>Add/Delete Students>Manage Student Tags link in the main menu.
You can use the input at the top to create a new tag, and a list of all of the tags you've created below it. Using the red X icon will delete a tag, which means that any students that were linked with it will no longer be grouped by that tag. The pencil icon allows you to edit the name of a tag. The third icon that looks a bit like a bulleted list will take you to a page where you can edit which students are linked to the tag in one easy step.
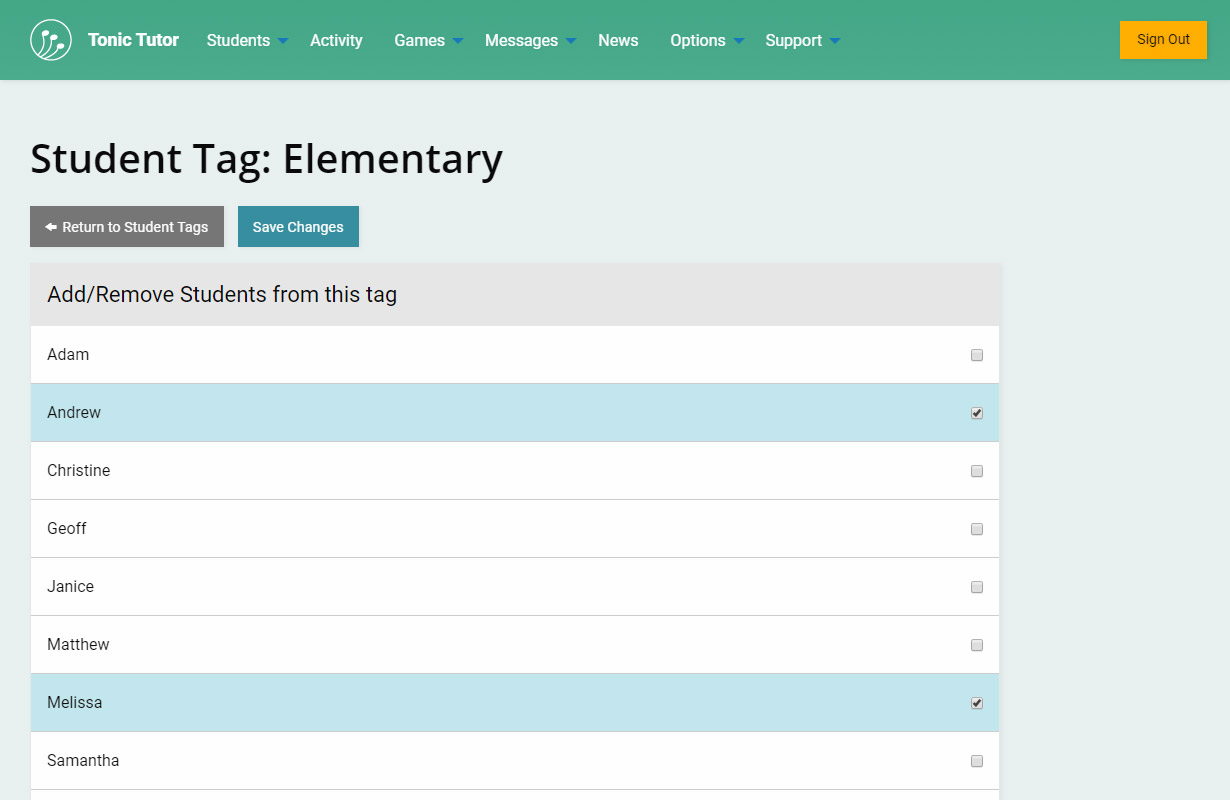
I've decided to link Andrew to the Elementary tag I created when I added Melissa earlier in this tutorial. You can add or remove as many students as you'd like and use the Save Changes button to save your changes. If I clicked or tapped on Melissa and deselected her and saved, she would no longer be linked to this tag. That's it for tags! It's a powerful tool to manage your students, and everything we covered in this tutorial shows how easy it is to group your students taxonomically to save yourself time.
View the next tutorial: Student Alerts