1/10
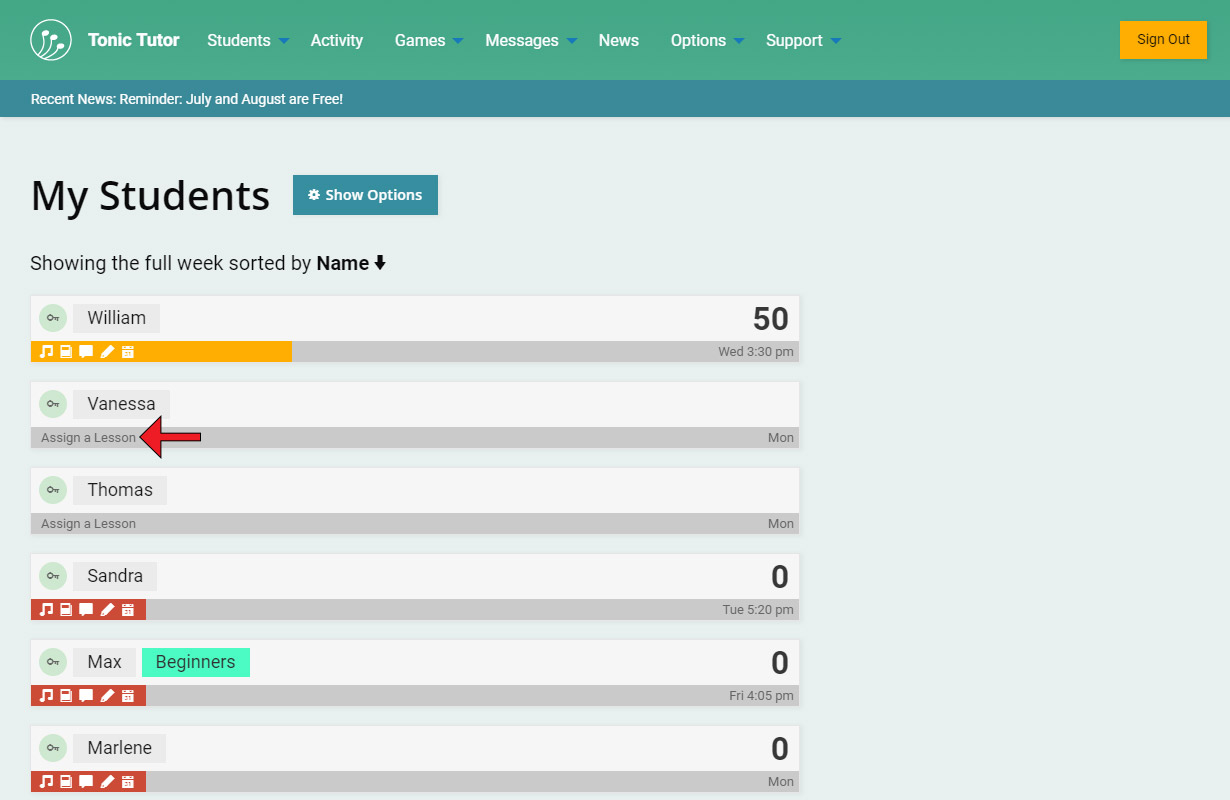
The way you assign a lesson to a student depends on if they already have a lesson or not. Let's begin with a student that doesn't have a lesson. It's pretty easy to tell which students have a lesson and which students don't on the My Students page. Students without a lesson will have a grey bar below their name with a link labeled Assign a Lesson. If they're part of a group, the link will be labeled Assign a Group Lesson, you can find out more about group lessons in the Group Lessons tutorial.
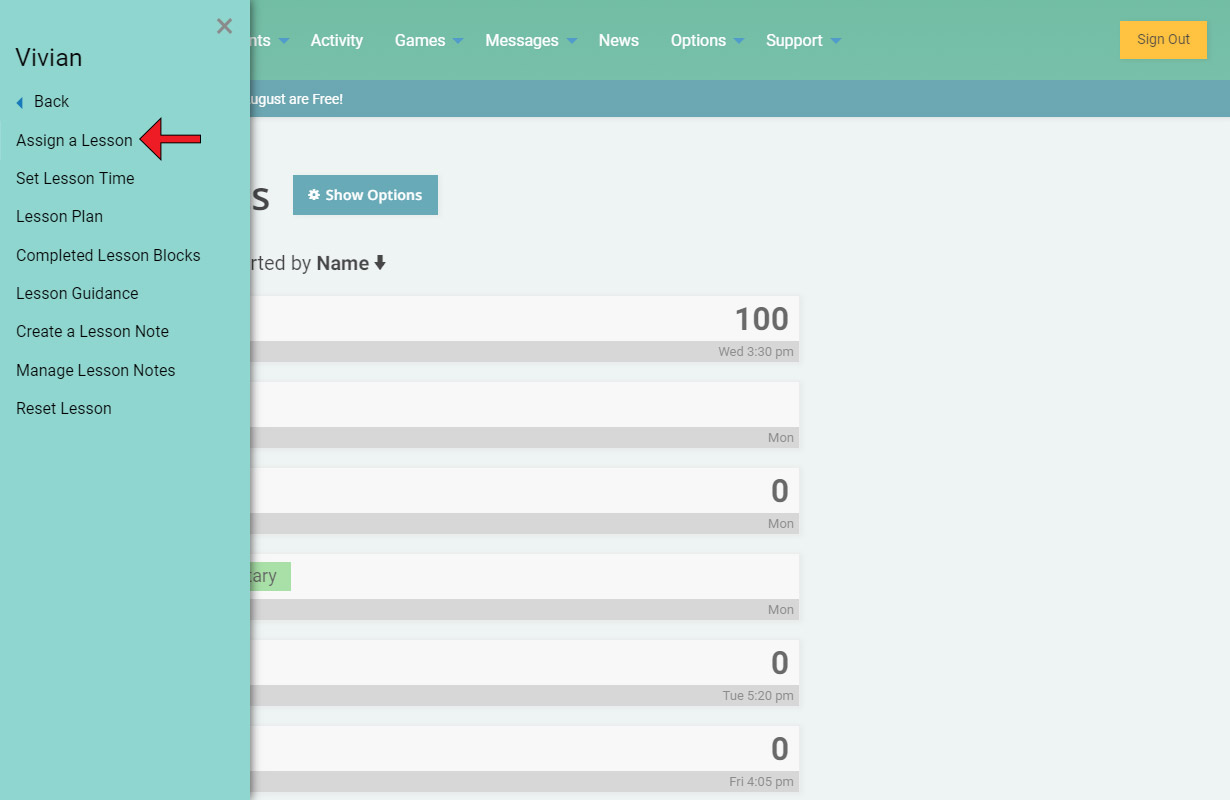
There's also a link in the student contextual menu which you can access by selecting their name on the My Students page. The Assign a Lesson link is in the Lesson sub-menu. If a student is in a group, the Assign a Group Lesson link will be in the Group sub-menu.
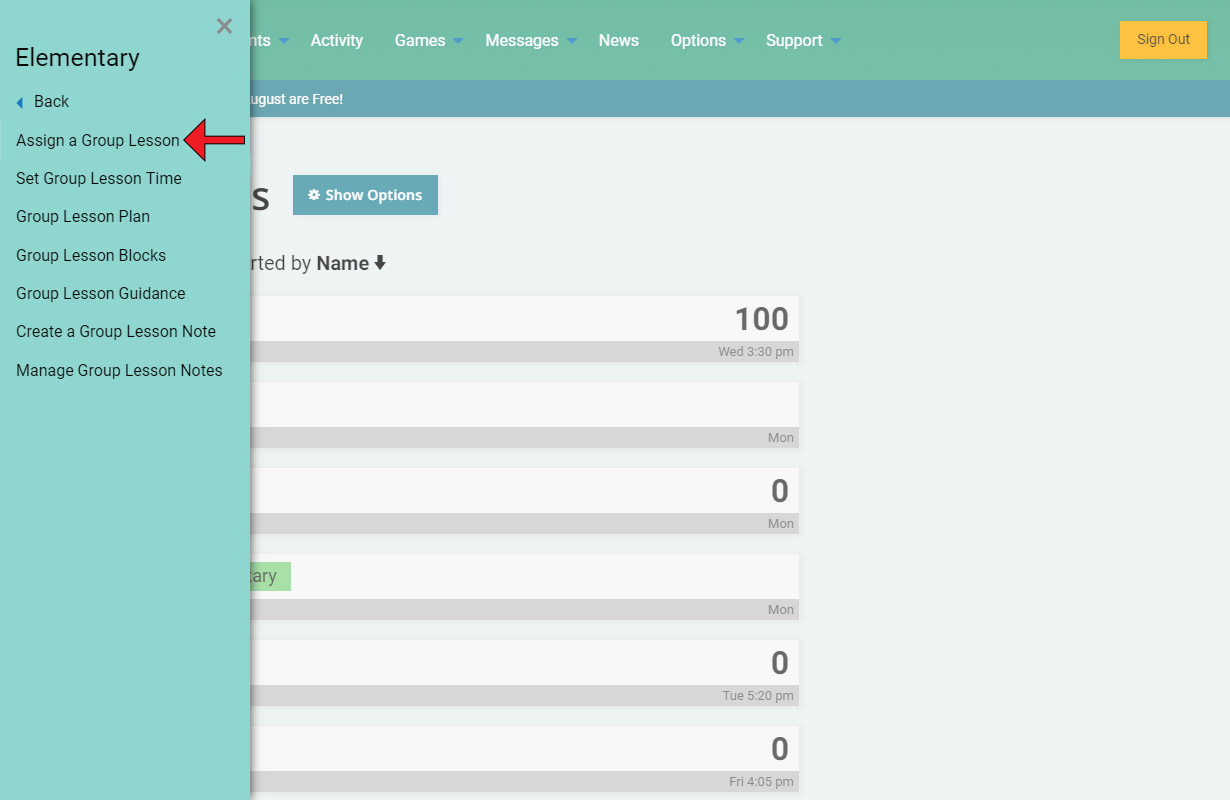
If you select a group on your My Students page and take a look under the Lesson sub-menu, you'll see the same Assign a Group lesson link that you did in the student Group menu. Many of the links in the Group section of the student contextual menu are in the Lesson section of the group contextual menu, which is useful to know. We put it in both menus so that it's accessible whether you're viewing a student that belongs to a group or the group itself.
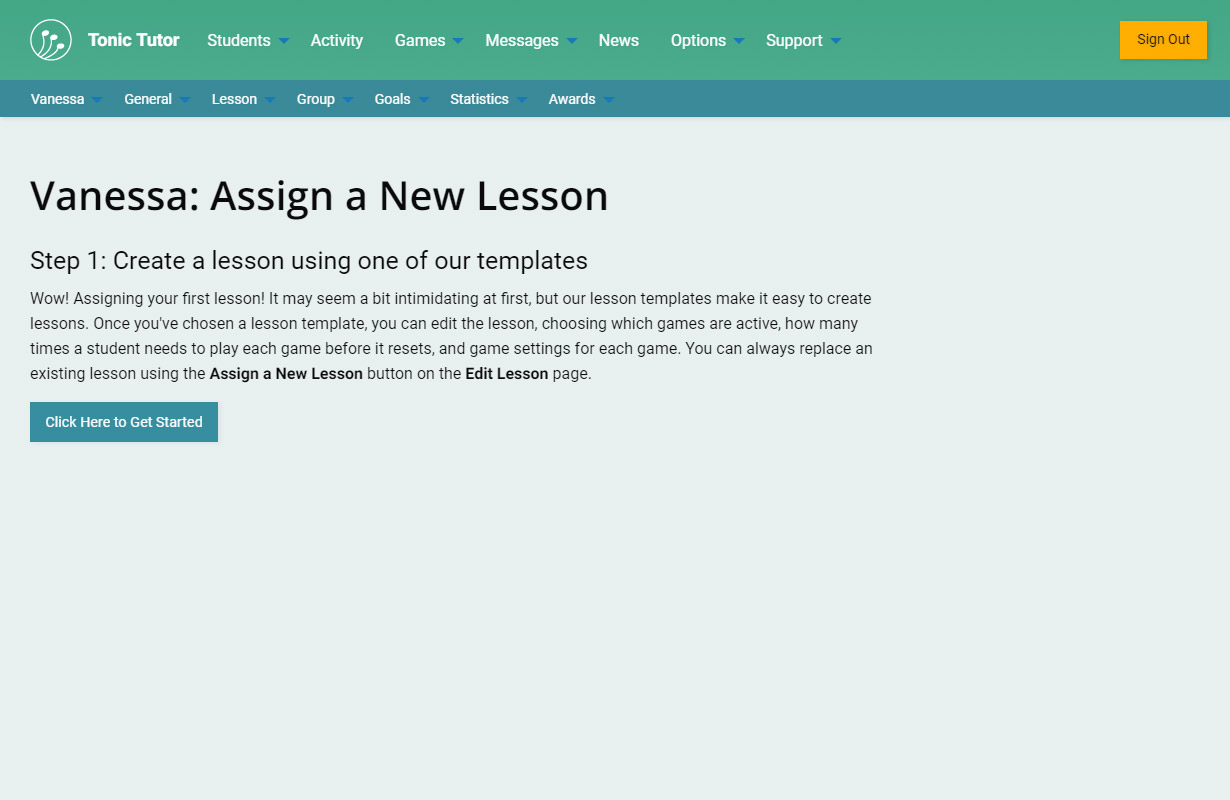
We're assuming in this tutorial that this is the first time you've assigned a lesson, if you have an existing lesson the screen will be slightly different (you can find out more about that in the The Lessons Page & Custom Templates tutorial). The first step is easy, all you need to do is select the Click Here to Get Started button!
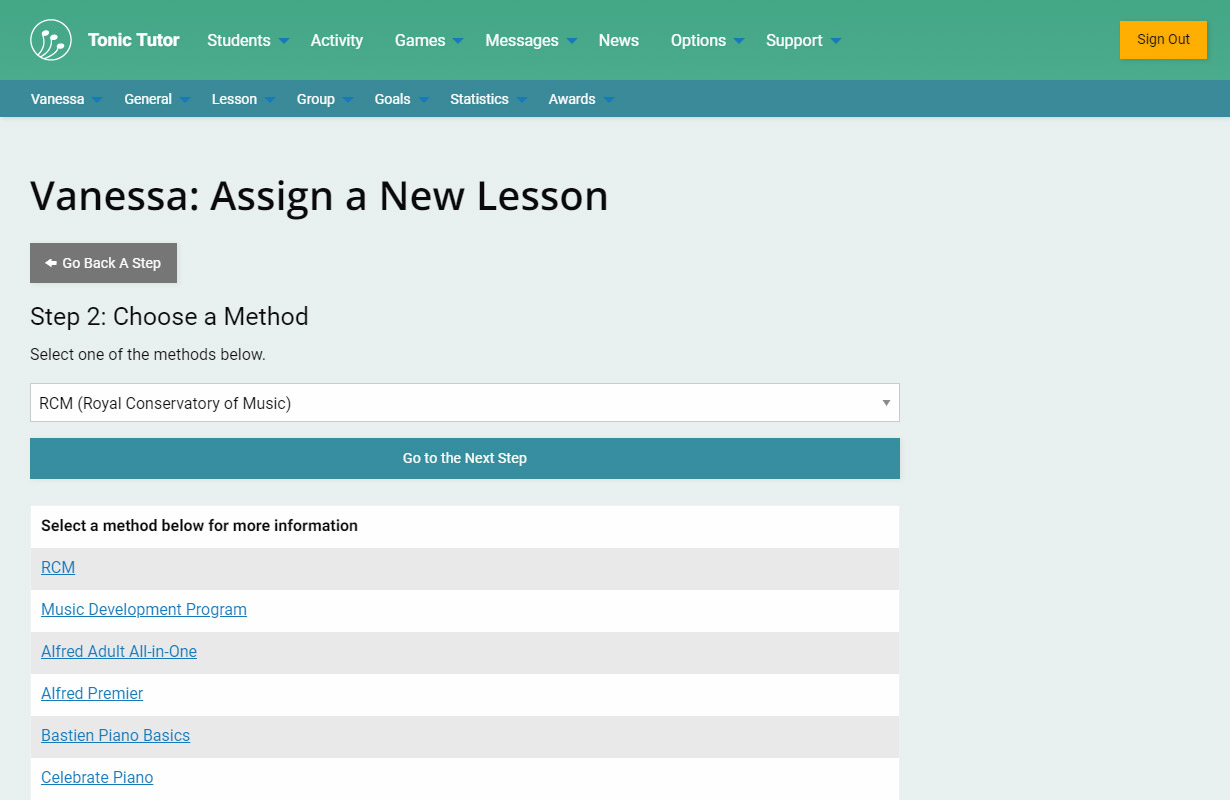
There are a few steps you'll need to go through which we'll explain as we go along. On Step 2, you need to choose your preferred method from the drop-down menu. There's a list of links for each of the methods so that you can find out more information. Once you've selected a method, use the Go to the Next Step button to continue.
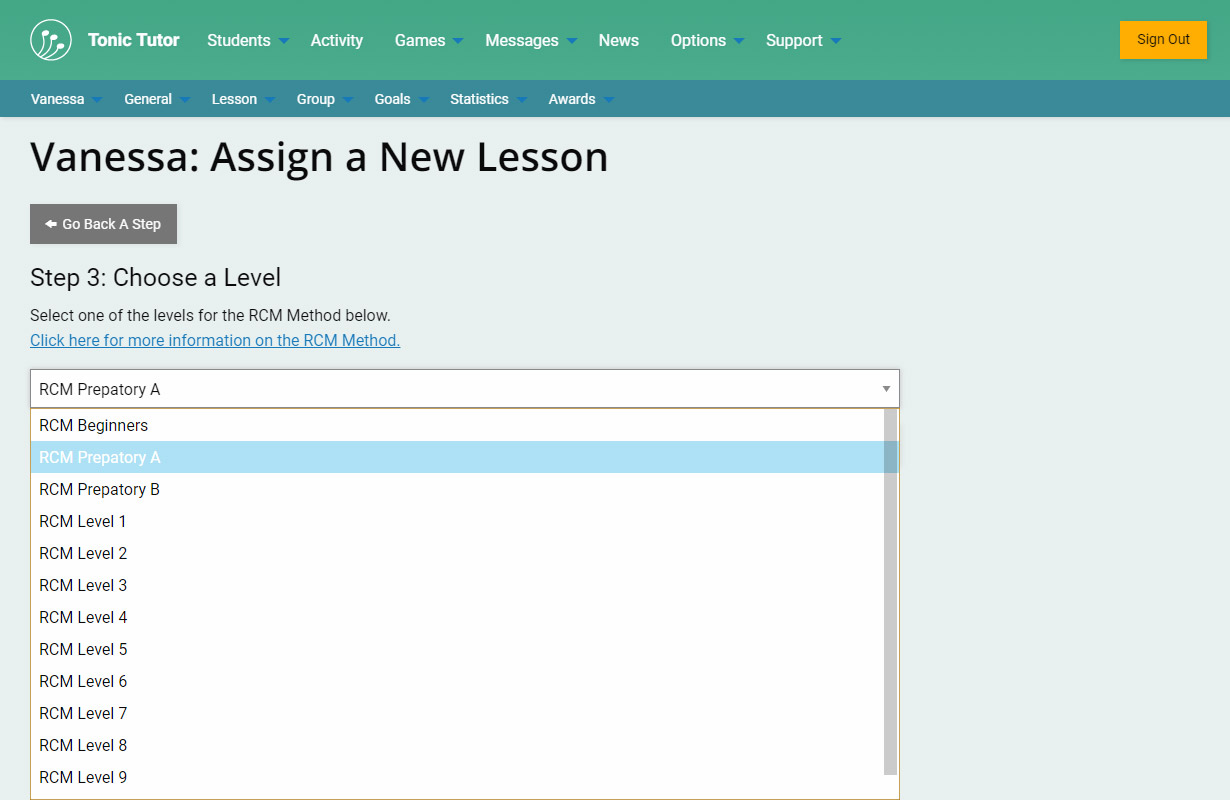
Step 3 involves choosing a level of difficulty. This should be pretty self-explanatory if you're familiar with the method that you chose. After you've selected a level, we can go to the final step!
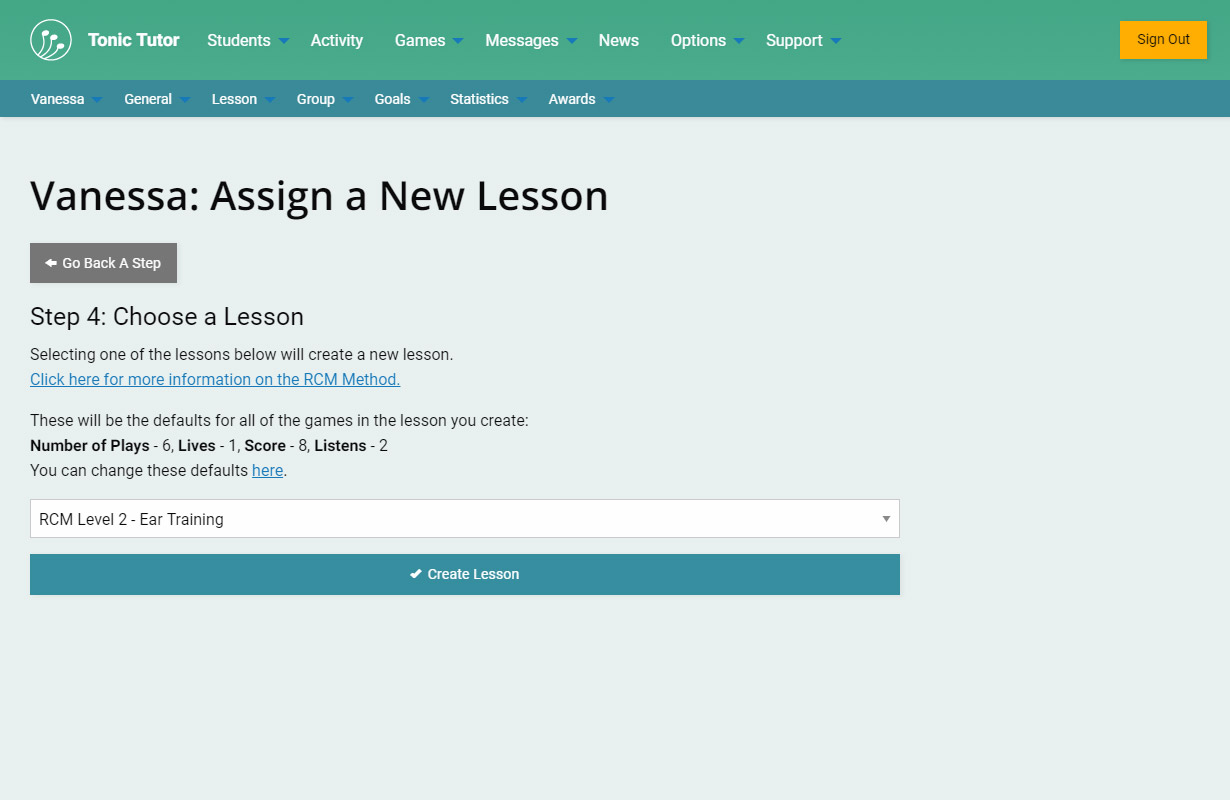
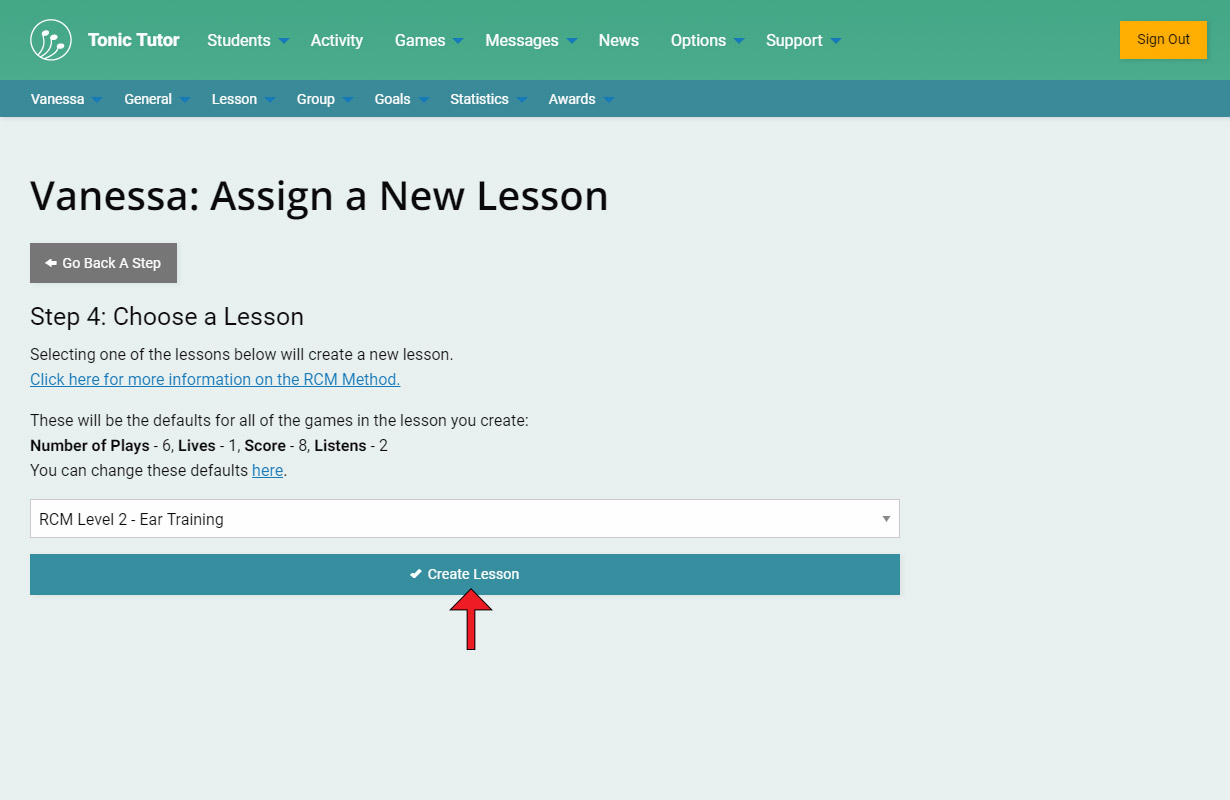
The options available in Step 4 varies a bit depending on the method and level you chose. The RCM and Music Development Program methods both have several options to choose from, many of them targeting a specific category (like ear training or note reading). Not all of the methods have those options though, some have a single option to choose from (which makes the decision a simple one!). At any time in the process, you can use the Go Back A Step button to go back to the previous step and change your selection.
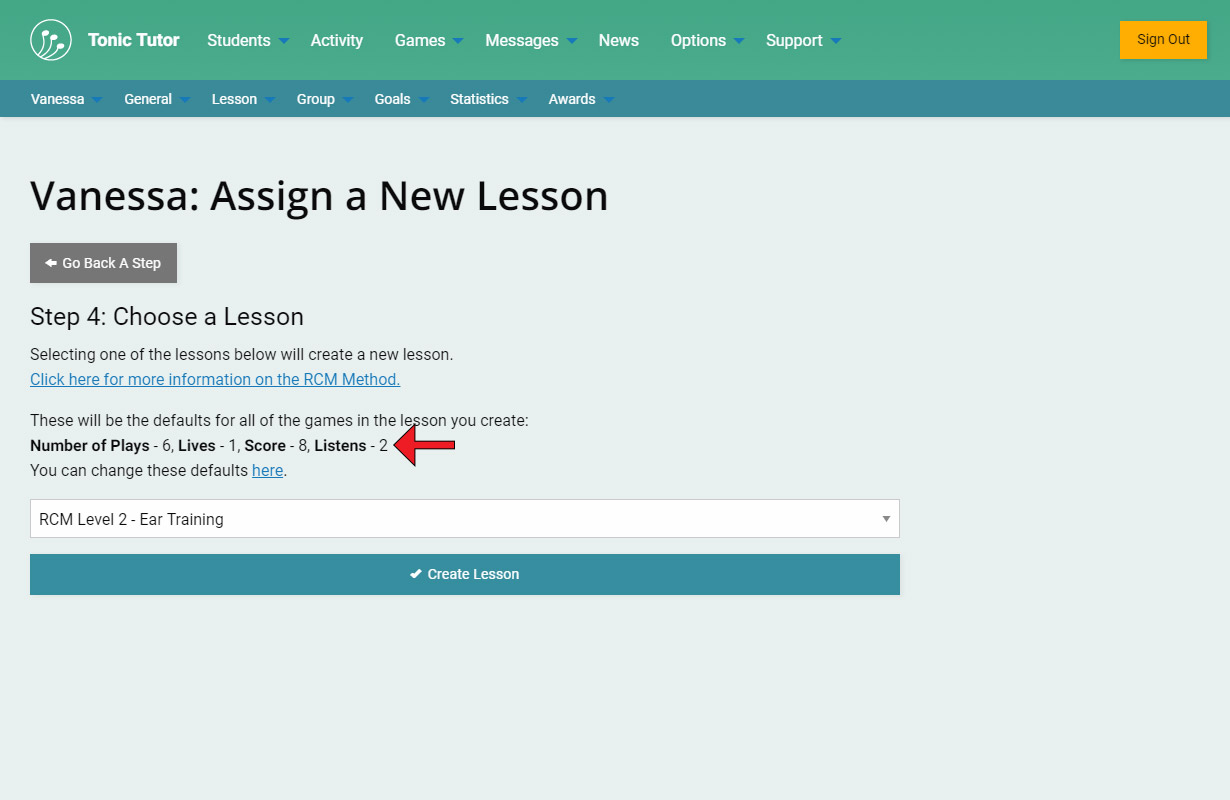
There's something really important on this page that will save you a lot of grief once you know about it. You can set the default number of plays, lives, score, and listens that will be used for any lesson you create, which means you don't have to go through and adjust them manually if your preferences vary from the template settings. You can see on this page what your defaults are currently set to, and there's a link you can use to go to your Teacher Settings page to change the defaults.
Now that you know about the defaults and how they work, it's time to finish assigning the lesson! Once you've selected the template you want to use in Step 4, use the Create Lesson button to create the lesson.
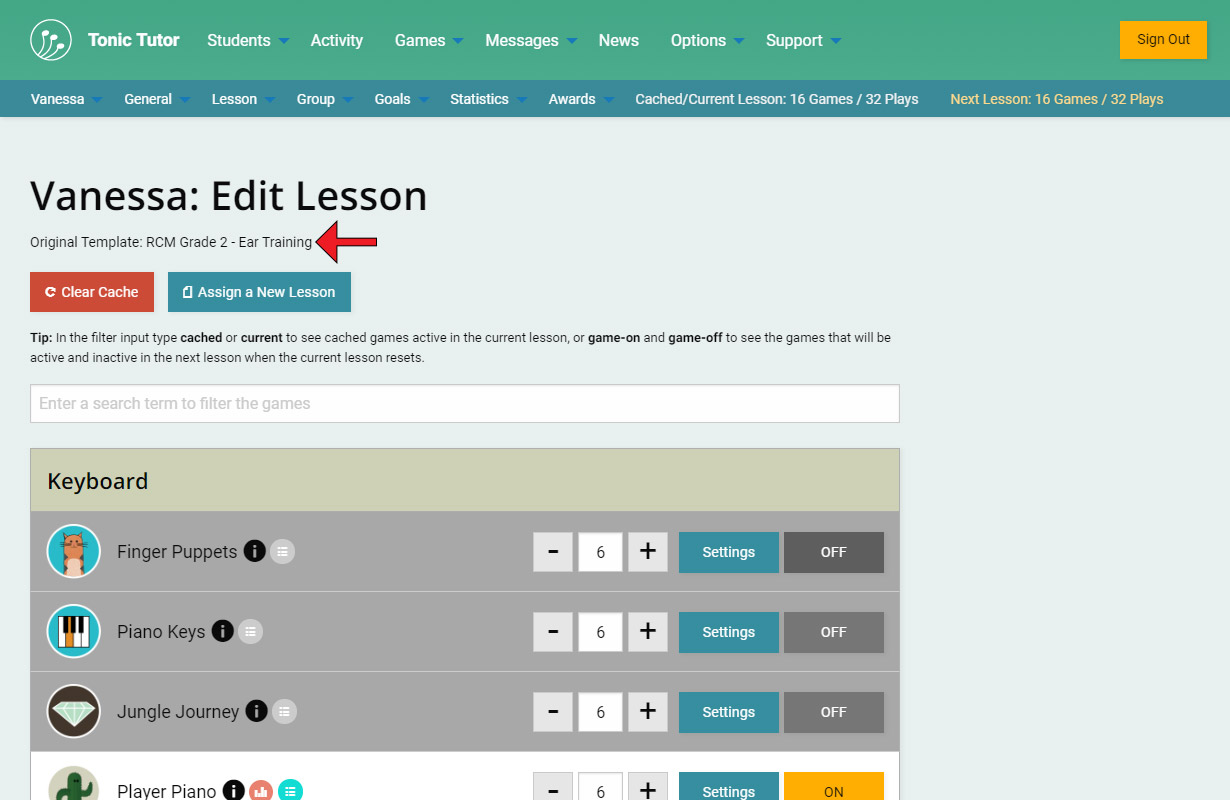
Tonic Tutor will do its thing and create the lesson using the template you selected and redirect you to the Edit Lesson page once it's finished. That's it! You've created your first lesson! Near the top of the page, you can see the name of the template you used when you assigned the lesson which can be really useful for future reference. You can also see that my defaults were used and each game has 6 plays per week by default instead of the plays per week that were part of the original lesson template. You can leave the lesson the same as the template or find out what you can do to tweak and change it in the next tutorial.
View the next tutorial: Editing a Lesson