1/14
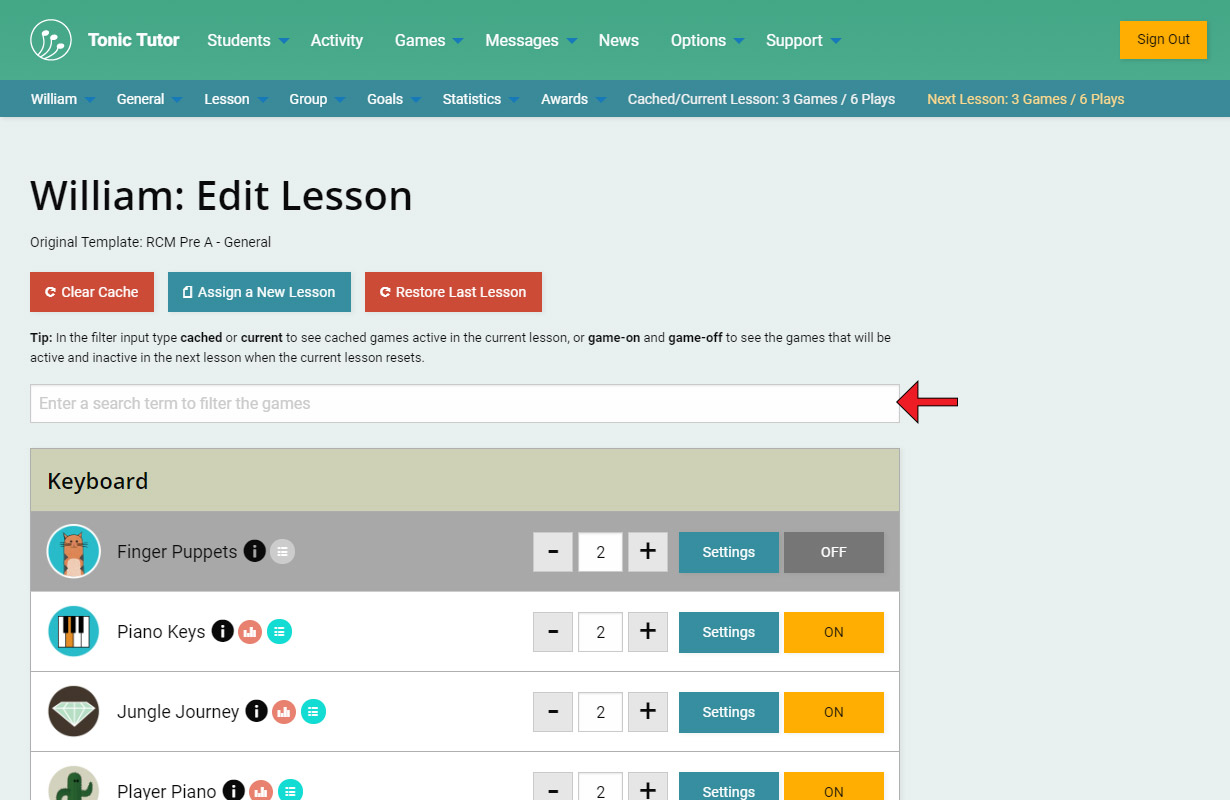
First things first: it's useful to think of each individual lesson as a container. If you make changes to a lesson, it only affects that specific lesson. Once you assign a lesson from a lesson template, it becomes its own container separate from the original template. If you make changes to the new lesson, it doesn't affect the original template you copied it from. And as you can see, there are a lot of options available to you on the Edit Lesson page. The first thing you'll probably notice is that the games are organized into categories. There are a lot of games, so it's important to provide some structure to make it a bit easier for you to work with the lesson. The less time you have to think about where to look for something, the easier Tonic Tutor becomes. That's why we put in a way to filter the games and categories quickly using the input at the top of the page.
Give it a try! As soon as you start entering a search term, the list of games will instantly be filtered, even if you haven't entered the whole search term. You can enter the name of the game you want to edit, the category, or even a term associated with the game. For example, we've entered the search term chords and all of the games that use chords are displayed. It's a much more efficient way to find the game you're looking for than scrolling down the page trying to remember which section the game is in. You can use the red X icon that appears in the input to clear the search term.
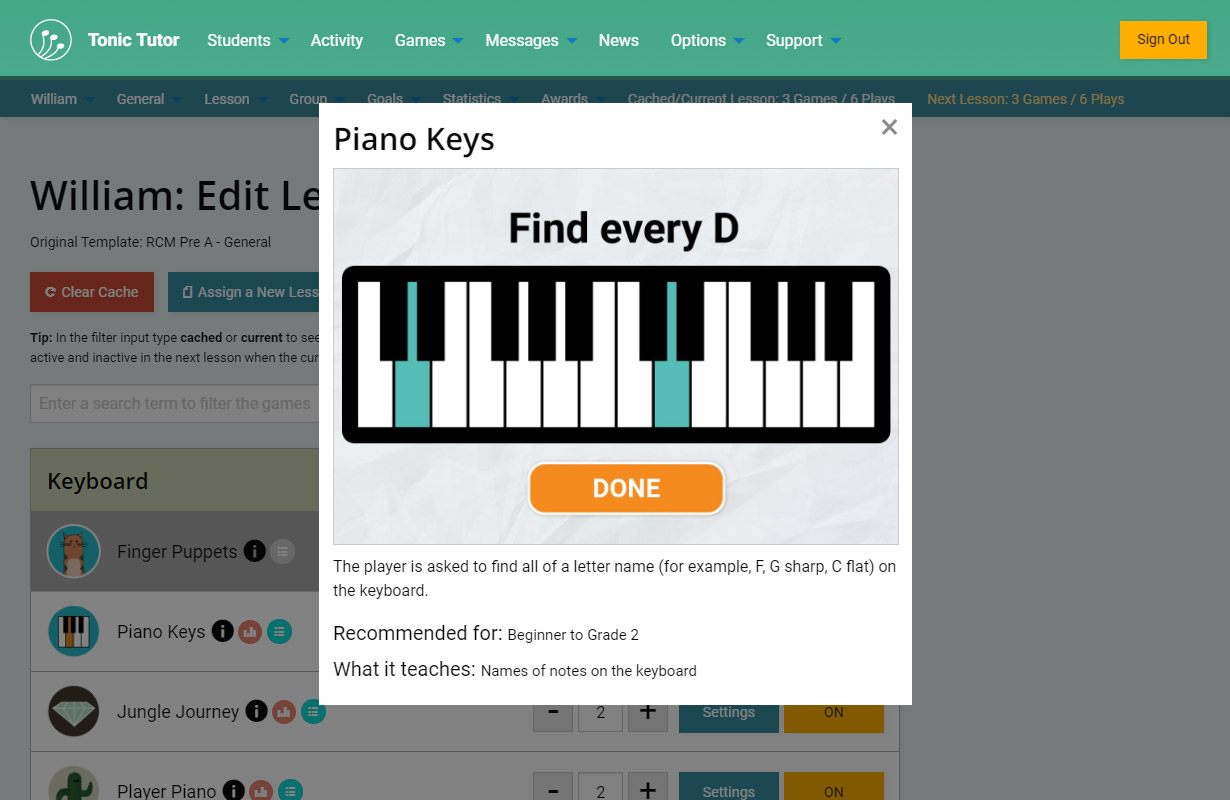
Next, let's take a look at the information and options available for each game on this page. Next to the game icon and the name of the game you'll see an icon with an i in it. Selecting that will open a window with some information on the game.
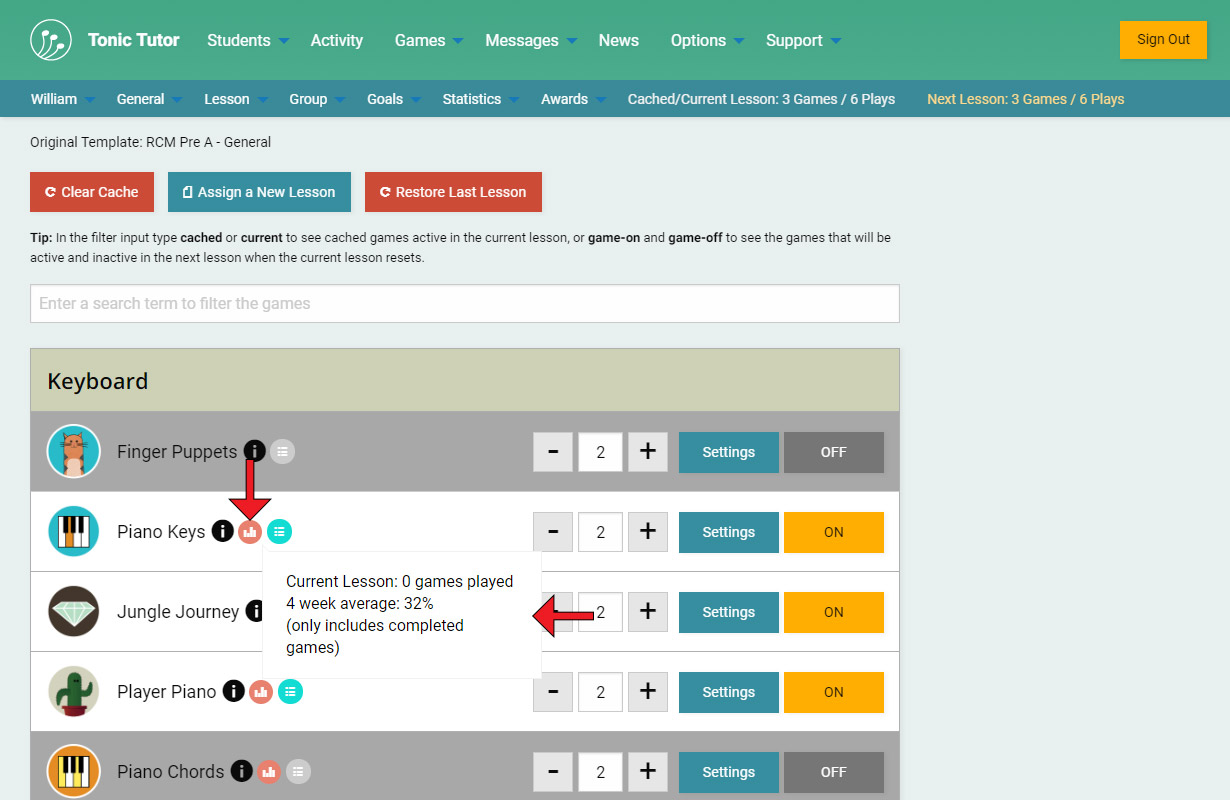
If a game is active in a lesson, you'll see an icon with a mini bar graph in it. If you hover over it (or tap on it if you're on a touch device), a summary of the student's progress for that game will be displayed, including the number plays have been completed and the average score achieved (if games have been played).
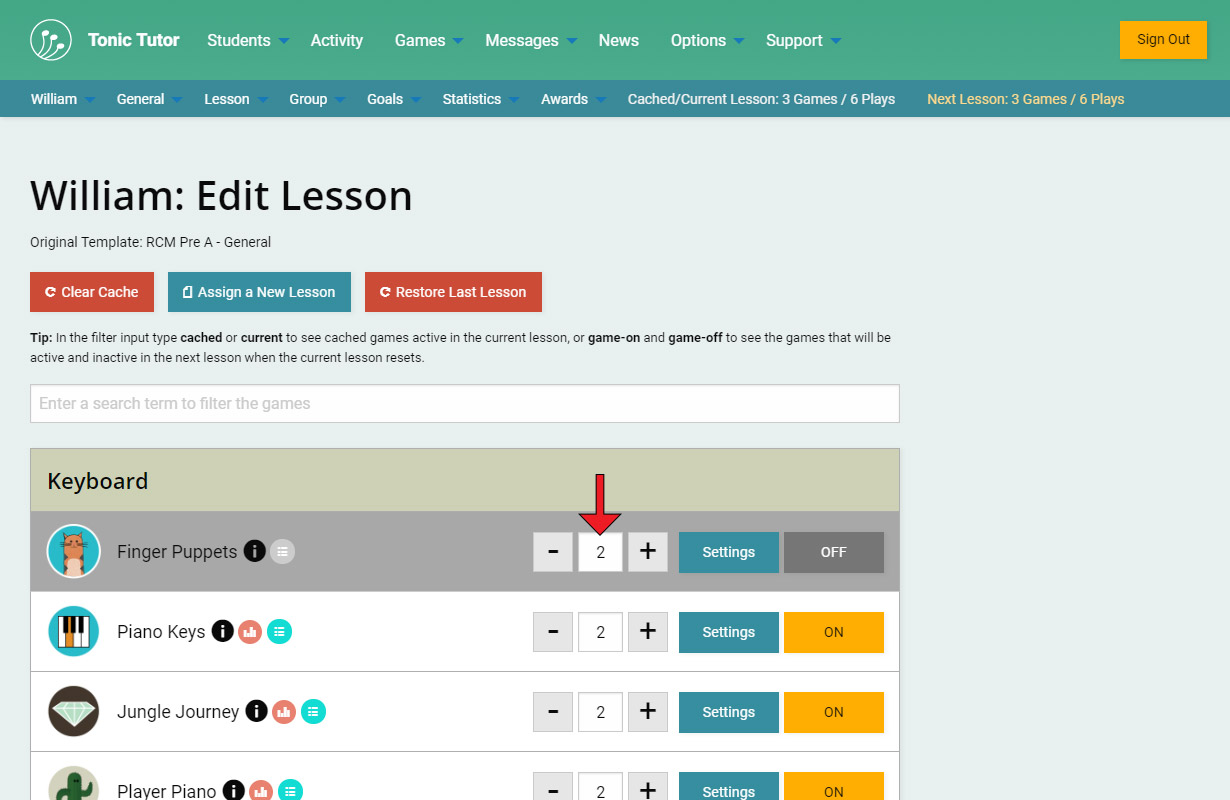
There's another icon there, but we'll cover that in the Lesson Caching tutorial. Let's go over the options available to you for each game on this page. Each game has an input you can use to set the number of times a game needs to be played by a student before it's considered finished. The maximum number of plays is 20 (which is a lot!). You'll notice there's no button anywhere on this page to submit changes, so that means that as soon as you change an option it's saved instantly.
The Settings button will take you to the Game Settings page where you can change how the game works. We cover how that page works in more detail in the next tutorial.
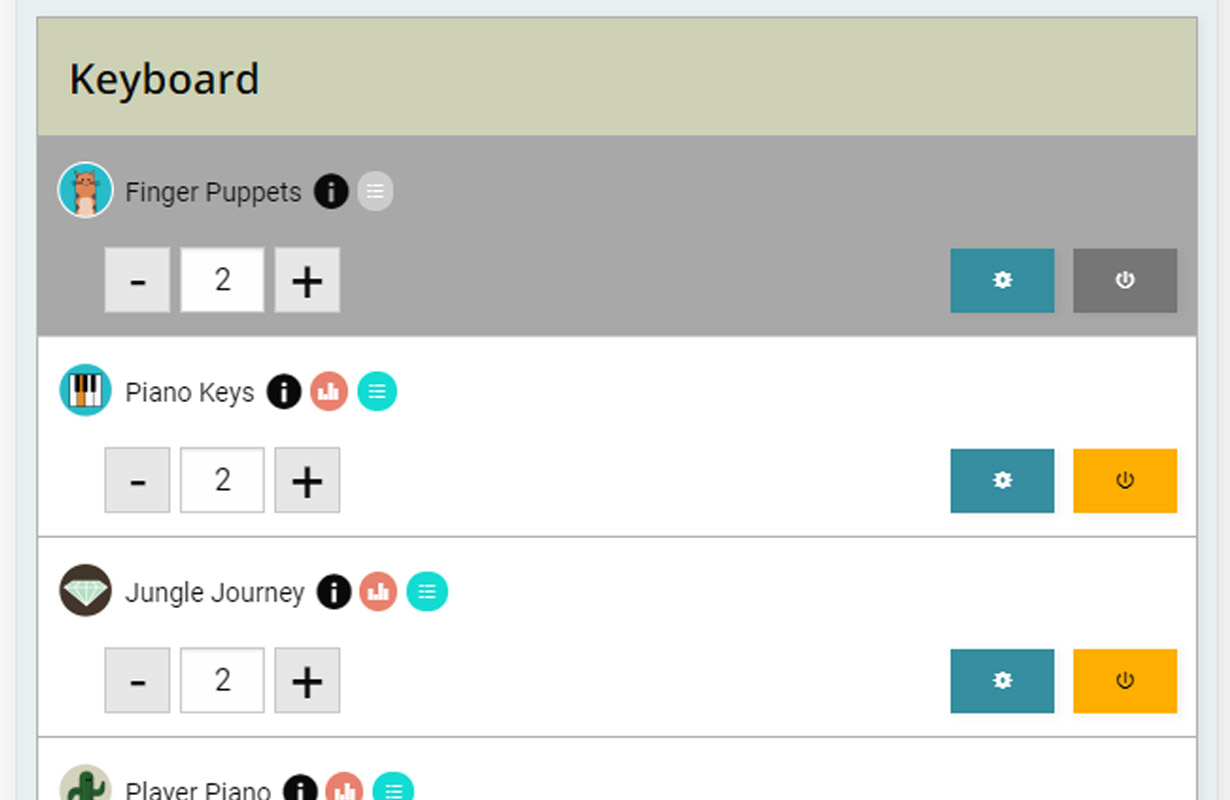
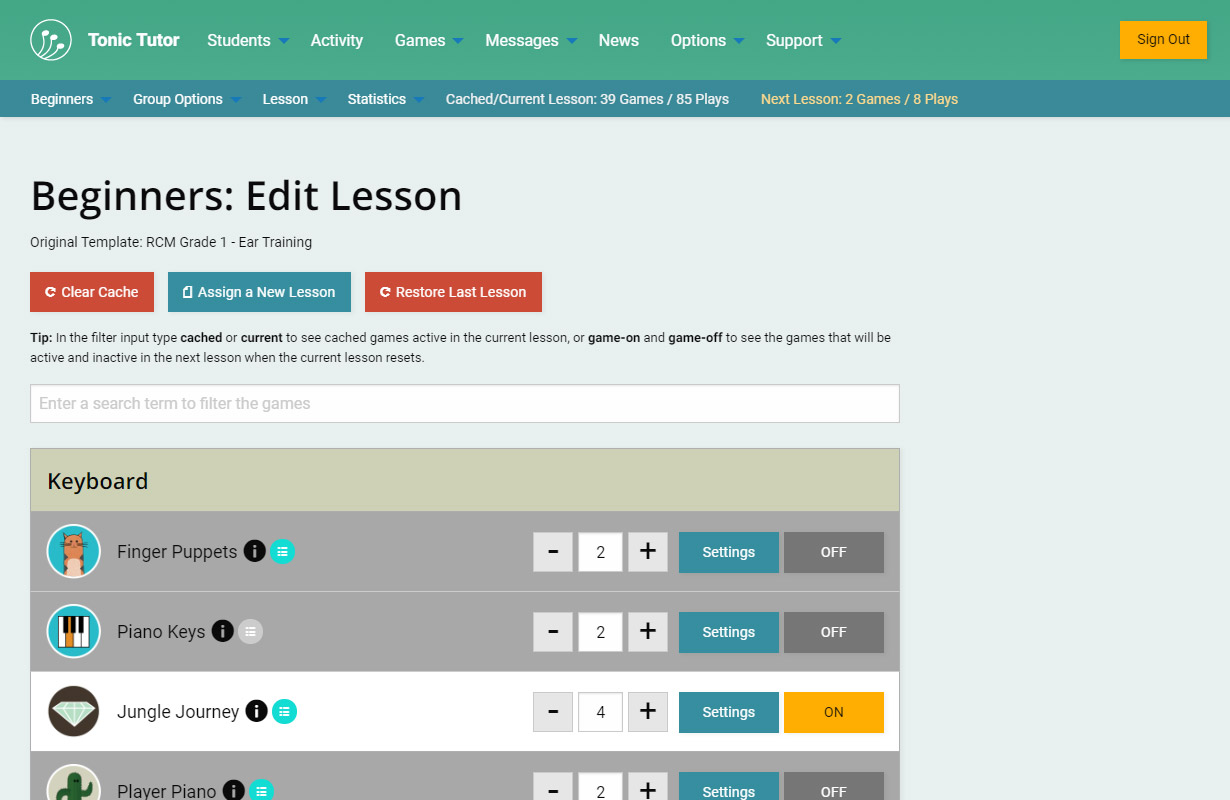
The final option is a switch that turns the game ON and OFF. There's a visual difference that allows you quickly tell the state of a game in the lesson: if it's OFF both the background for the box containing the game info and the switch are grey. If a game is ON, the box is white and the button is yellow. In the screenshot you can see that Finger Puppets is off and Piano Keys is on. If a game is set to OFF it doesn't matter how many plays have been set, it won't show up in the student's lesson unless the switch is ON.
Everything we just covered will look a little bit different if you're on a phone or tablet. Everything works the same way, but the layout changes and the labels for the buttons are replaced with icons.
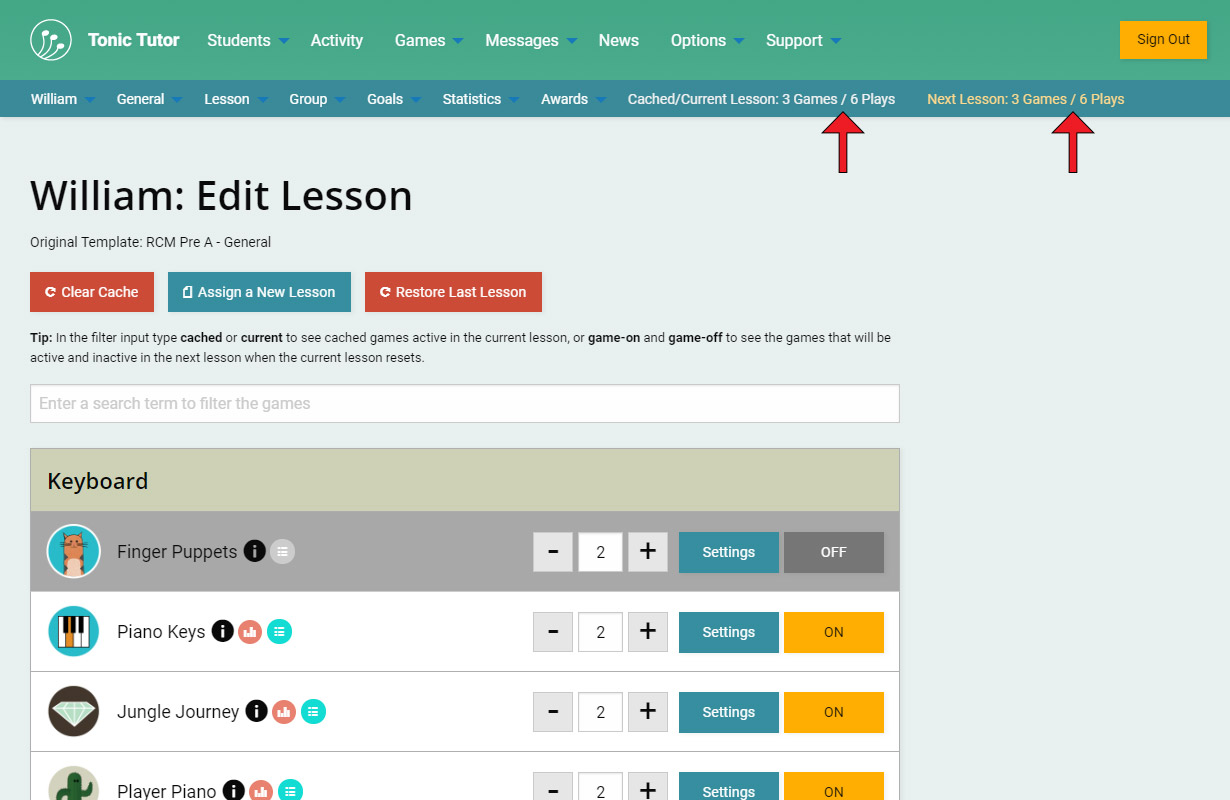
You might have noticed that the contextual student menu on this page has some extra information on it. It's a quick summary of how many games are ON in the lesson and the total number of plays for all of the active games. As you make changes to the lesson, those numbers will update so you can get a sense of how much work you're assigning a student for the week without requiring you to scroll through the page and tally everything manually (that could take forever!). The fact that there are two sets of numbers there might seem confusing, but don't worry, that will all be explained in the tutorial on Lesson Caching.
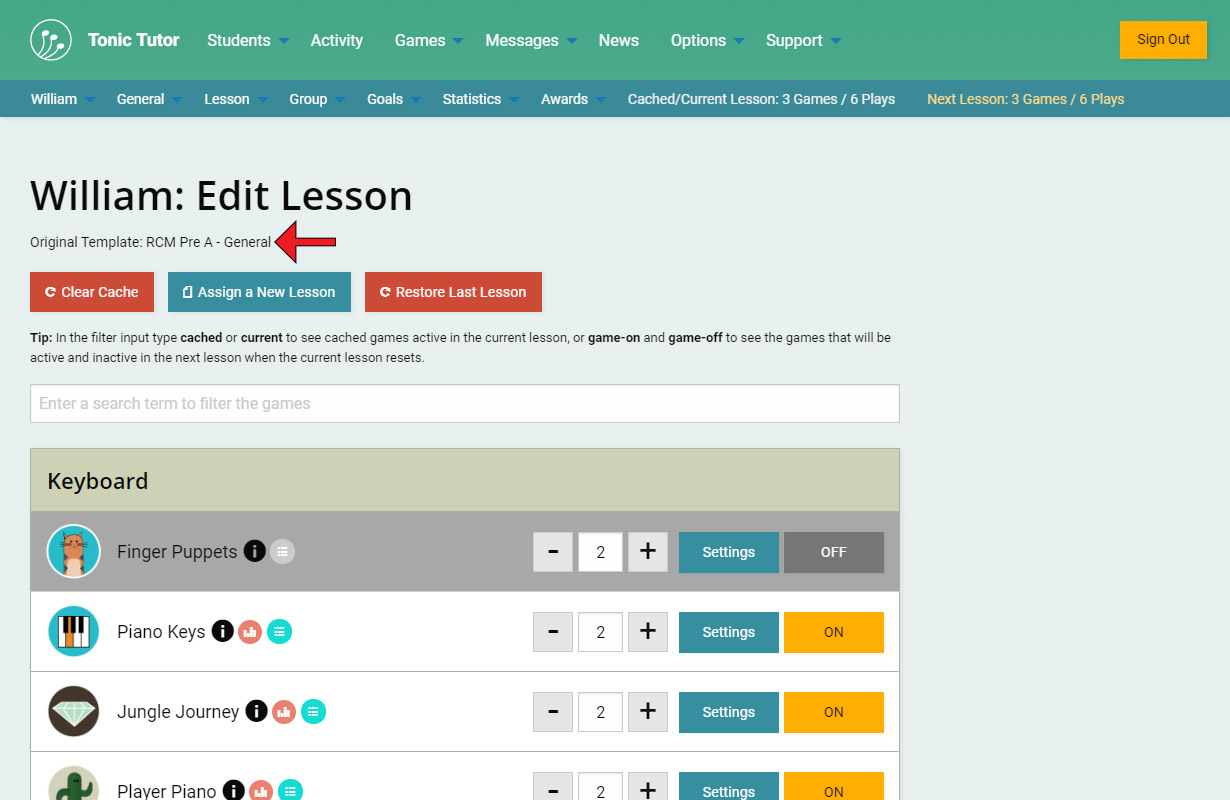
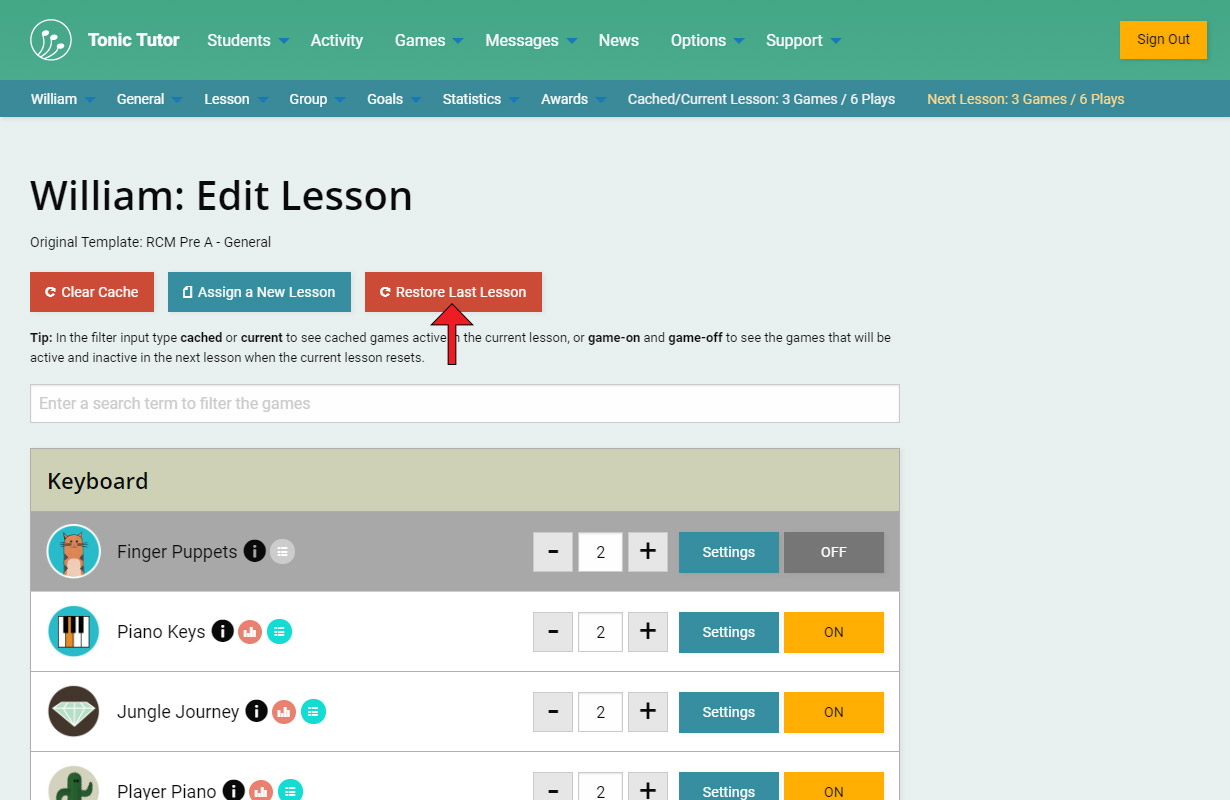
Another useful bit of information is the original template. You might make a lot of changes to a lesson and weeks or months later it would be difficult to remember what template you started with. The original template is always displayed at the top of the page for your reference.
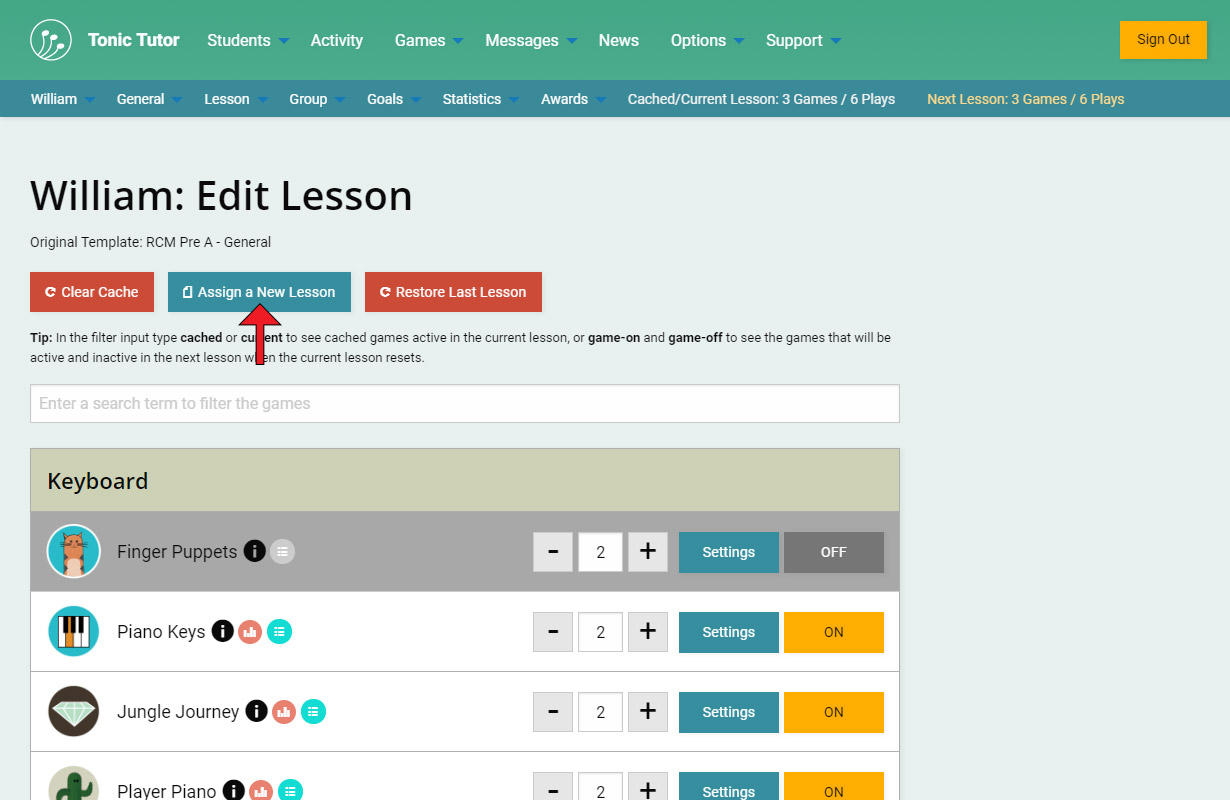
Finally, there's a button at the top of the page you can use to assign a new lesson to the student. Doing that will replace the existing lesson.
Once you've replaced a lesson, we provide you the option to restore the last lesson. Using the Restore Last Lesson button will revert back to the previous lesson. If you used it twice in a row, you'd be back to square one: it would revert and make the existing lesson the one held in reserve, the second time you used the button it would switch back. It essentially swaps the two lessons, making the previous lesson active and changing the existing lesson so it's inactive. If you assign a new lesson, the inactive lesson held in reserve is deleted and replaced with the existing lesson.
Lessons that belong to a student group work essentially the same, the main difference is that it allows you to create one lesson that the student's in the group will share. You can find out more in the Group Lessons tutorial, but everything we covered in this tutorial applies to group lessons as well.
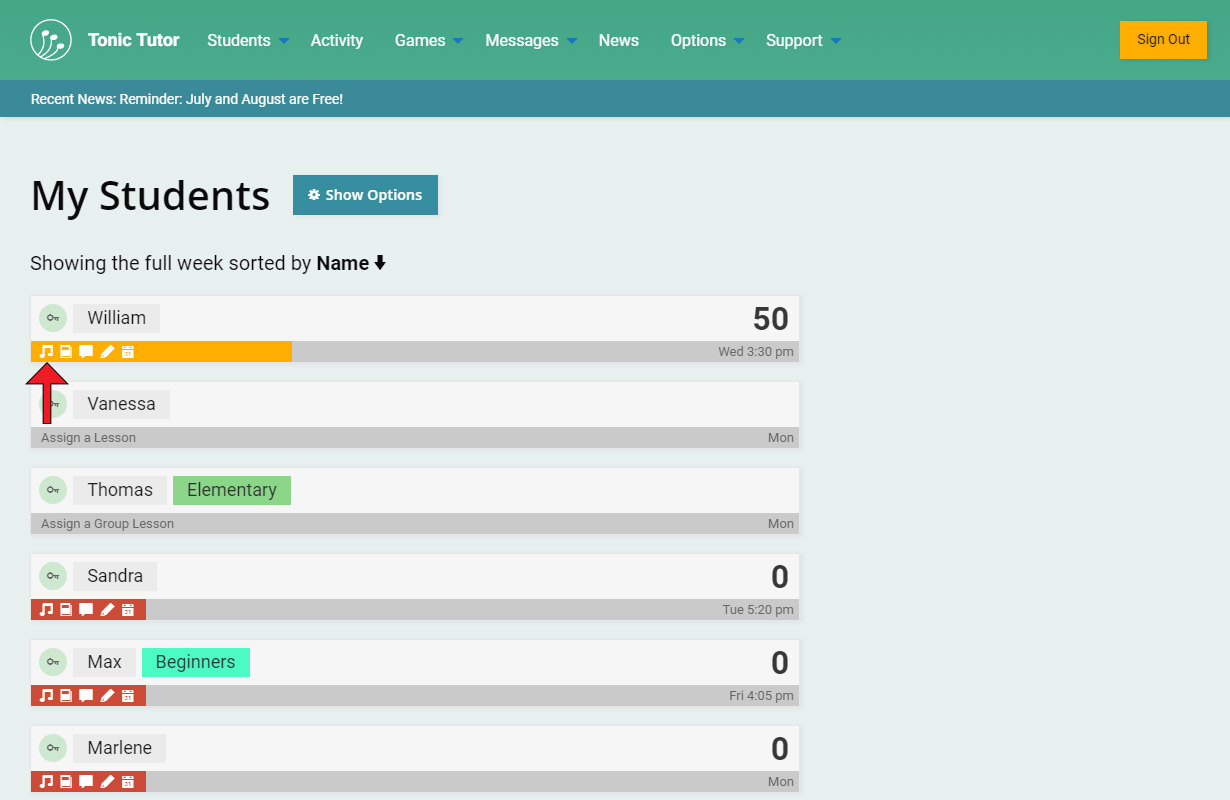
We mentioned it in The My Students Page tutorial, but it's worth noting again that you can use the first icon in a student's progress bar on the My Students page as a shortcut to the Edit Lesson page without having to click through any menus. Now let's go over lesson caching: something that might seem a bit confusing at first, but you'll quickly realize how useful it is.
View the next tutorial: Lesson Caching